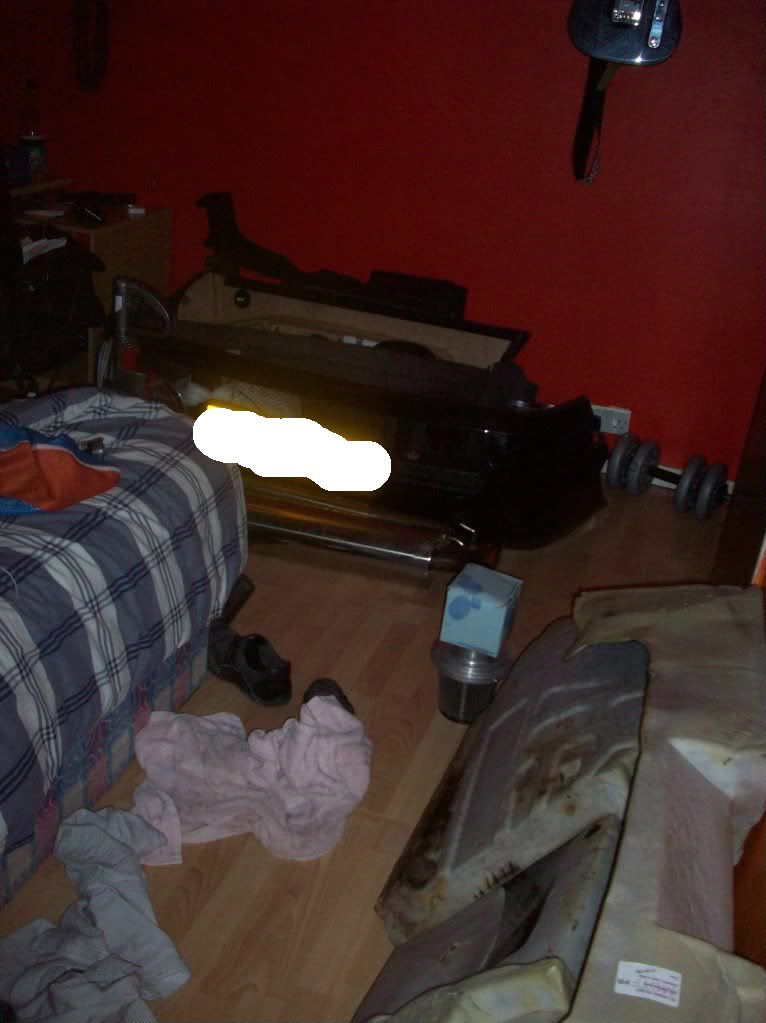
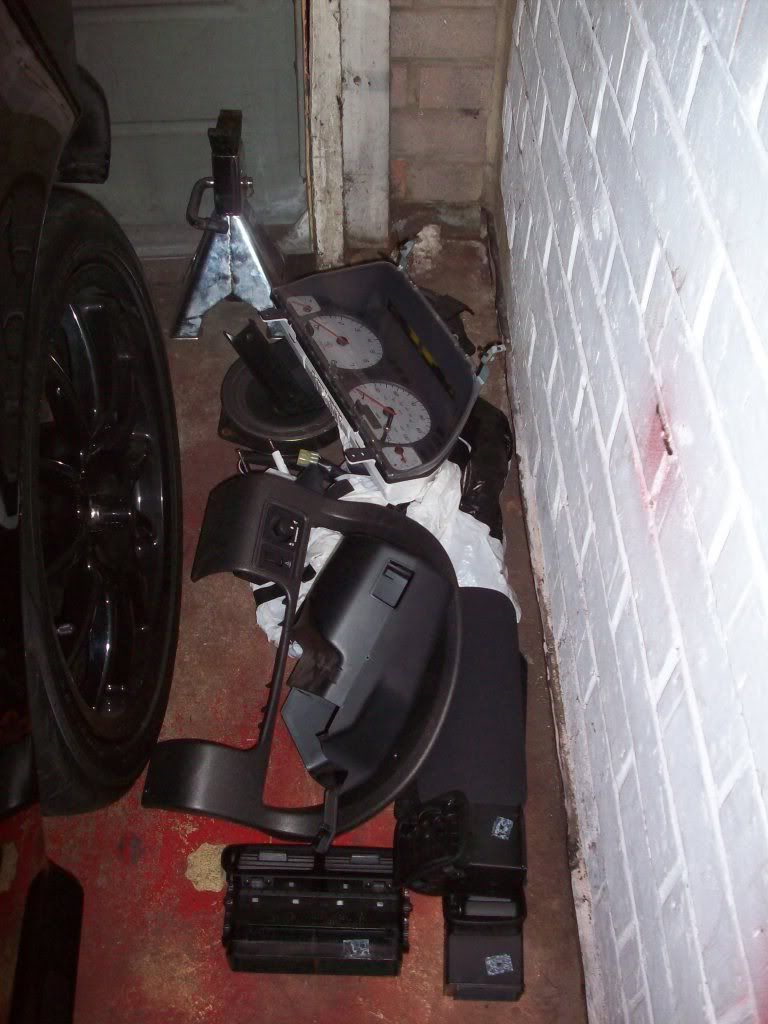
First Job on day two was to sneak all the interior parts I'm keeping into the loft while my mum was at work!
The transmission tunnel, door cards etc were pretty easy but getting a rear bumper into the loft was a whole other kettle of fish, and pretty funny

Not something you see every day
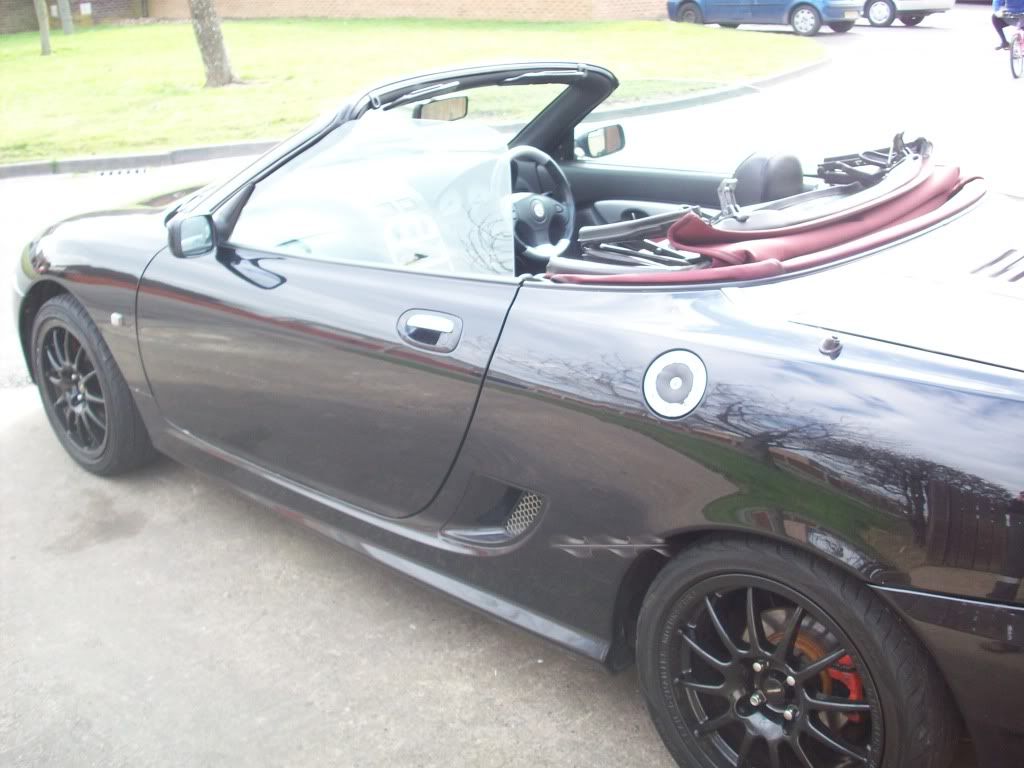
anyway on with the car
First problem was it was raining... not good as my garage isn't exactly roomy
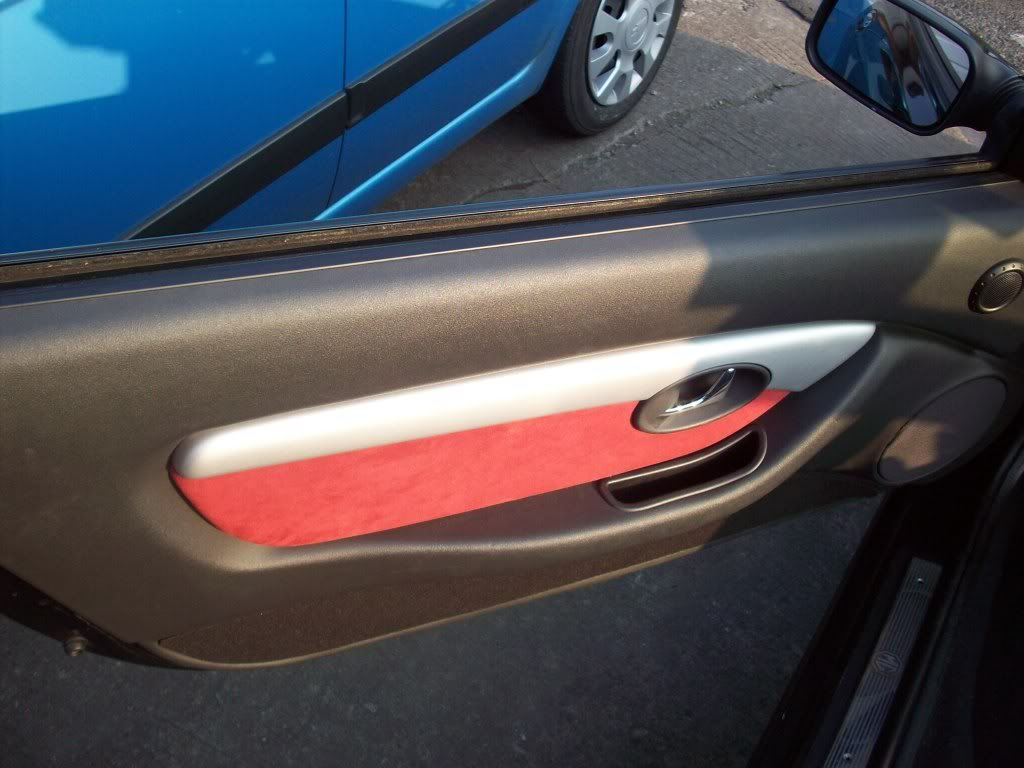
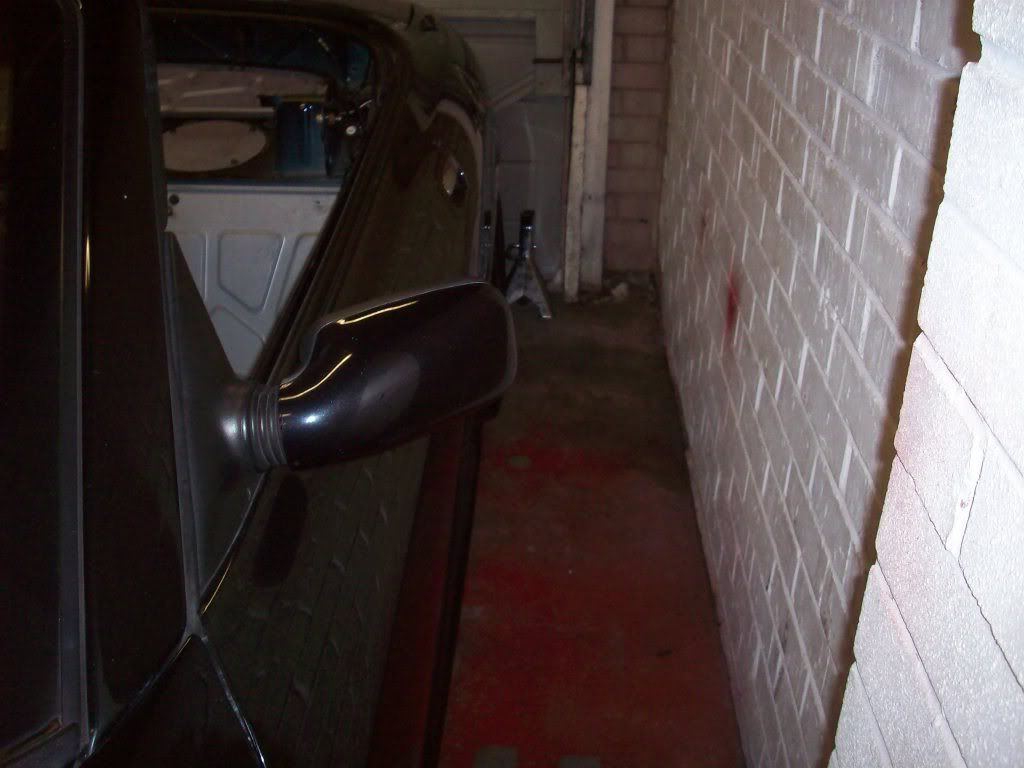
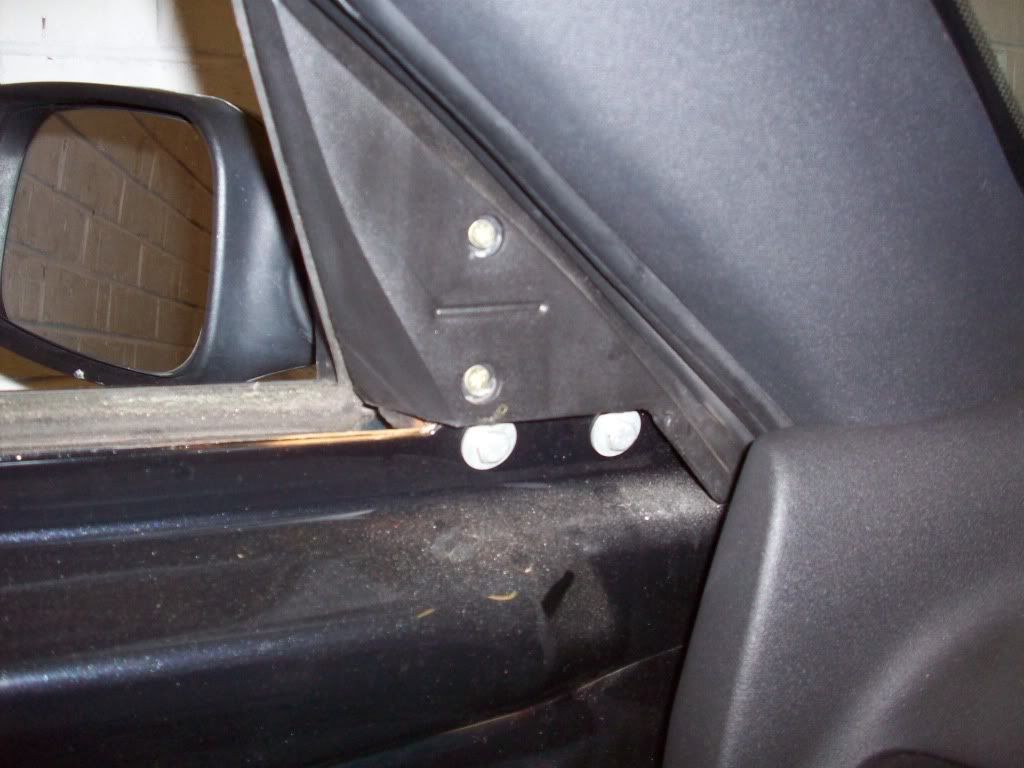
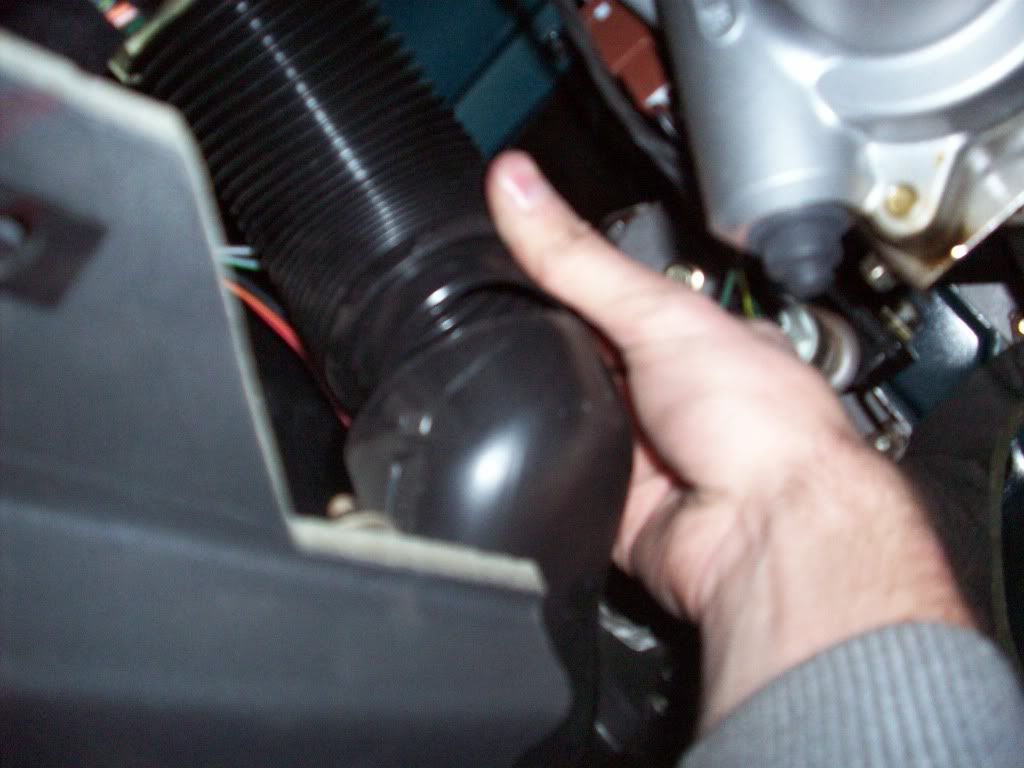
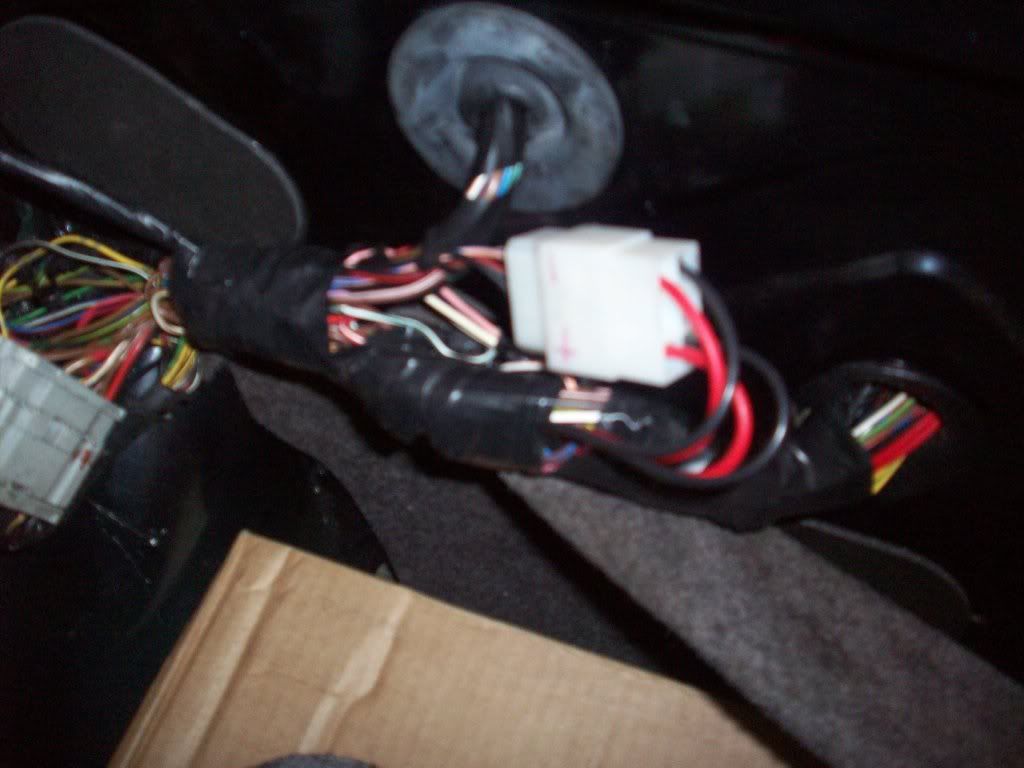
So I decided to start by removing the wing mirrors, easy enough (this statement was a mistake)... couple of screws
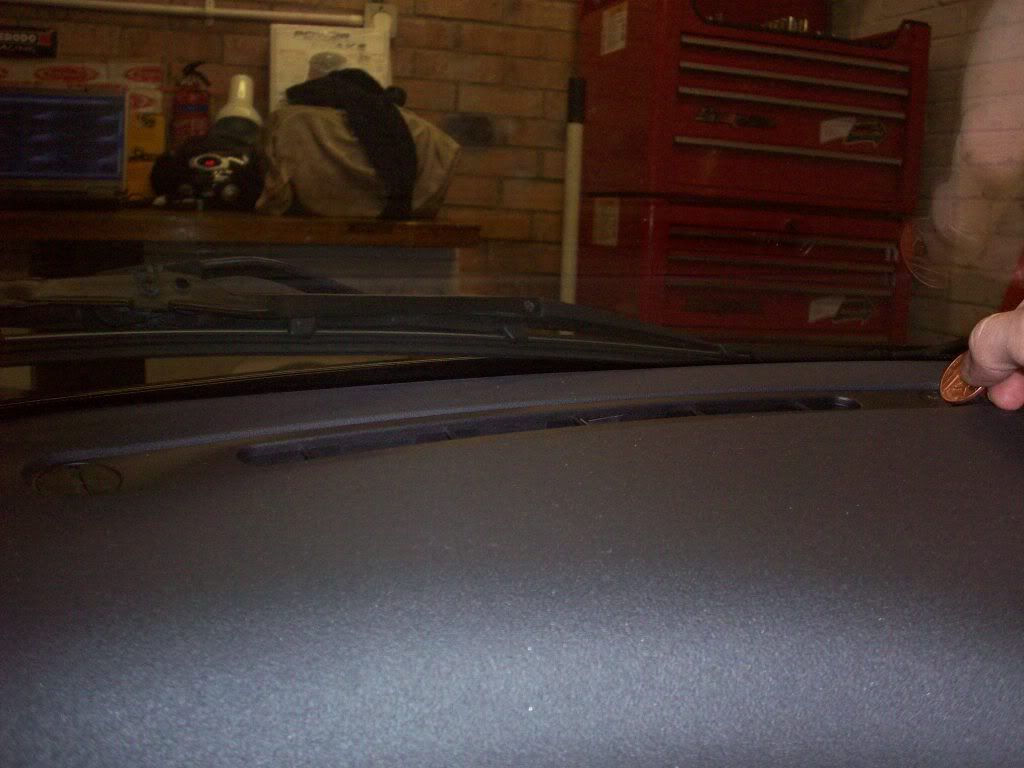
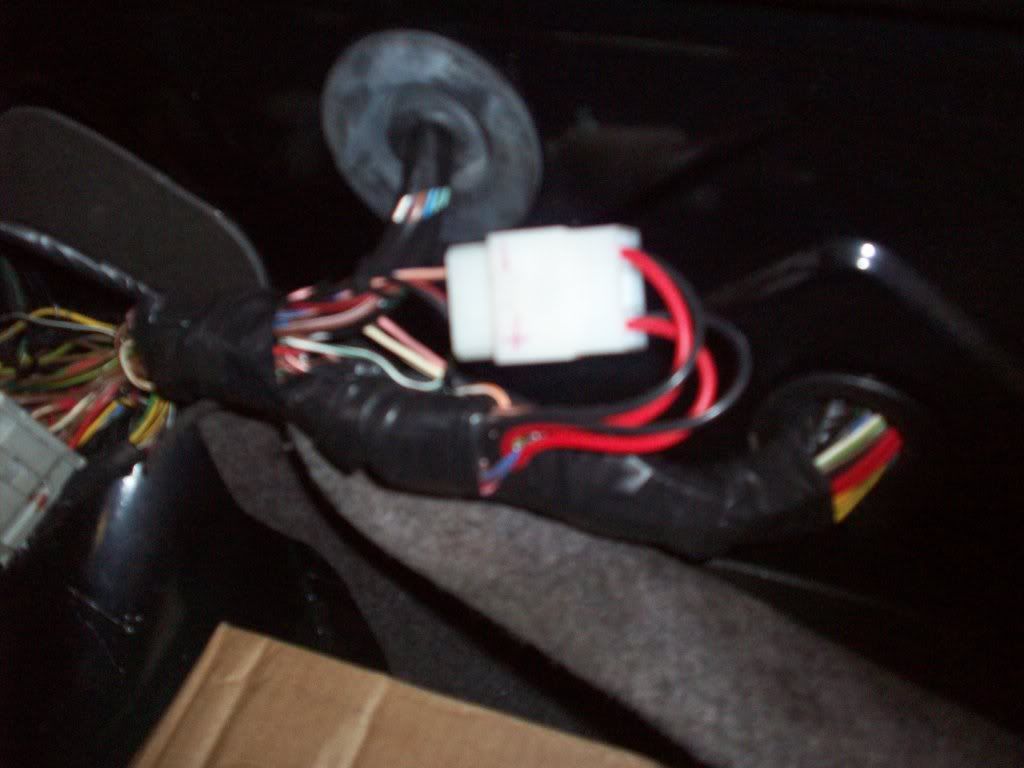
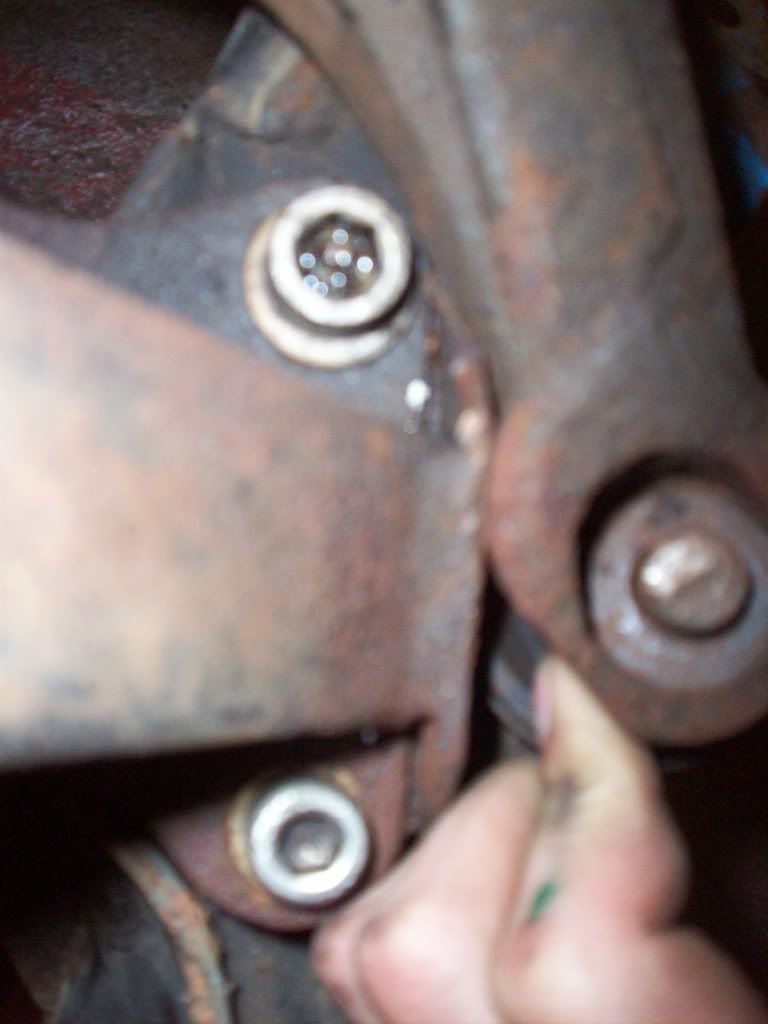
Then all I had to do was undo a clip on the door skin that wanted to remove as much of my skin as possible!
Top one on this pic
After trying for 10 mins and stabbing myself twice with a screwdriver, I bravely gave up.
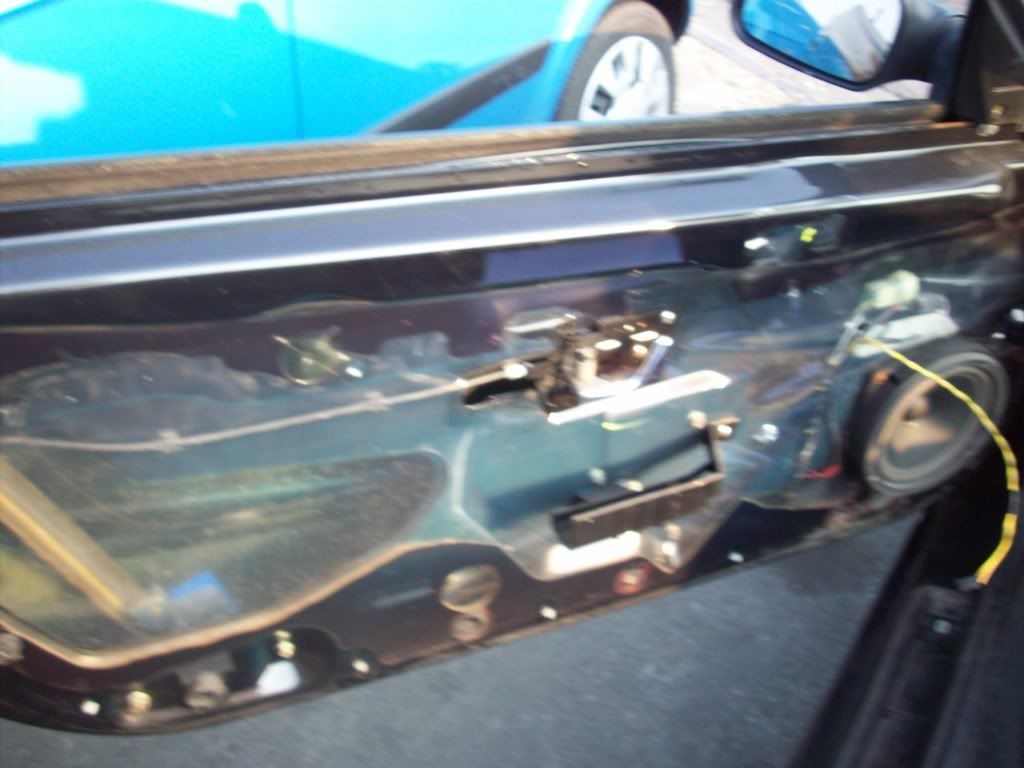
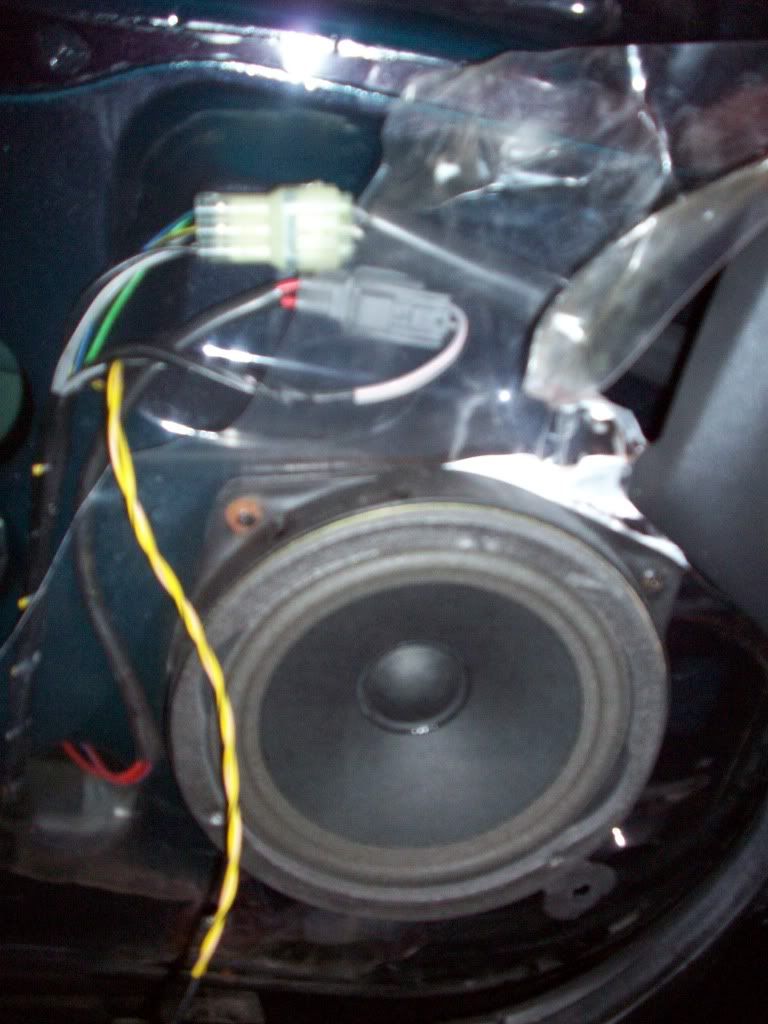
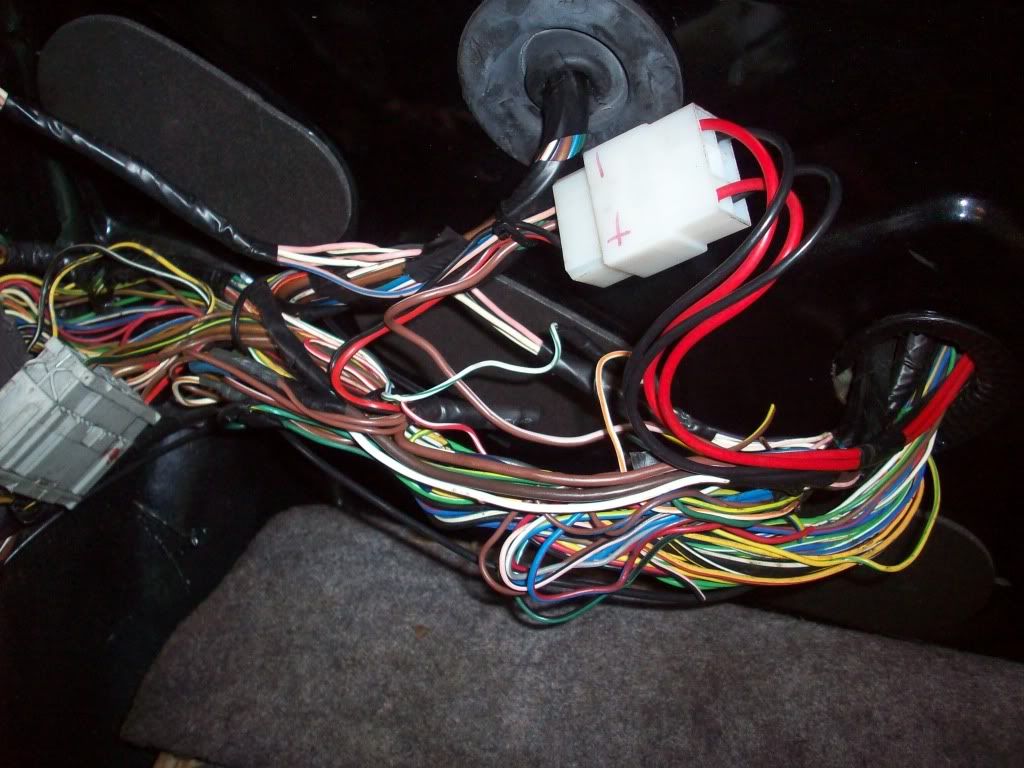
I decided to try popping the clip off from the back... this ment removing the speaker (which i didn't need anyway)
Easy enough, note to self passenger side speaker wires are yellow, drivers orange... more wires for me to trace back through the loom and bin lol
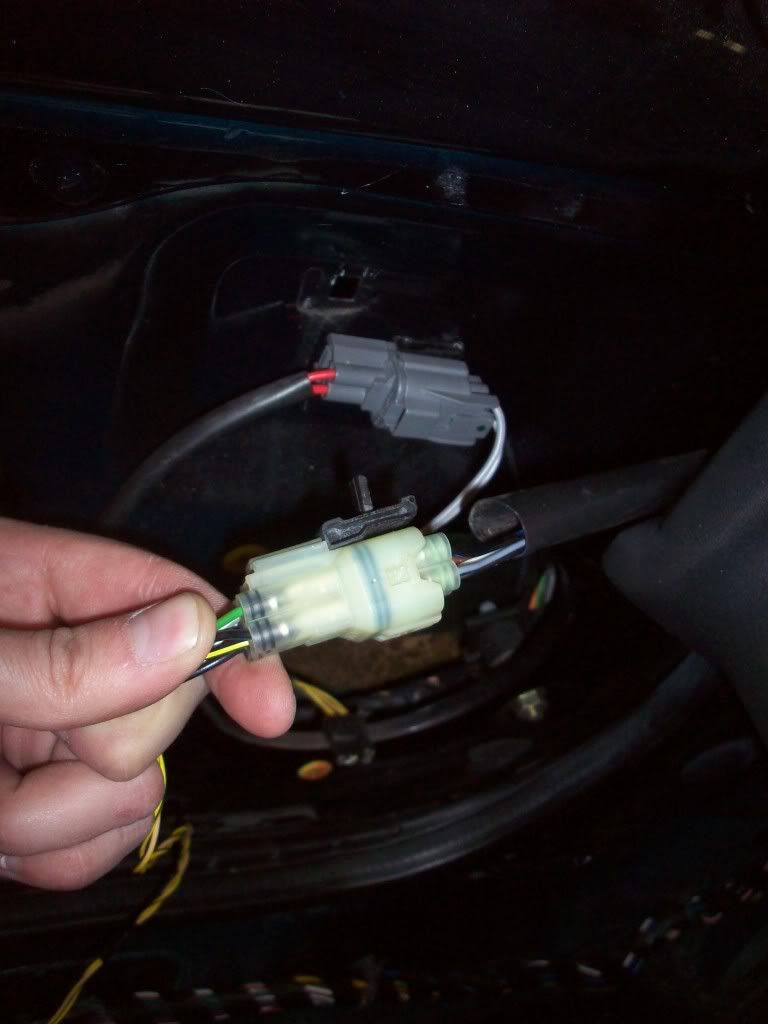
anyway back to that pesky plug
I managed to pull it out the door and this made things a little easier
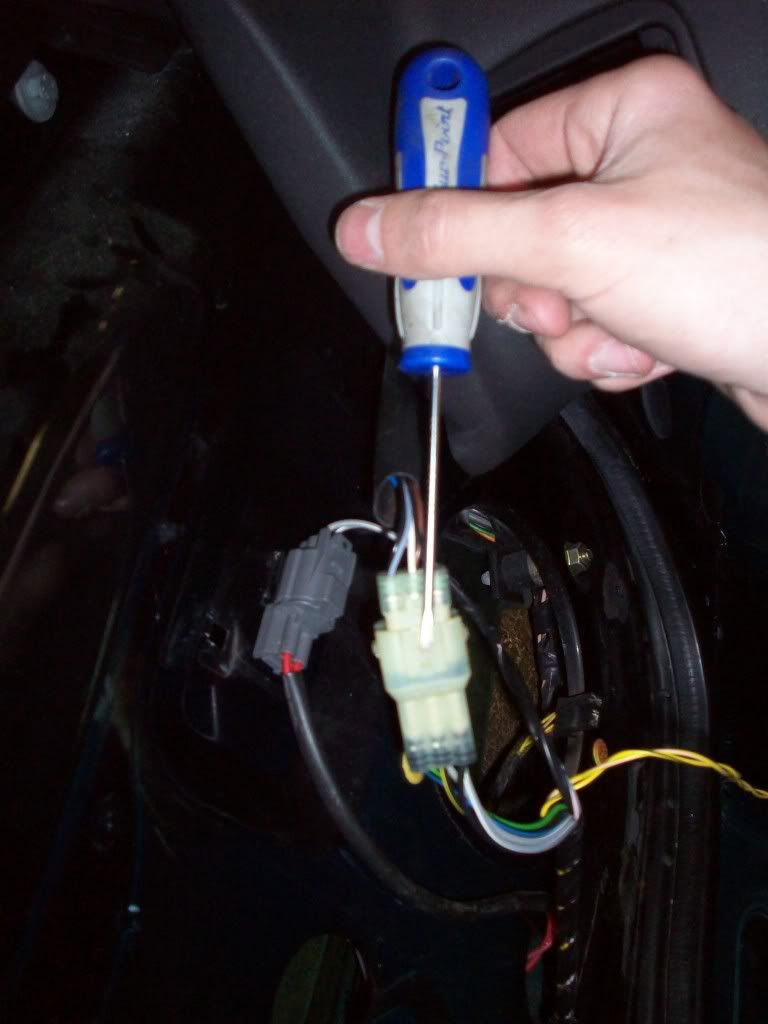
Eventually I managed to get the plug apart by jamming a screwdriver in it and prizing it apart
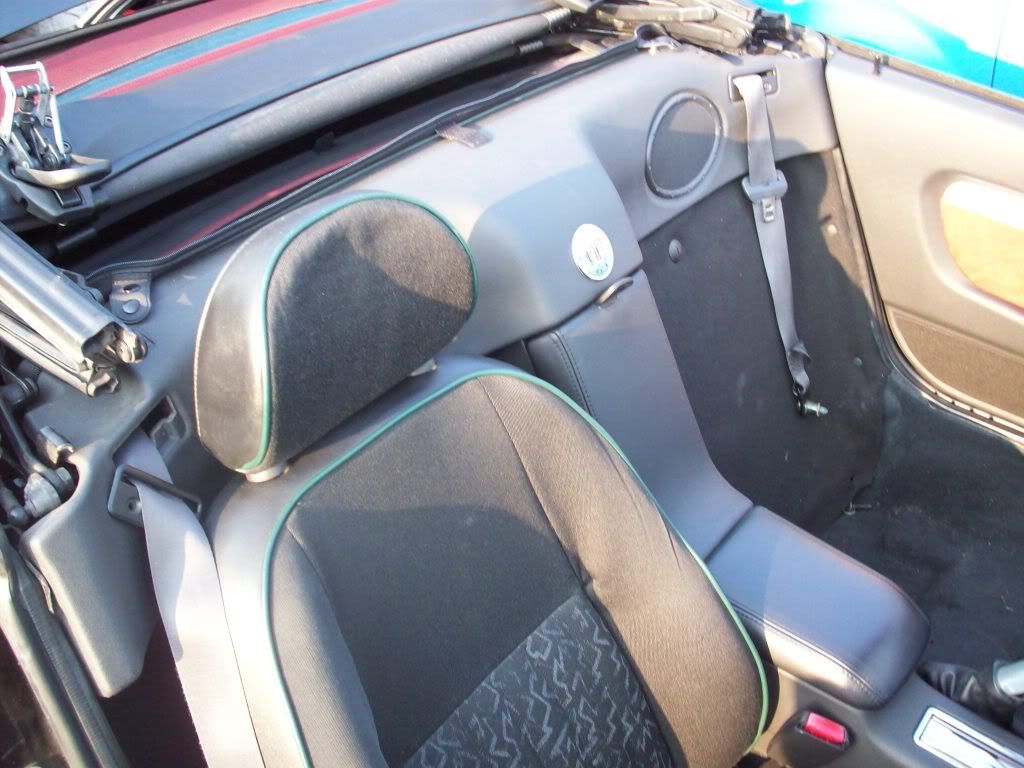
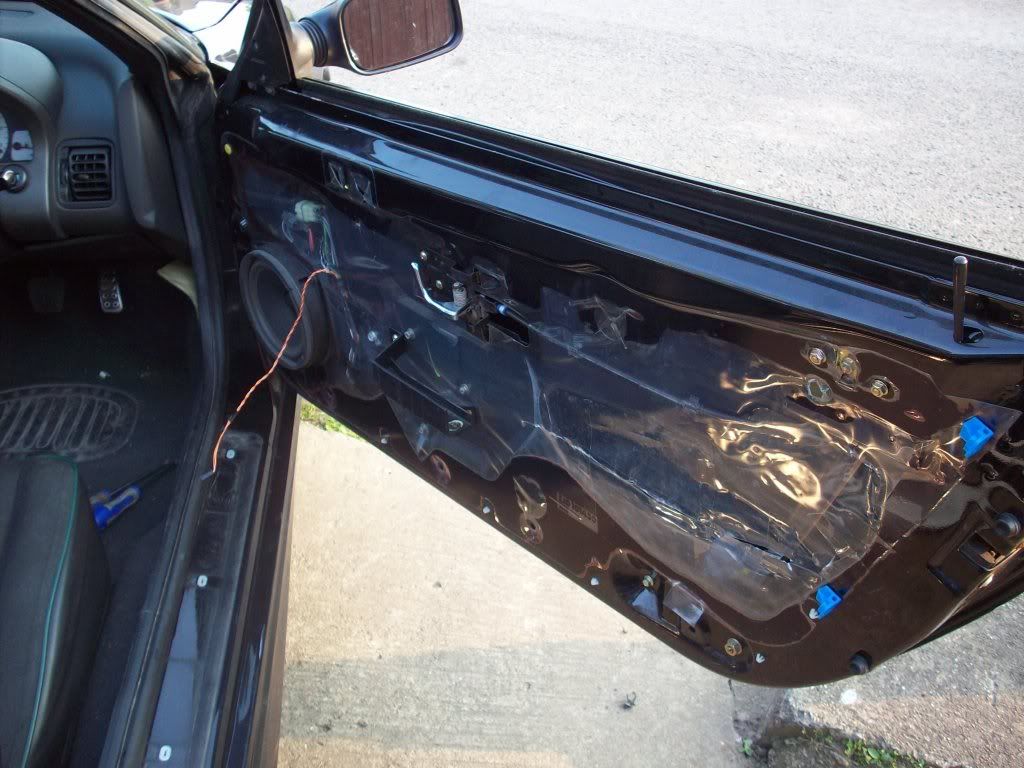
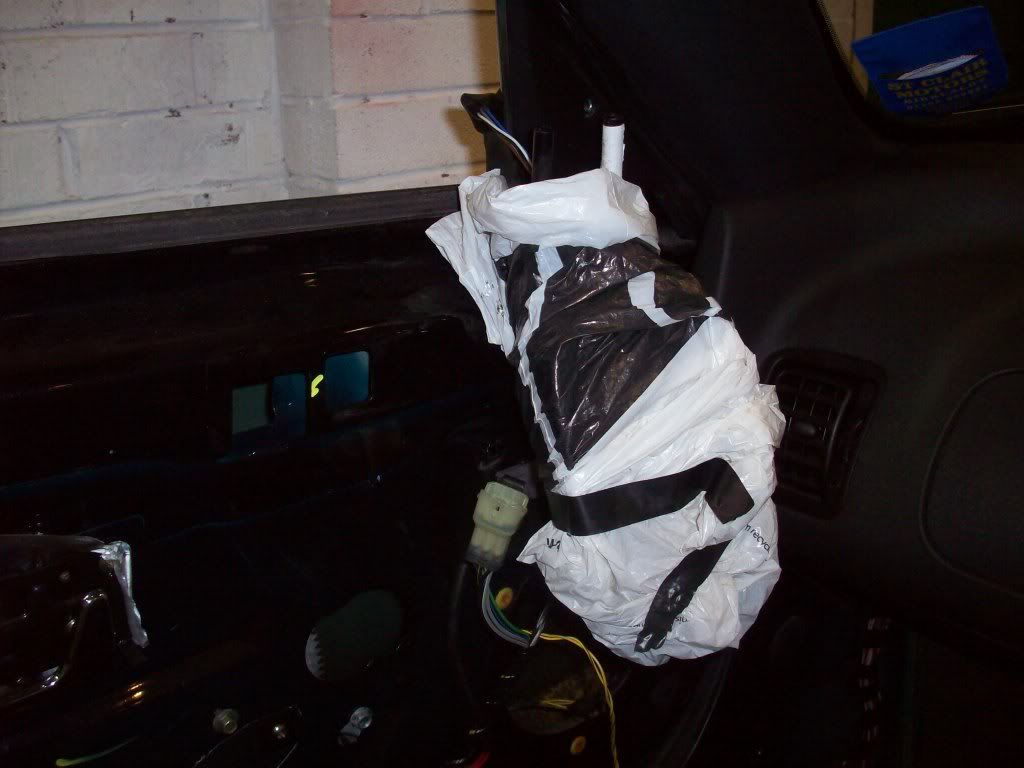
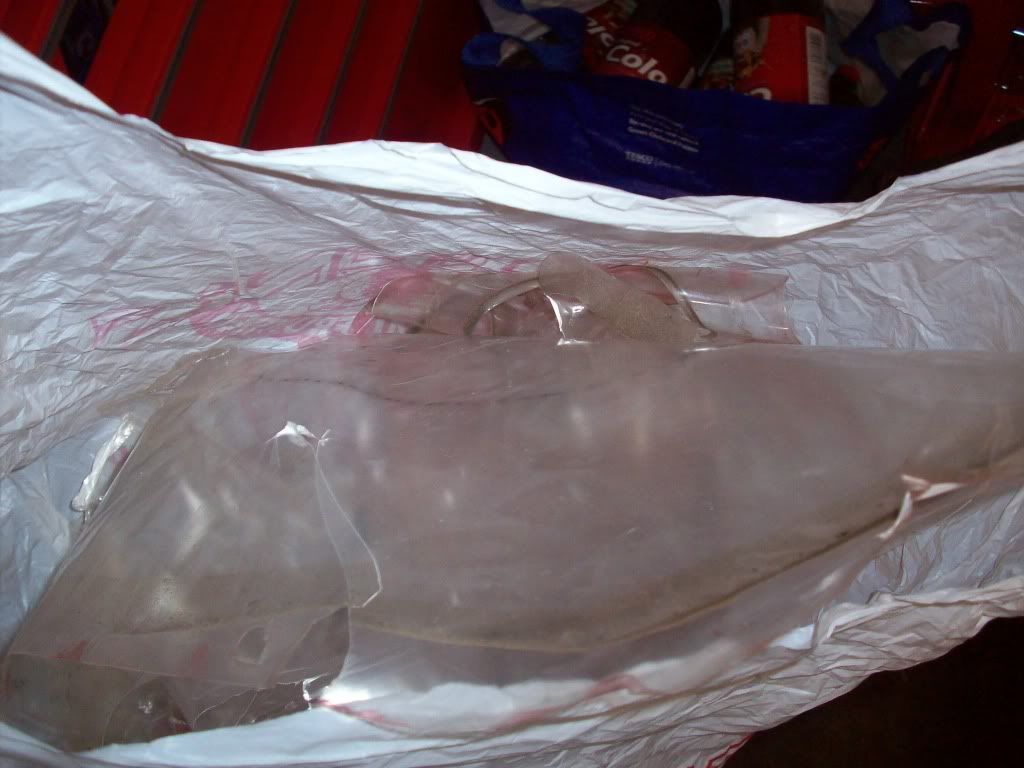
After that I struggled to pull the wire up through the door so I decided to bag the mirror up so it didn't get scratched and pull more stuff off the door skin so I had better access
The random pics continue
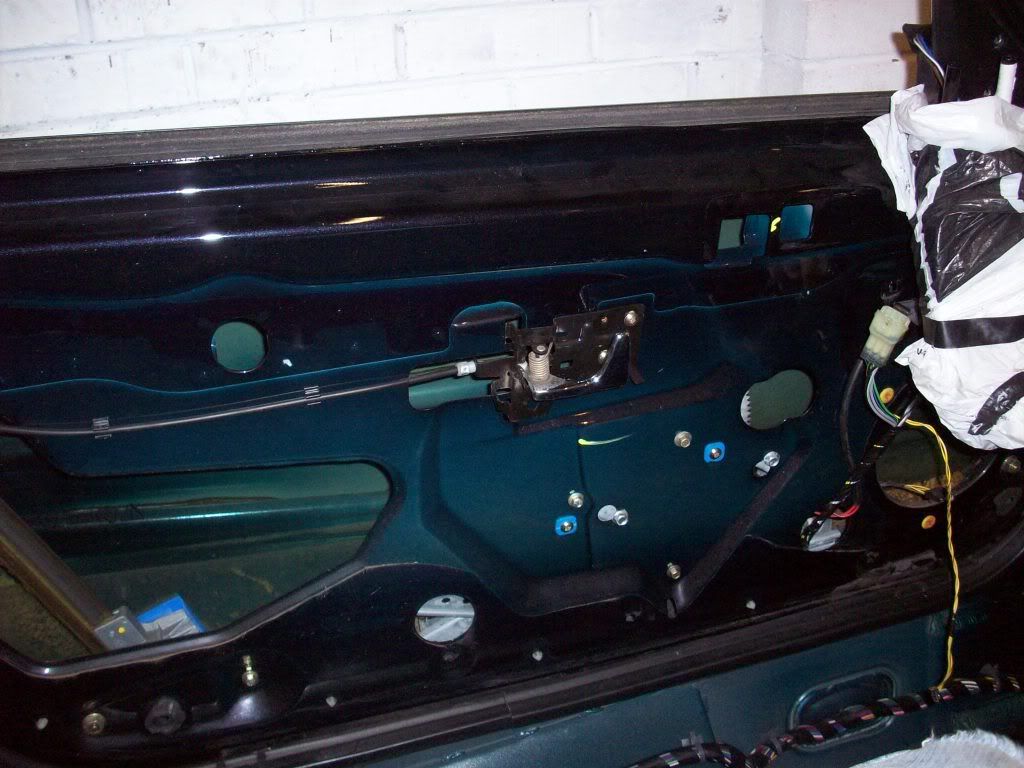
I had to remove the door handle and take the leaver off (and put it back on) to remove the nasty plastic cover, but once it was off it looked much cleaner
Once this water proofing was off I could get my arm in the door and feed the wire out the door
simples
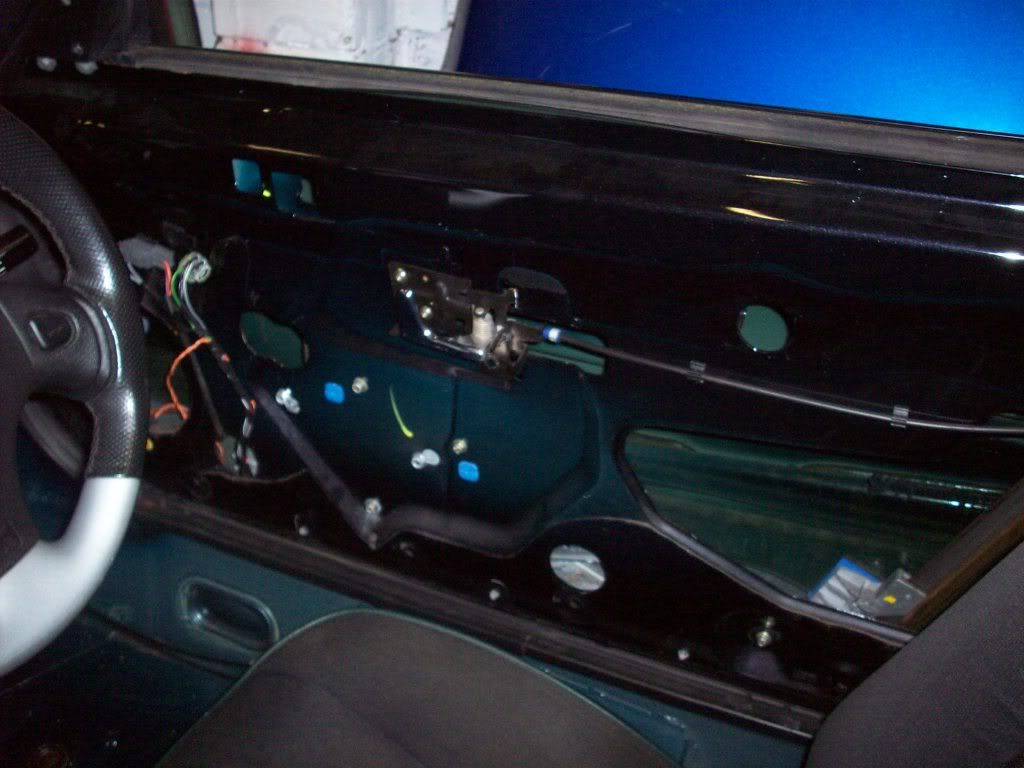
repeat process on other door...
Plenty of plastic rubbish in a bag
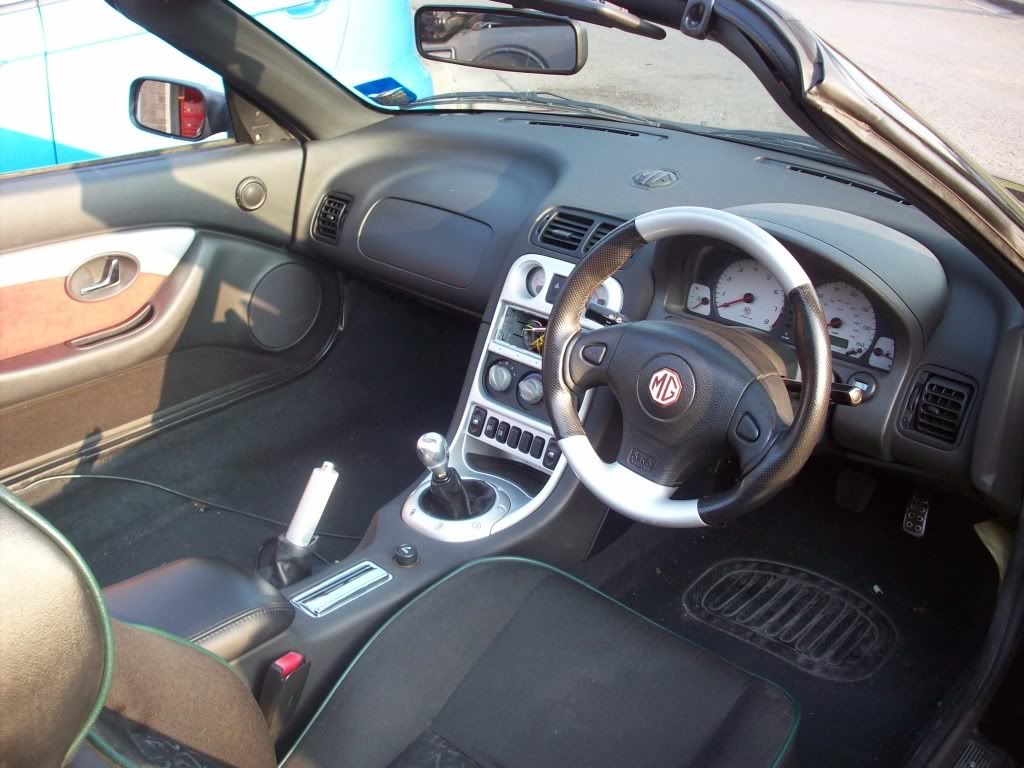
Now time to move onto the dash!
This is the first time I had ever removed a dash so my first jump into unknown territory on a TF, just like to say a big thanks to the scarlet fever pages at this point for the guide on removing a dash, it helped allot
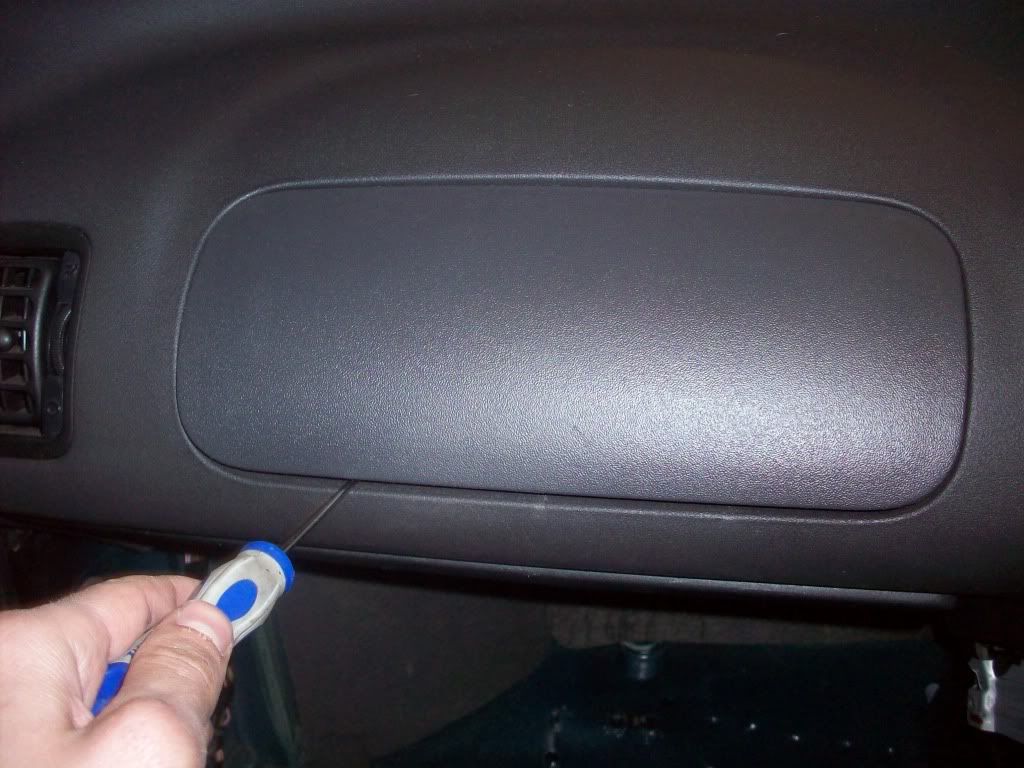
First job was to remove the air bag blank, easy enough just a screwdriver to flick the clips out
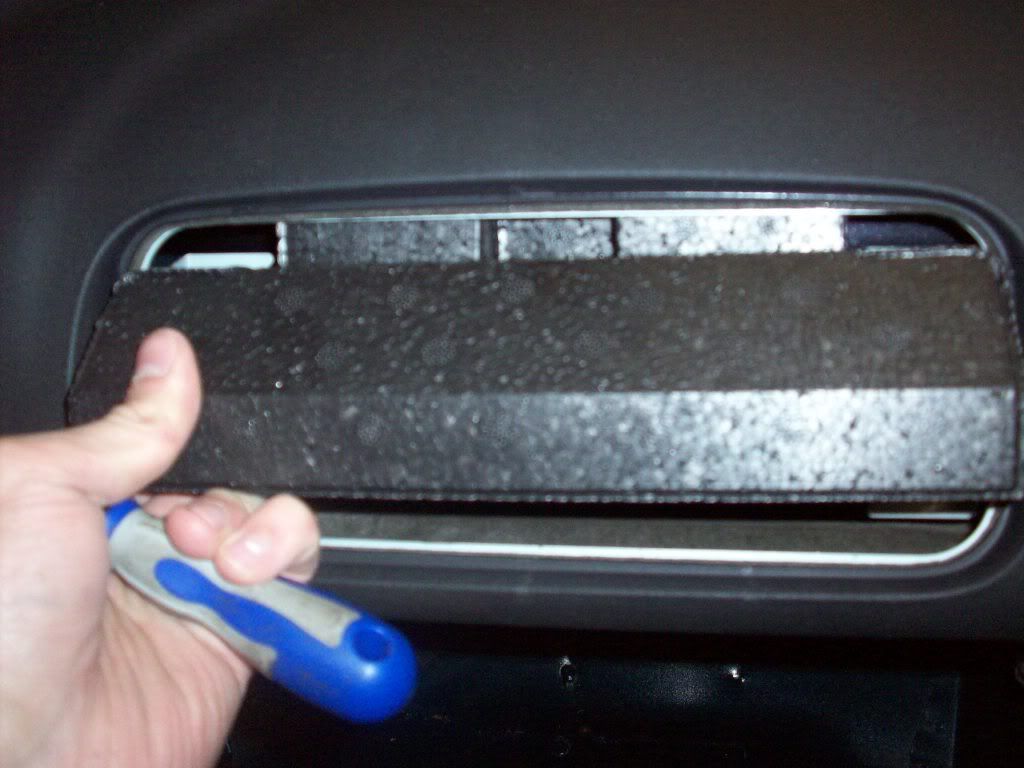
Random pice of Styrofoam, MG/Rover once again demonstrating that no expense was spared when building their flagship model
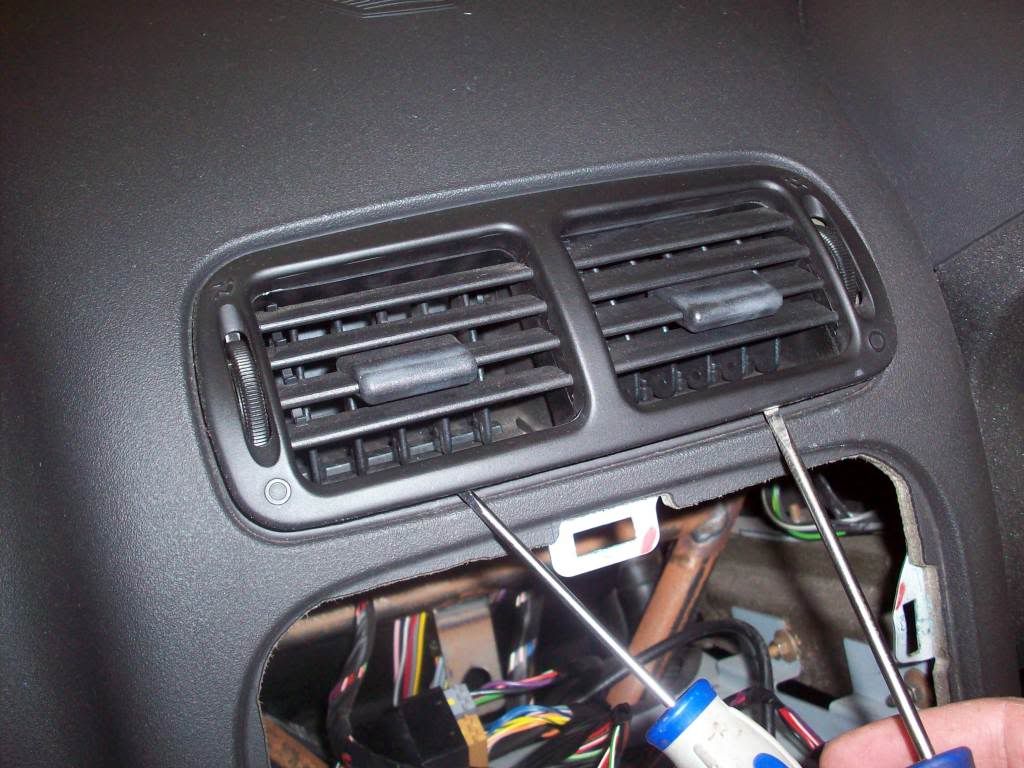
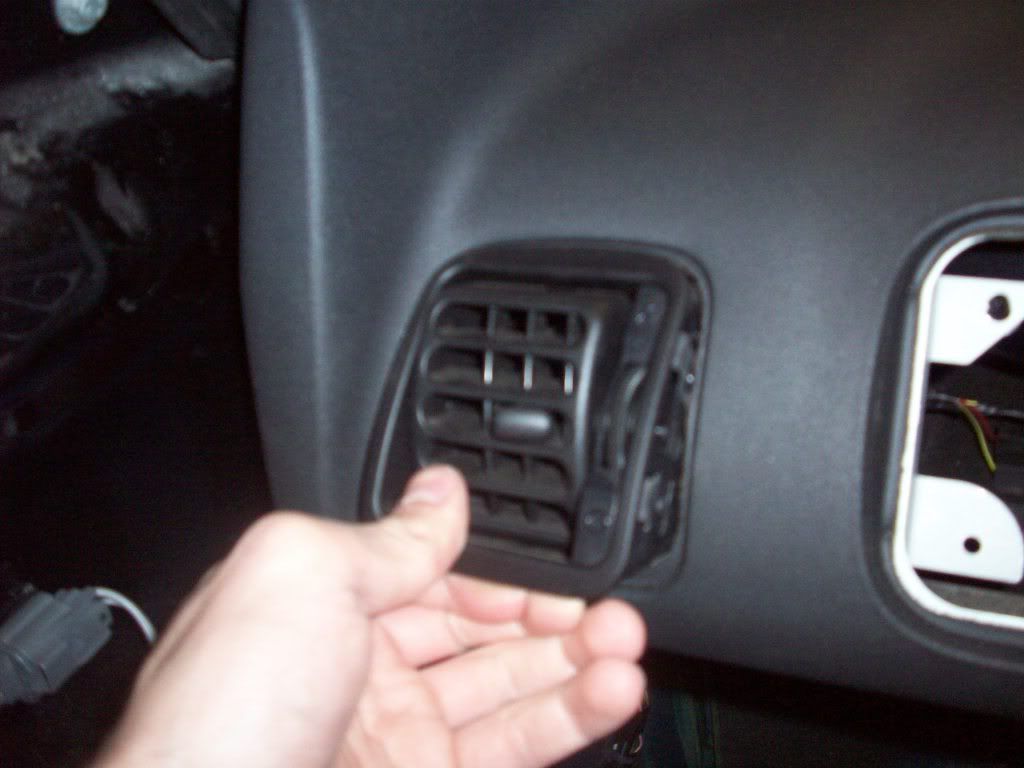
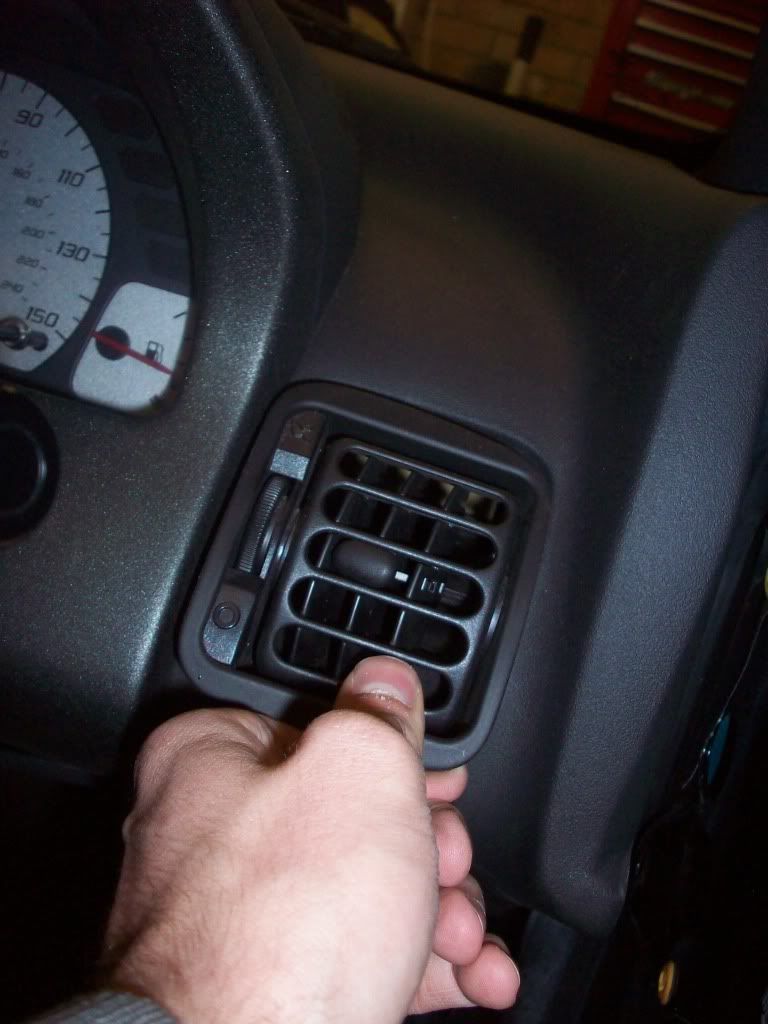
Removing the air vents involved more screwdriver action
They actually came out quite easily, although being able to open the doors would have made things much easier for the side vents
managed anyway
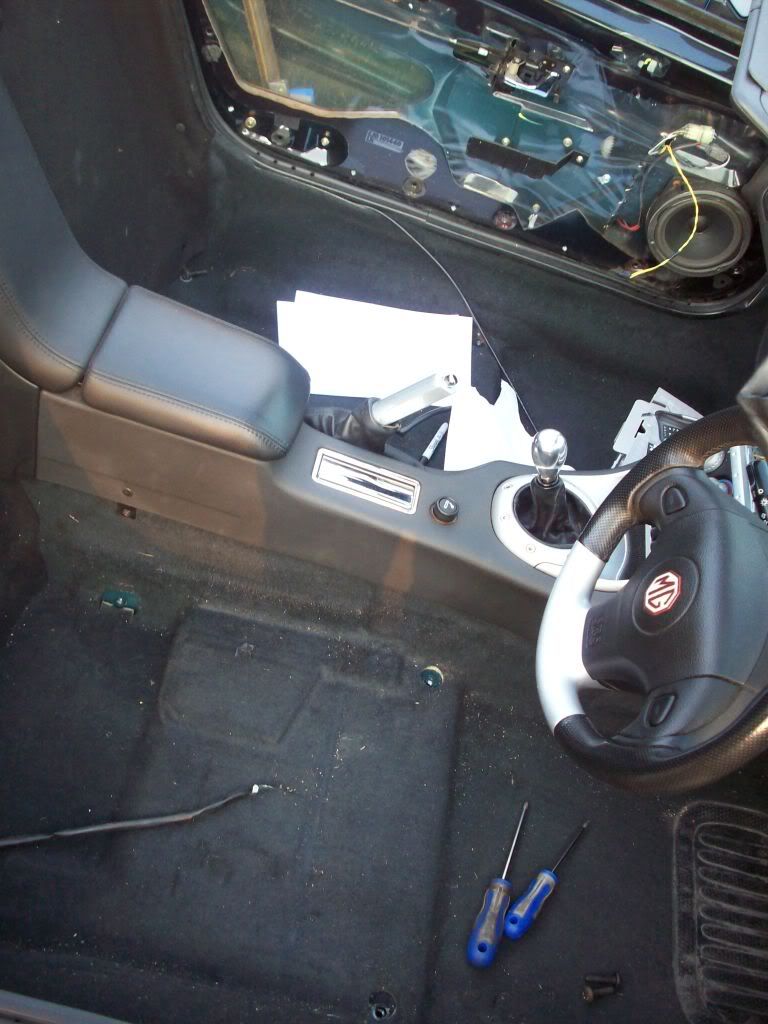
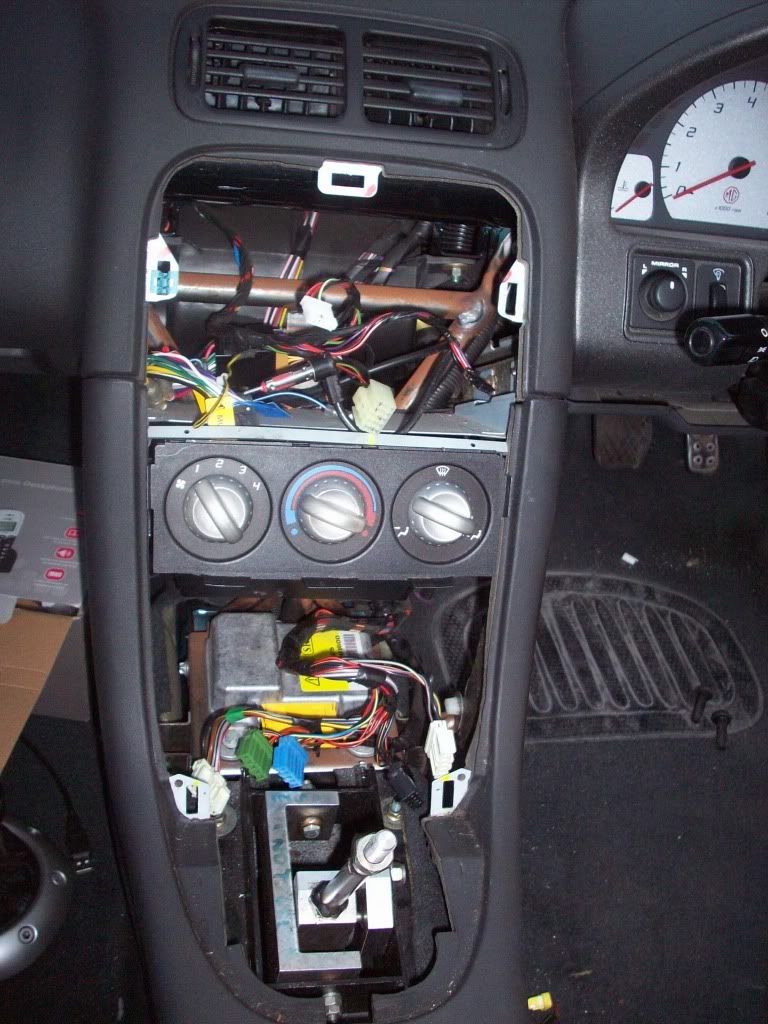
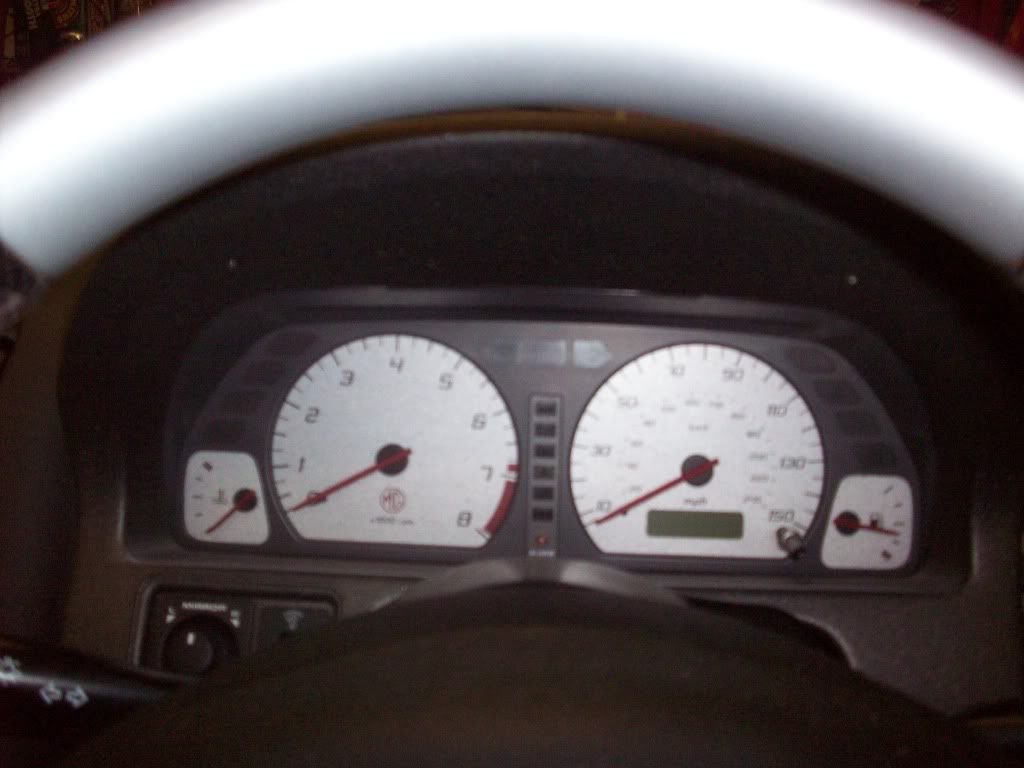
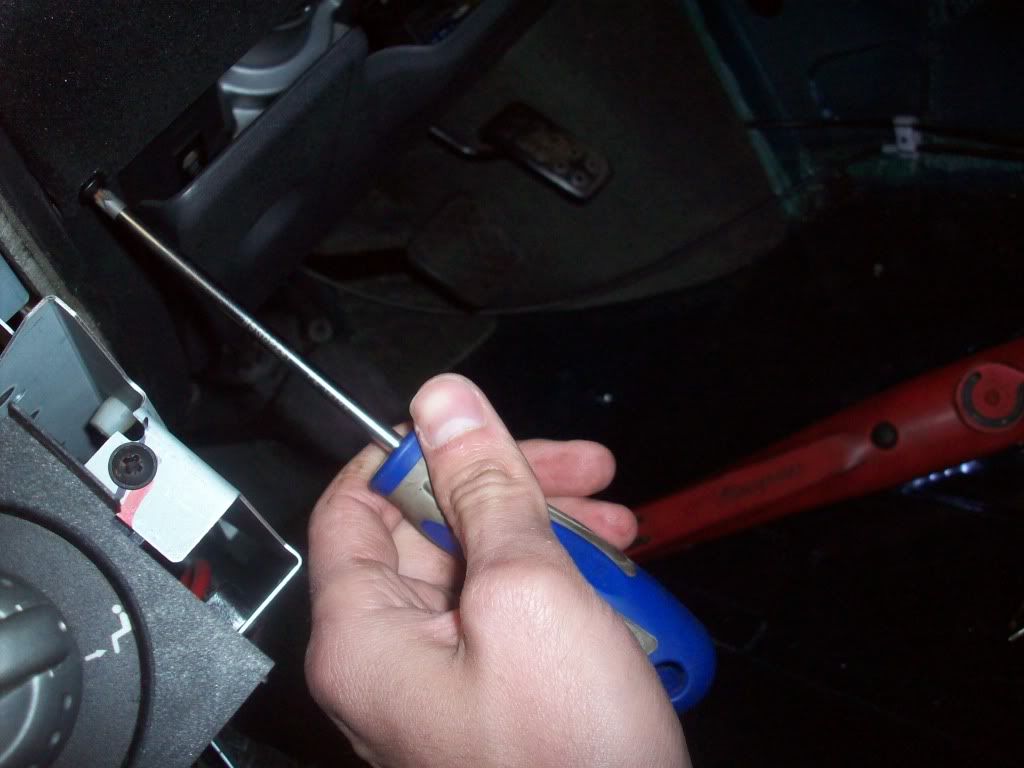
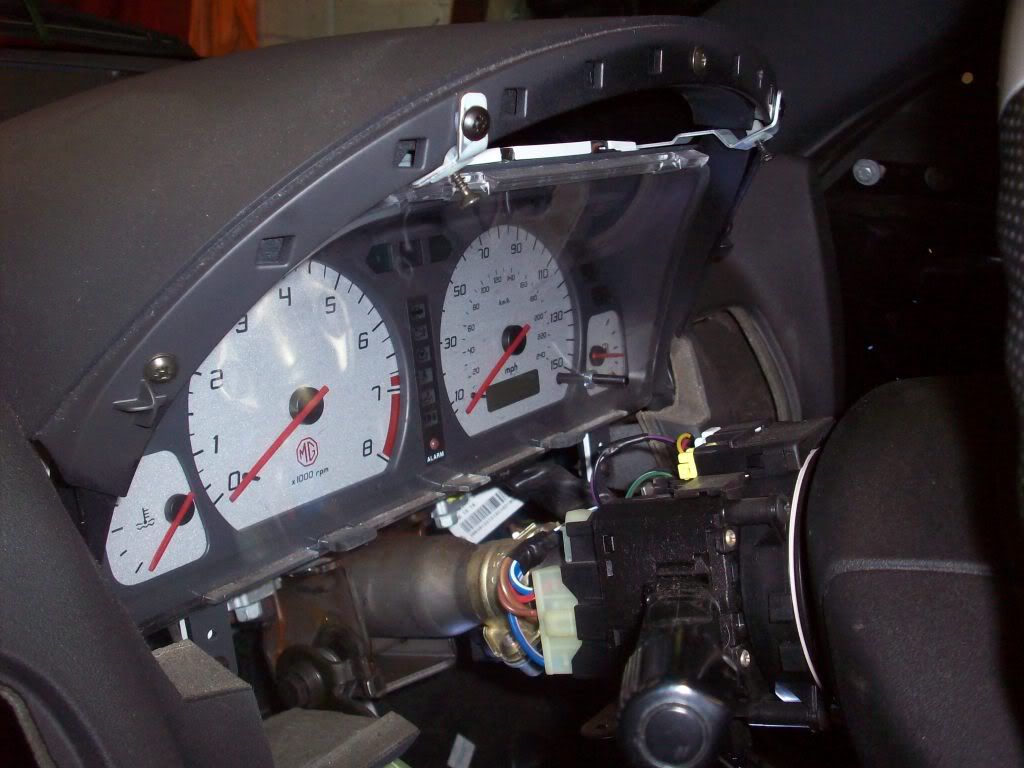
OK easy stuff out the way, now things get tricky, first job was to get the instrument pack out
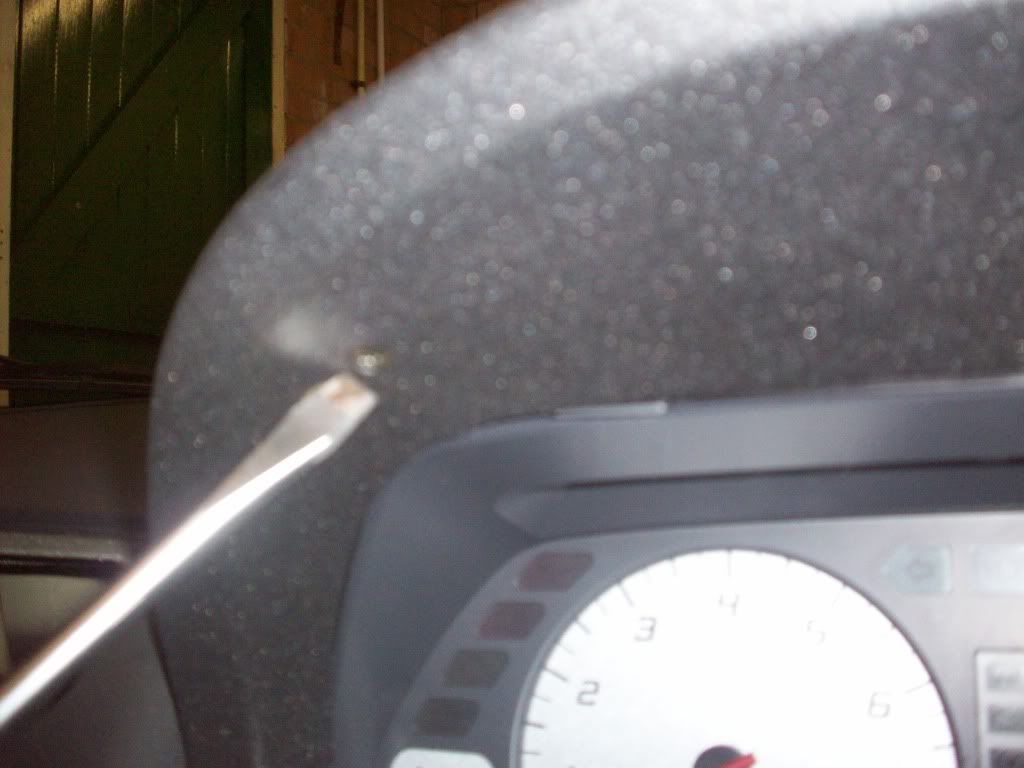
This is a fiddly job and starts with removing the instrument cowl. This is a pain as any F/TF owner will tell you as evan with a stubby screwdriver it's a dam nightmare to get square on the screw heads.
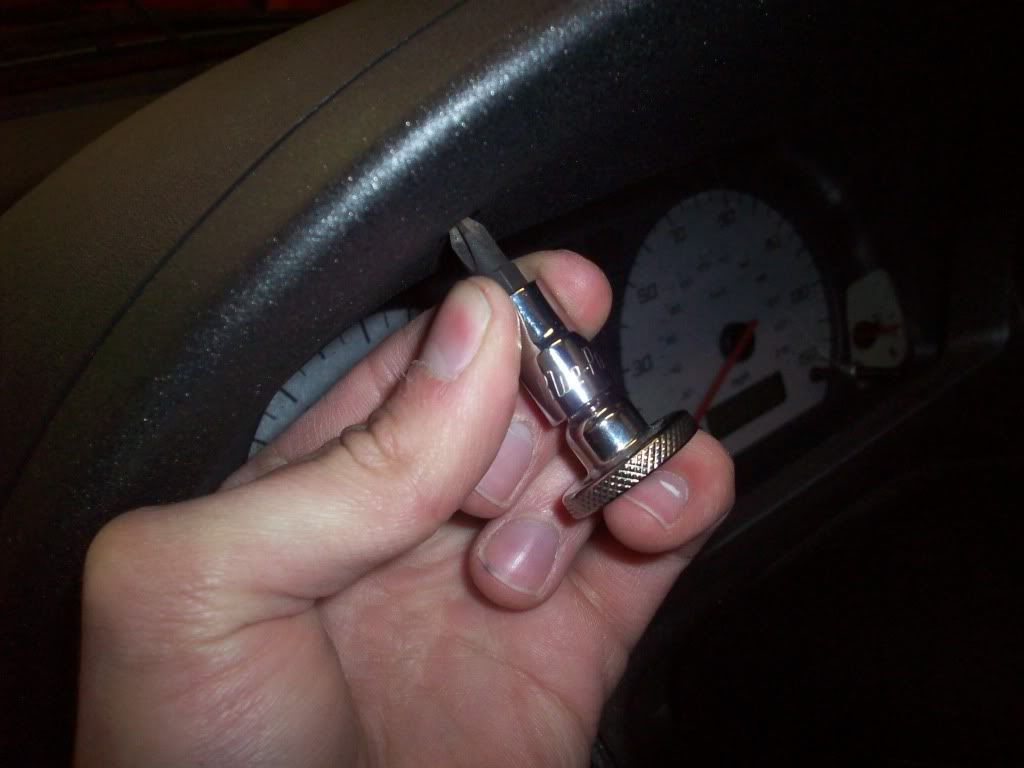
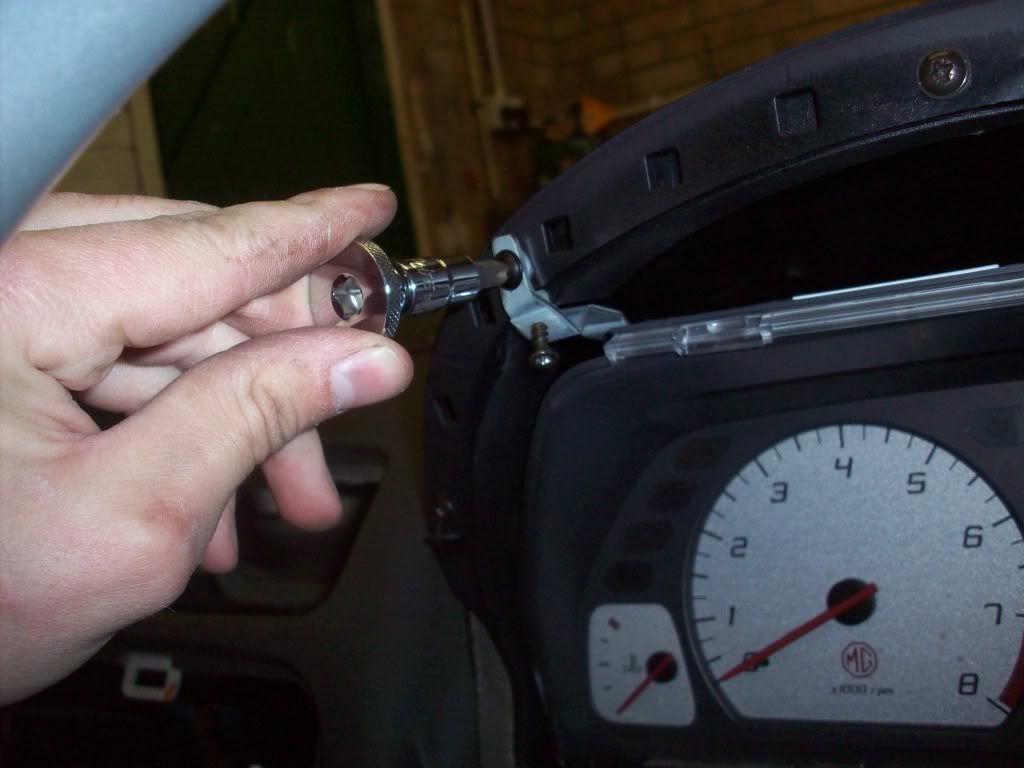
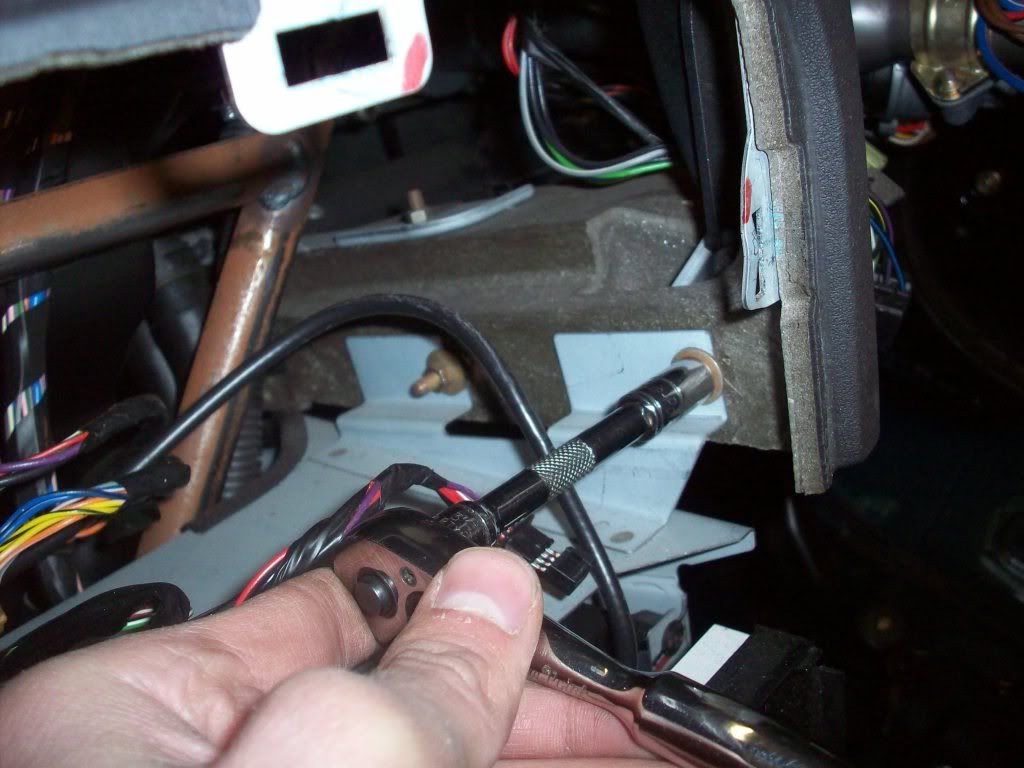
This is where my great little tool (err?) comes in
I'm a total geek for tools and this is listed in the snap on catalogue as a 'finger ratchet'... epic lol, saves rounding off the screws anyway
Couple more screws under the cowl and....
It's off
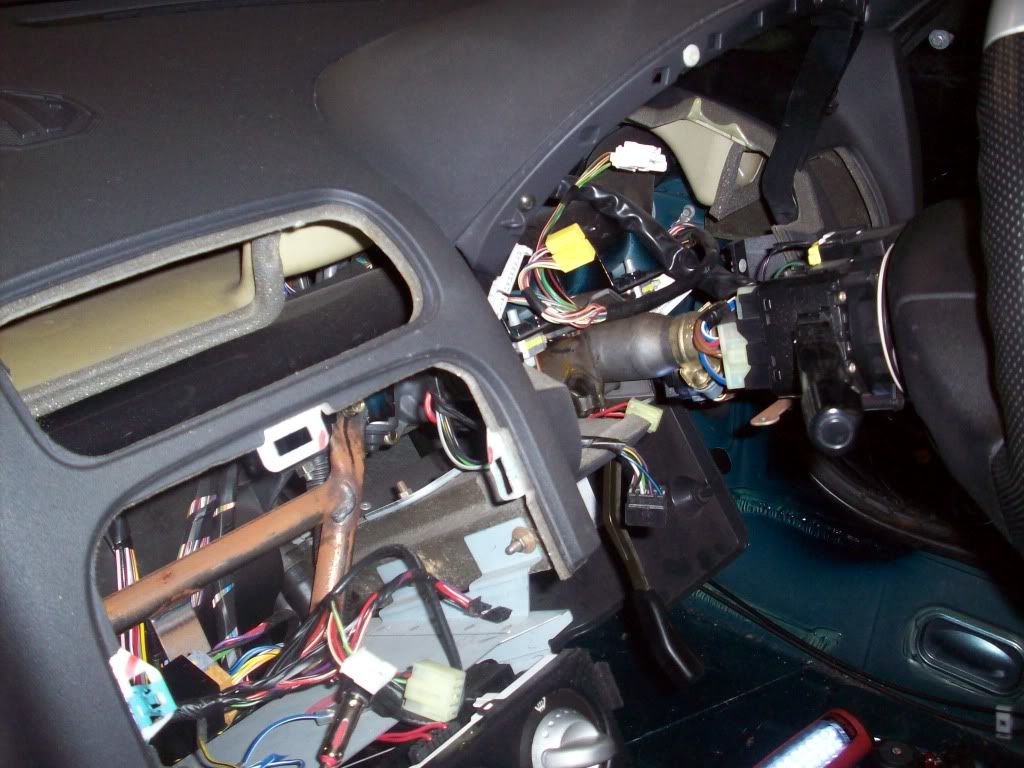
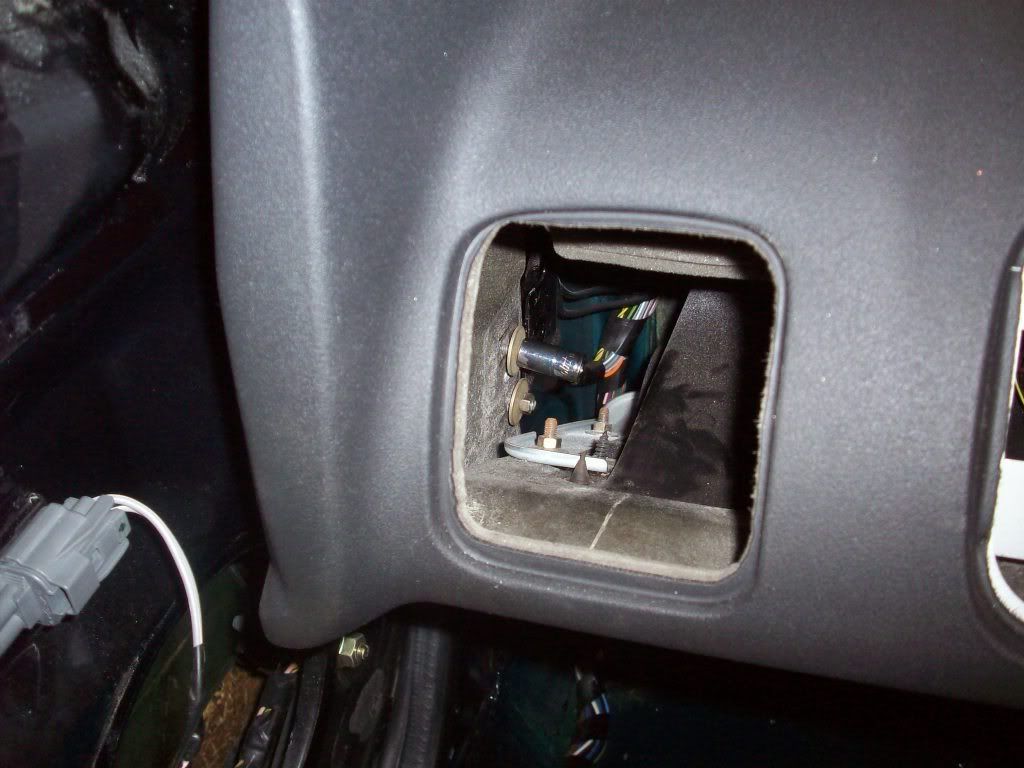
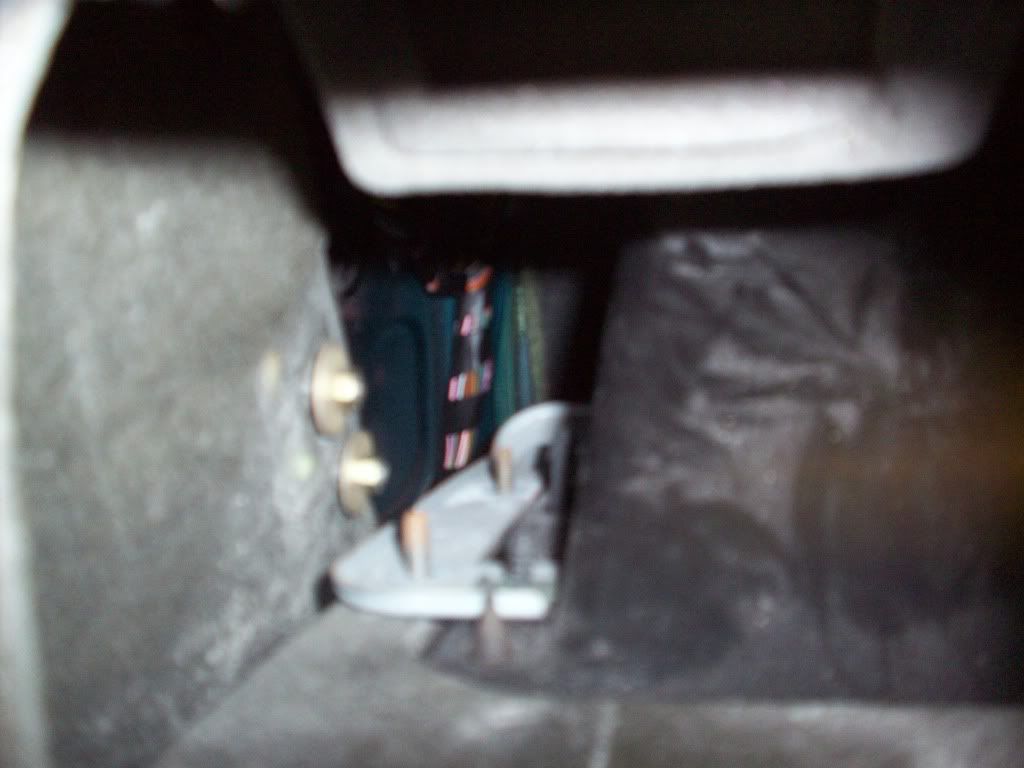
reveling the plugs for the dash back light dimmer and electric wing mirror controls... these plugs are an absolute nightmare to pull out (without smacking you hand off various sharp and painful surfaces anyway) but I managed!
Time to get shot of the plastic trim thing that covers the ignition barrel... I'm sure it has a proper name but I can't remember it lol
Few screws underneath
And pull it apart once again smacking your hand off sharp surfaces
and off, revealing an instrument pack
Note if your wanting to take your instrument pack out you don't need to remove this bit but as I'm stripping the whole car I did this first to make things easier...
More finger ratchet action got the instrument pack out
I was now ready to unplug the pack, however I have a habit of unplugging the battery before I start unplugging stuff behind the dash, always a good rule of thumb as there is allot of airbag/seatbelt pretensioner stuff behind there and you don't want to fire either one of them by accident
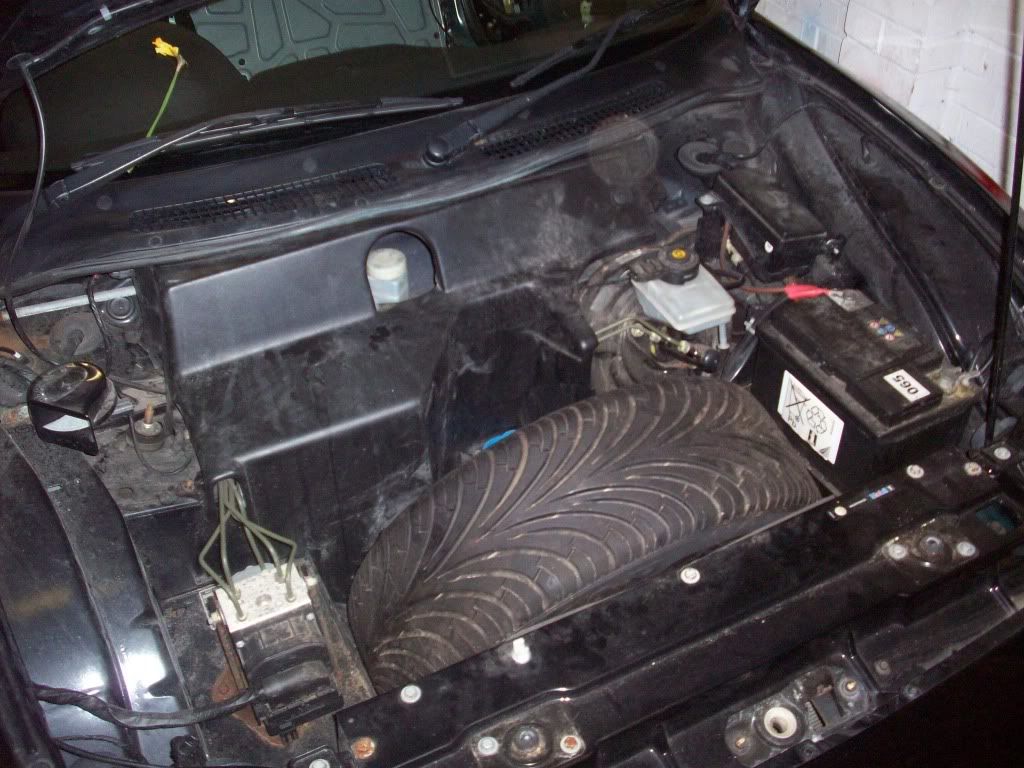
Oh heck someone has nicked my engine! lol... another random photo lol, I included it as it will remind me how many lovely things I can bin under here to save weight
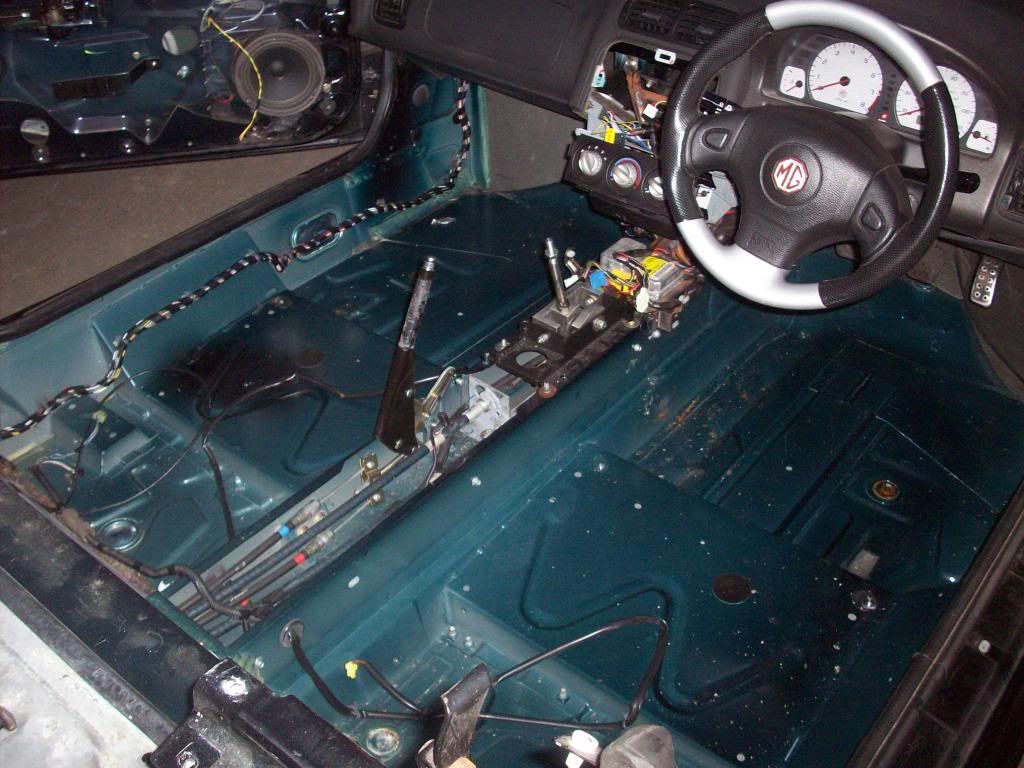
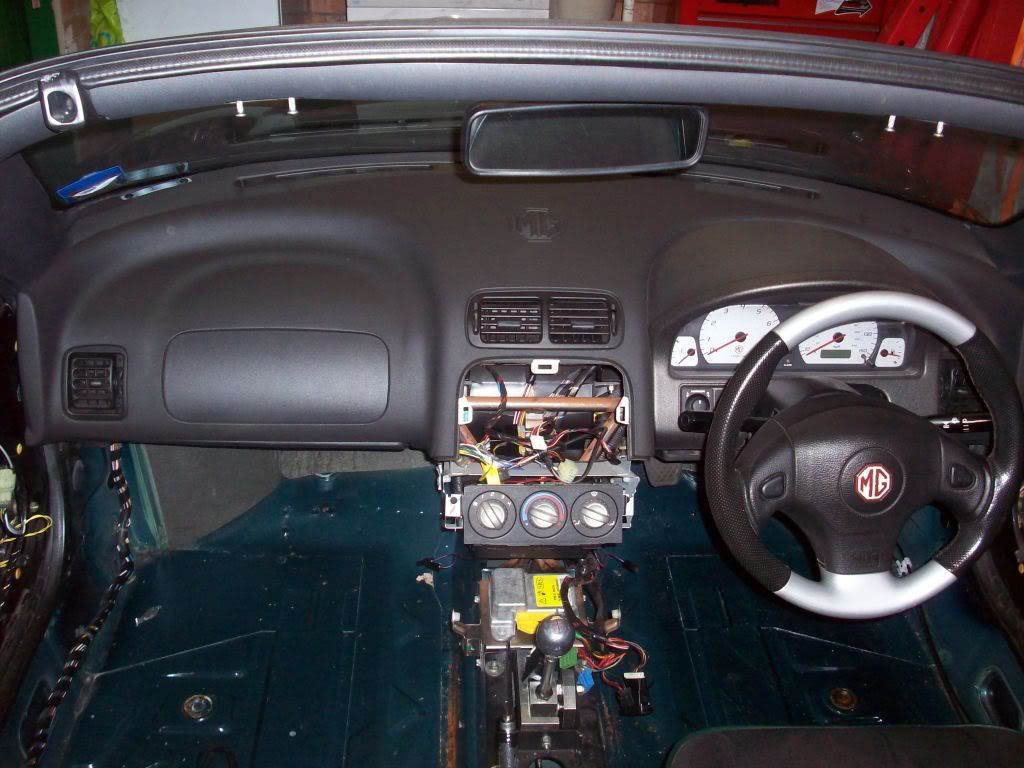
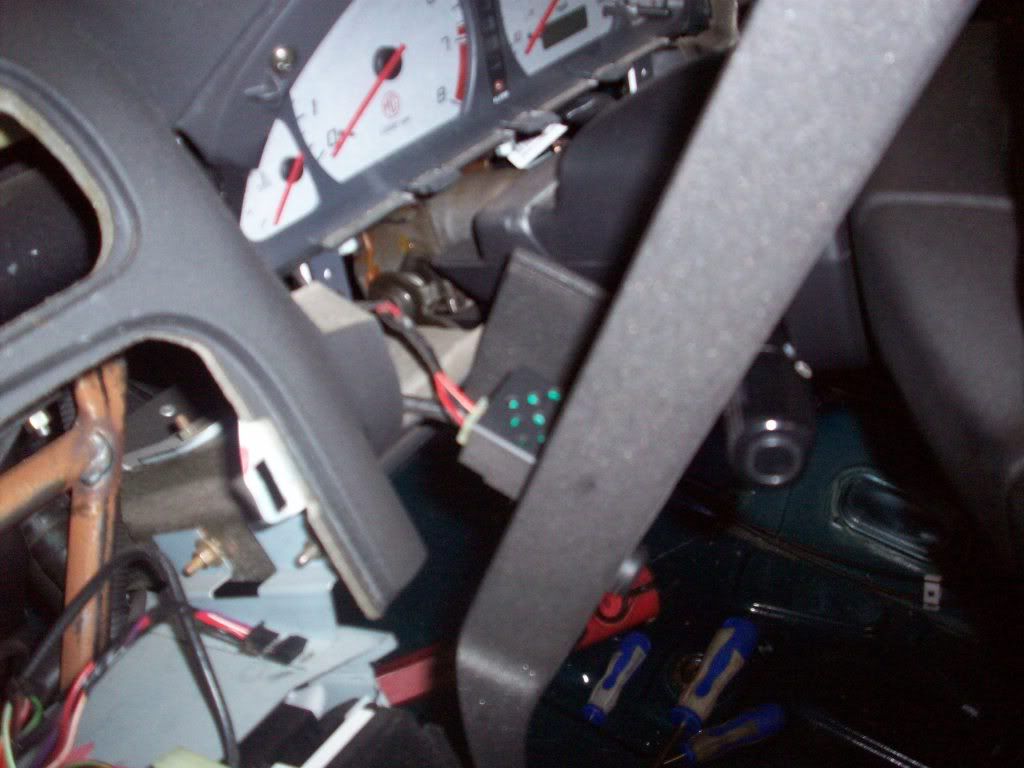
OK, instrument pack unplugged and out, the dash is starting to look pretty bare!
Check it out, pile of crap I dont need
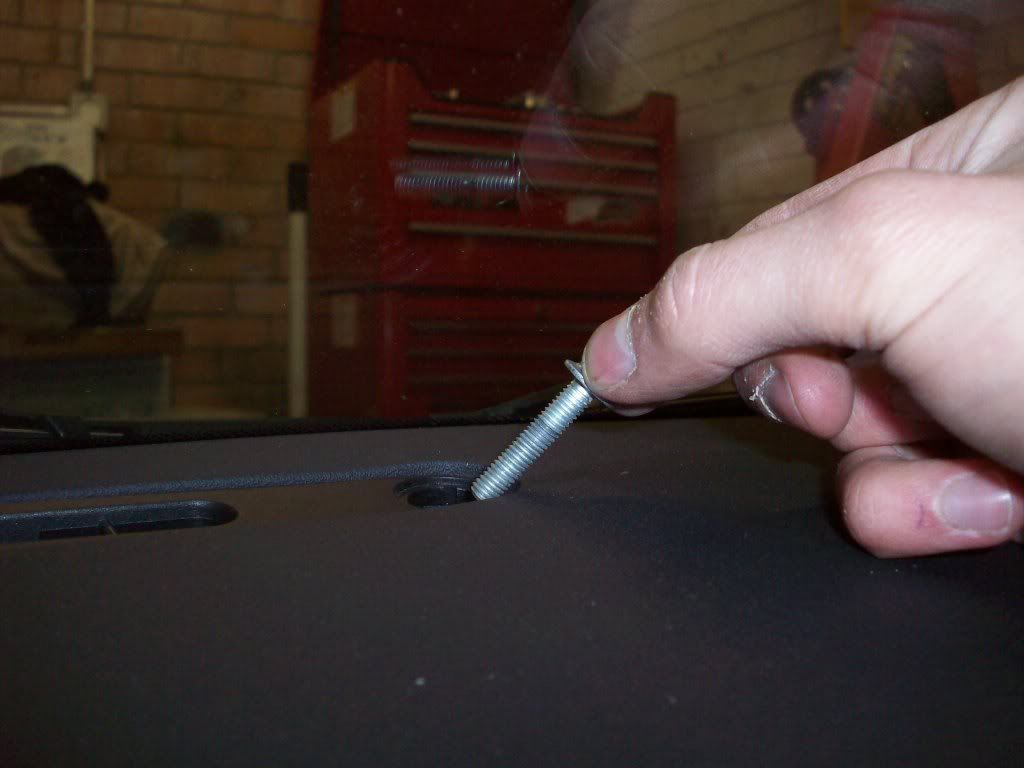
Time to add to it, had to get the vents out to get to the top bolts that allows dash removal... no fancy tools just a 2p
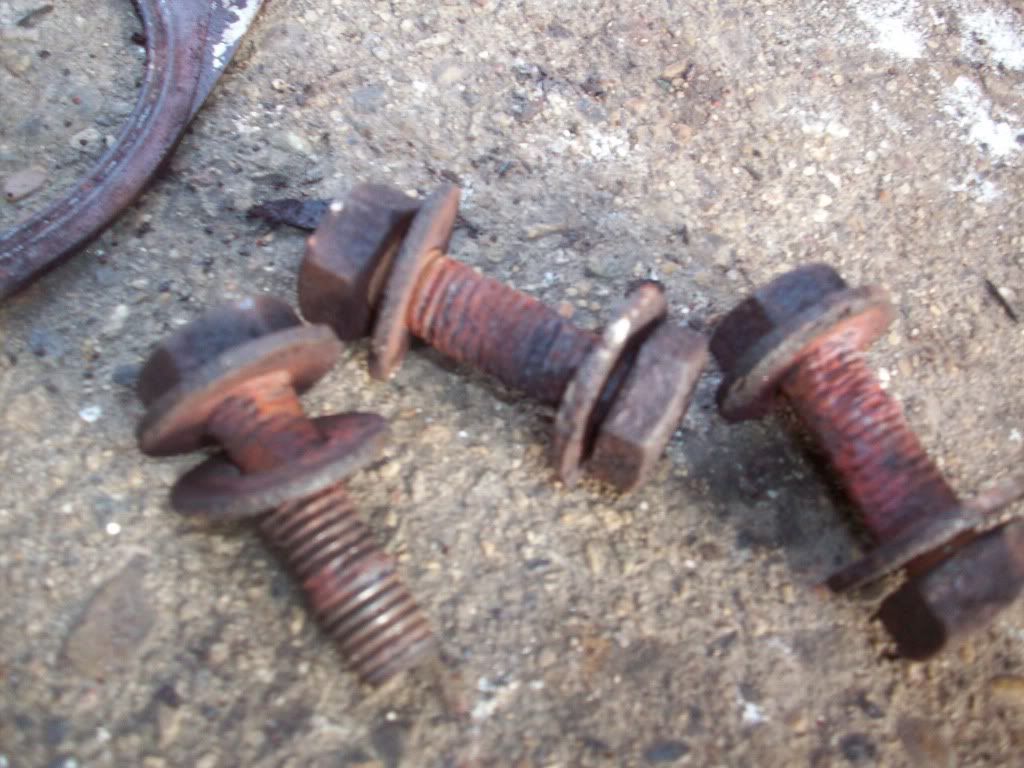
The bolts were a bleeding nightmare and there were long and fine threaded... note to self if I want to keep fitting/re-fitting dash when the cage is in then DONT PUT THESE BOLTS BACK IN! there a total *%@#
so much so it was lucky my bro turned up with a timely beer
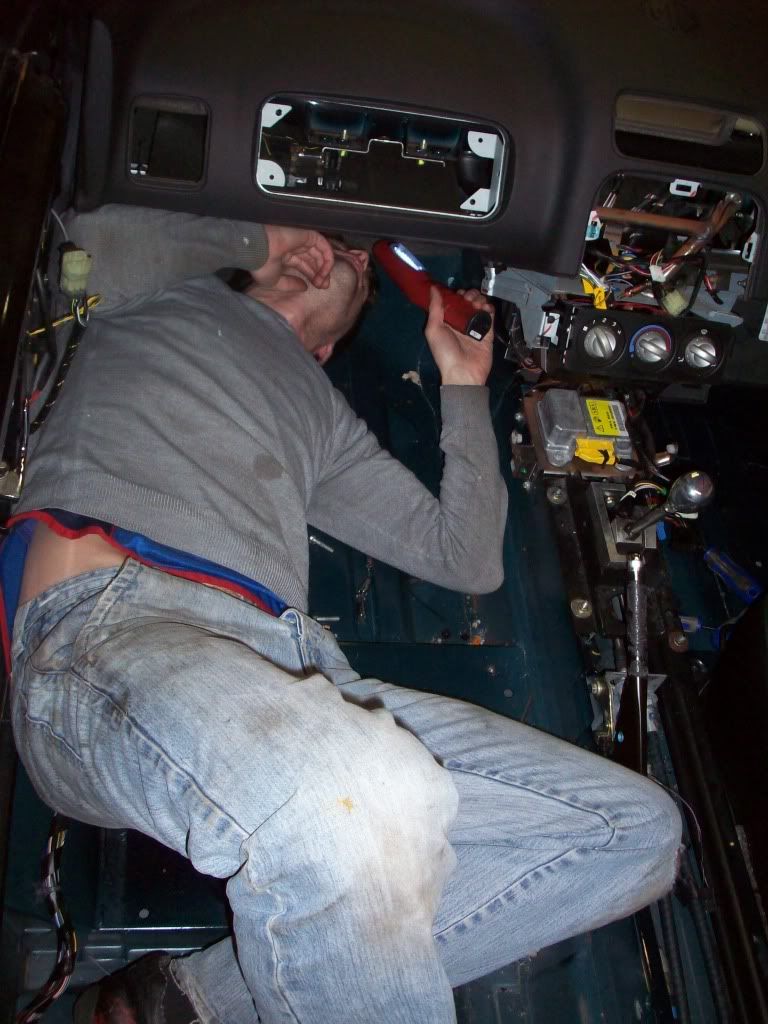
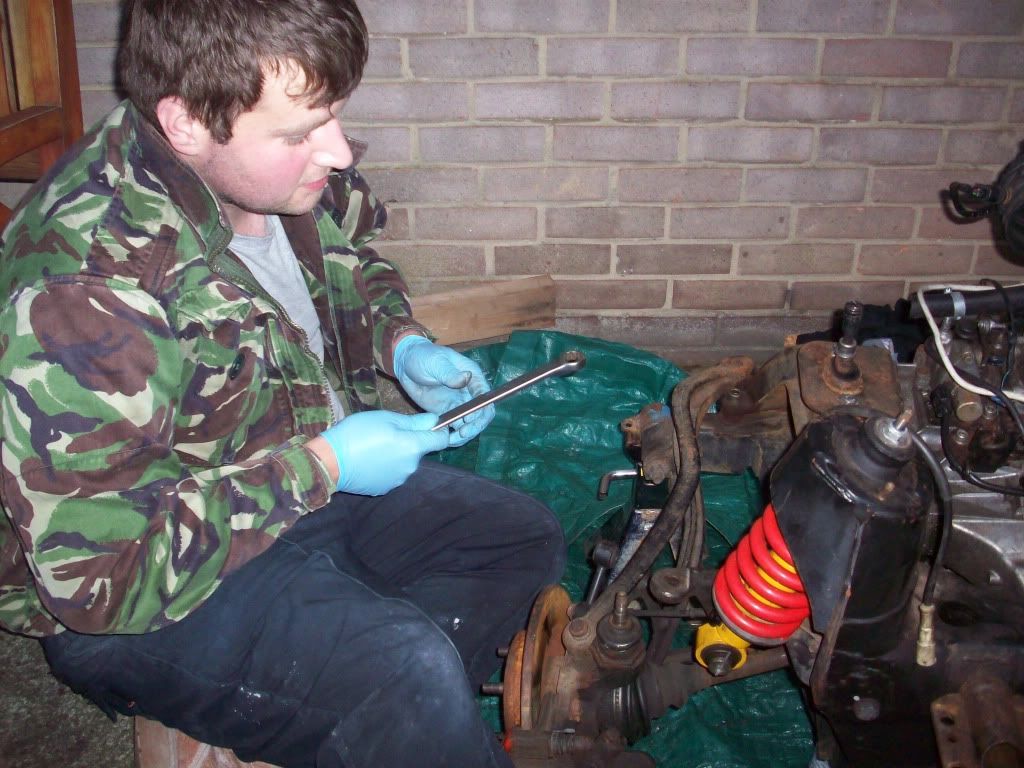
unfortunately im a renowned lightweight (As those at fast show this year will testify)...
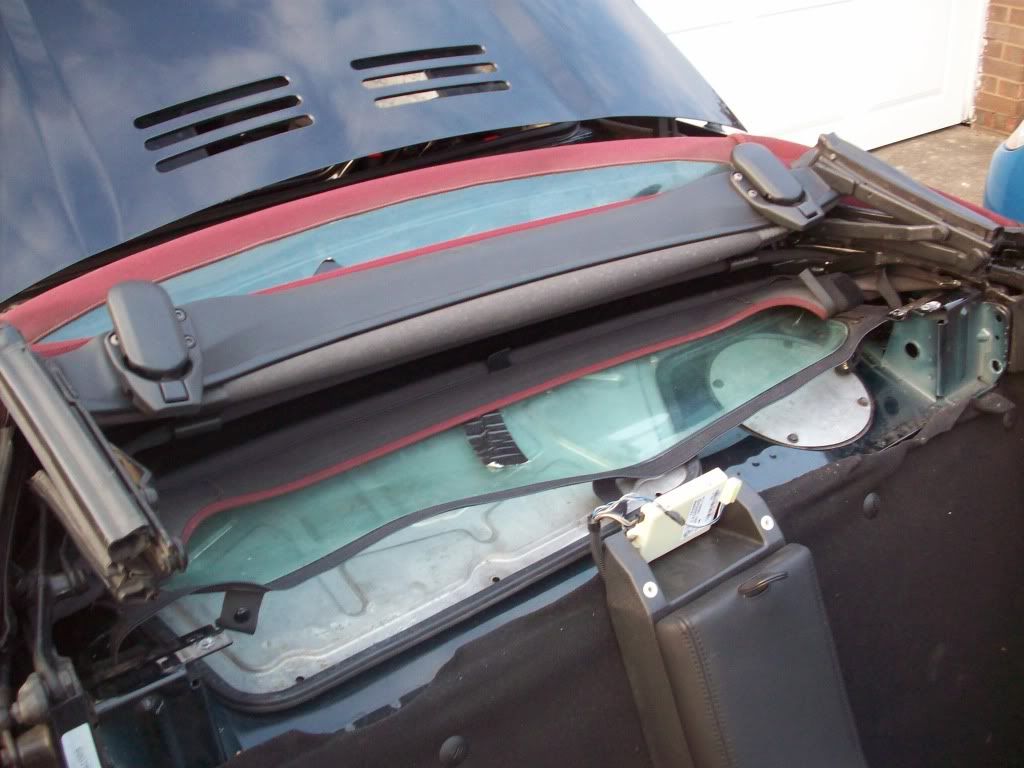
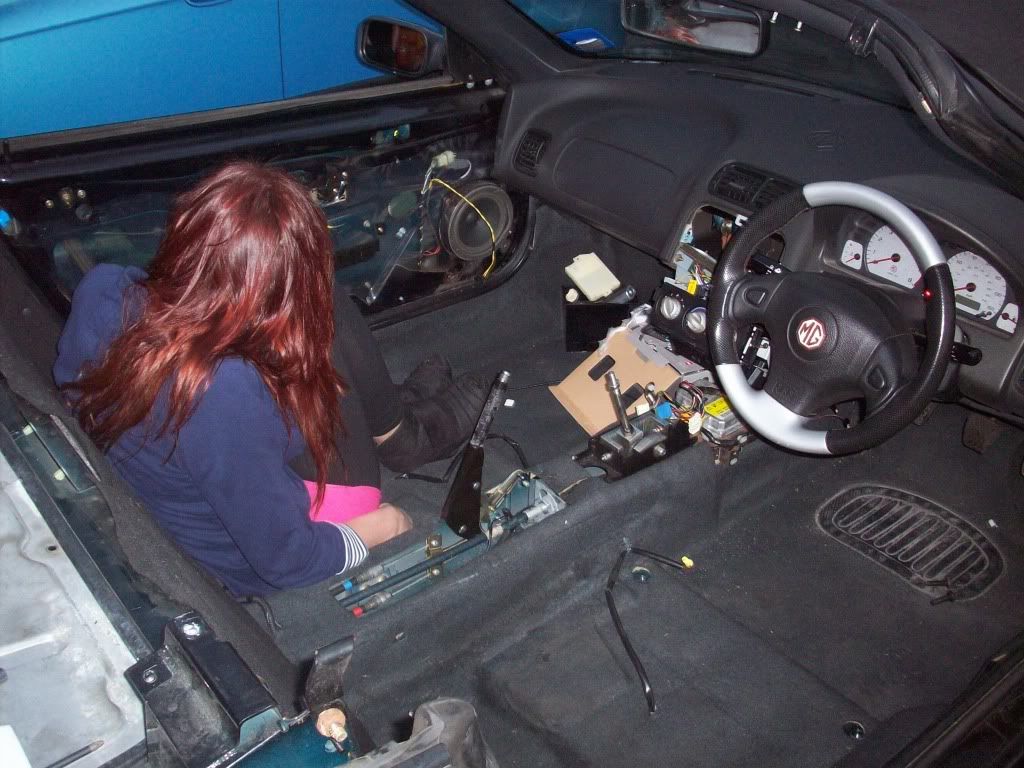
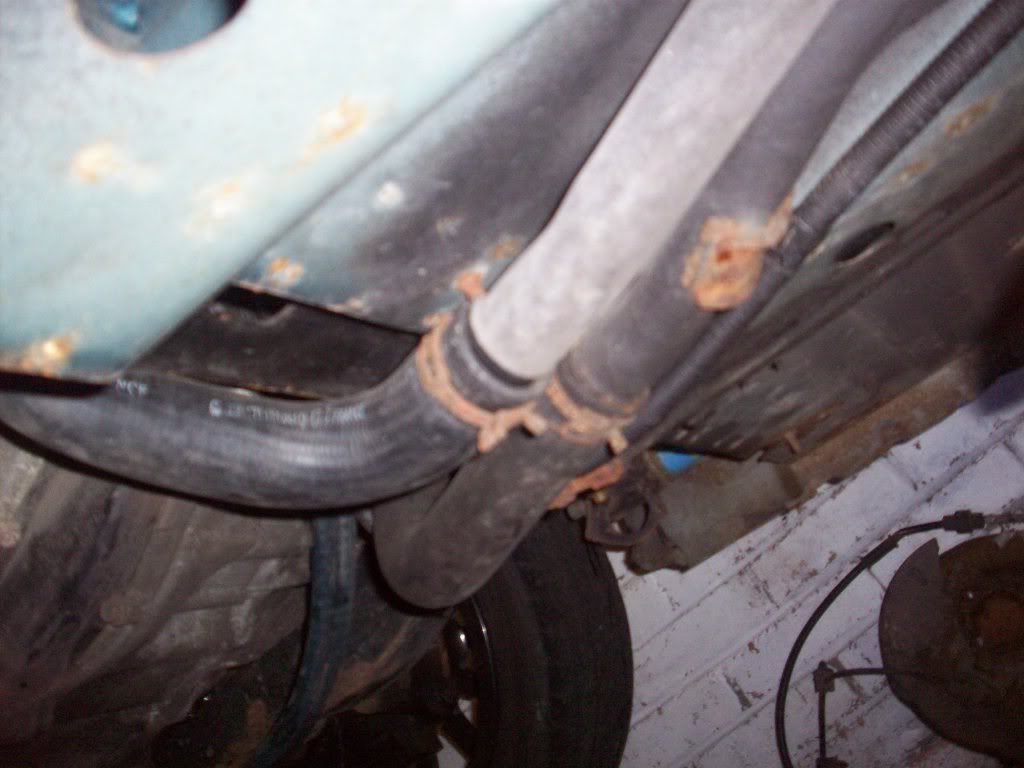
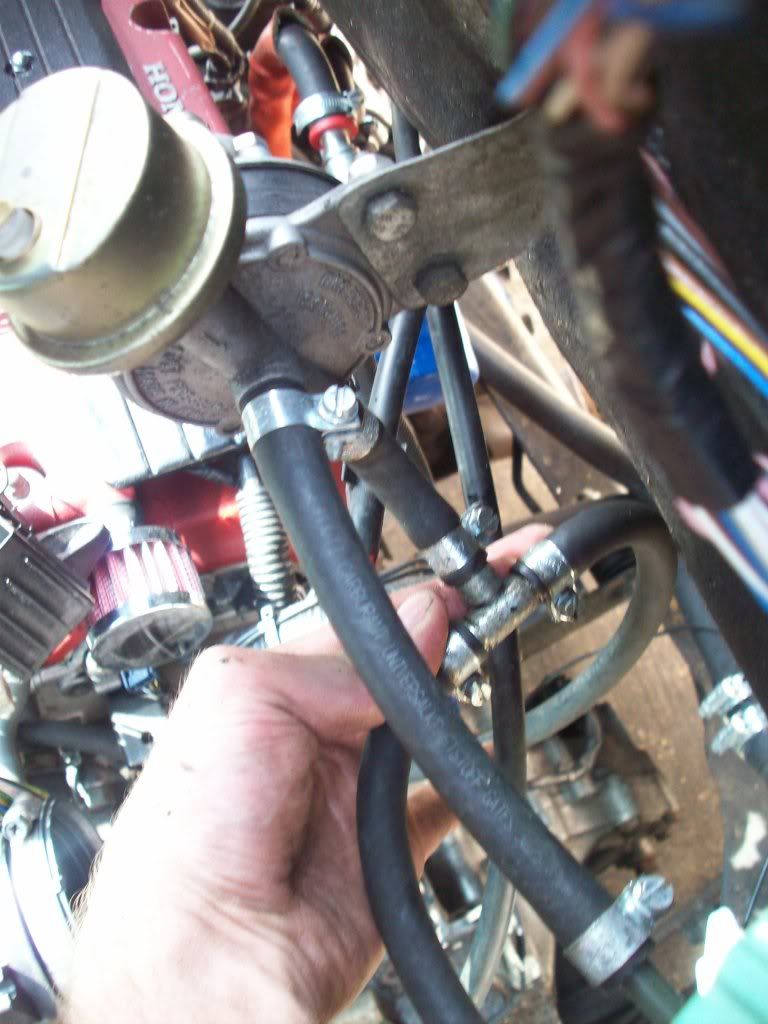
ok I'm bad but I'm not that bad! lol Thats actually me trying to find the pipes that lead to the windscreen de-mister-vents...
Now, you guys into racing... what should I do about these do you think? I read on jonnos B16 VTEC ZR Rally car thread that you can get electric wire heater thingy windows like rear windows so you dont need air vents to de-mist... are these stupidly expensive?
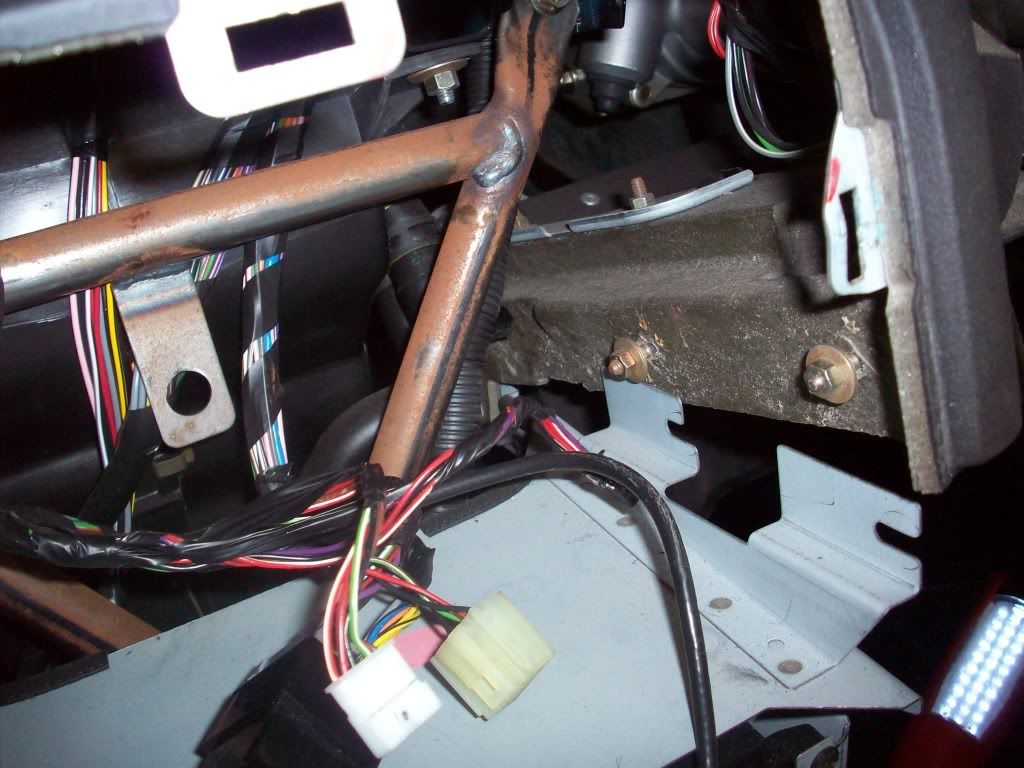
anyway finding these pipes was difficult so I bravely gave up and started undoing nuts, 4 on either side hold the body of the dash in... they dont evan need full removal as the dash just slides out so dash removal/refitting may well be easy in the future
4 similar nuts allow the heater matrix to drop out the dash for removal, once again this was easy
2 easy, if finger nail destroying clips finished the heater matrix removal... simples
This allowed the heater-matrix to drop free and the dash jiggling to begin
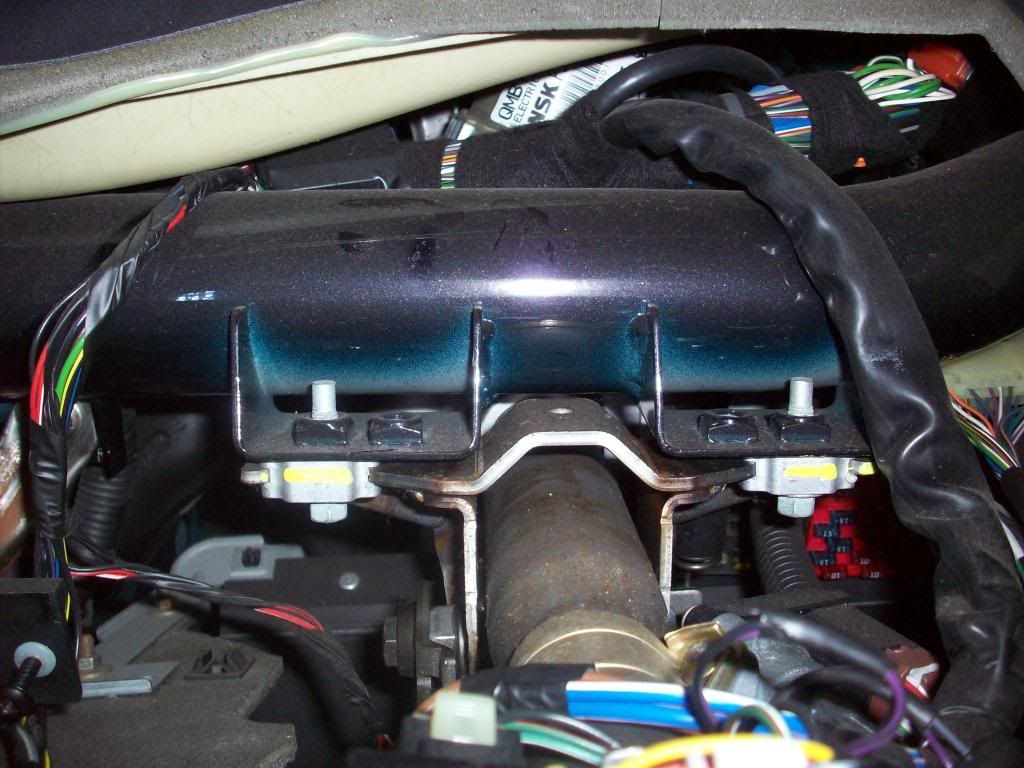
It quickly became obvious I'd need to drop the steering wheel down, couple of bolts meant that was easily done, although with some worrying noises lol
Now it was time for the 'hunt the things that are still attached' game
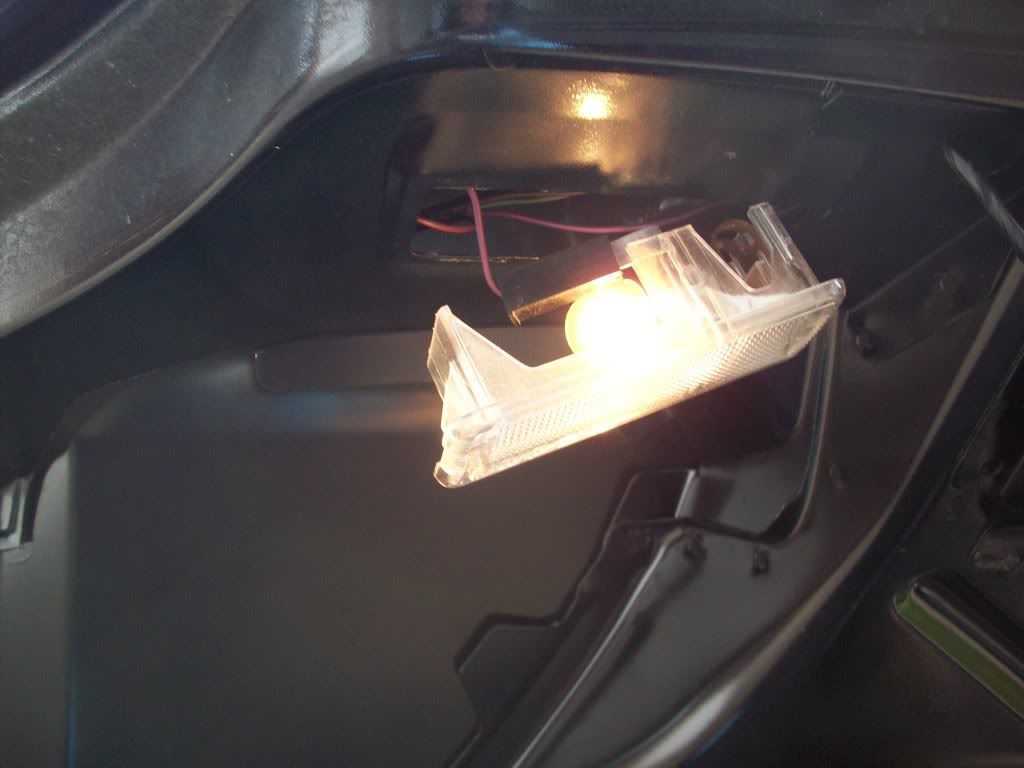
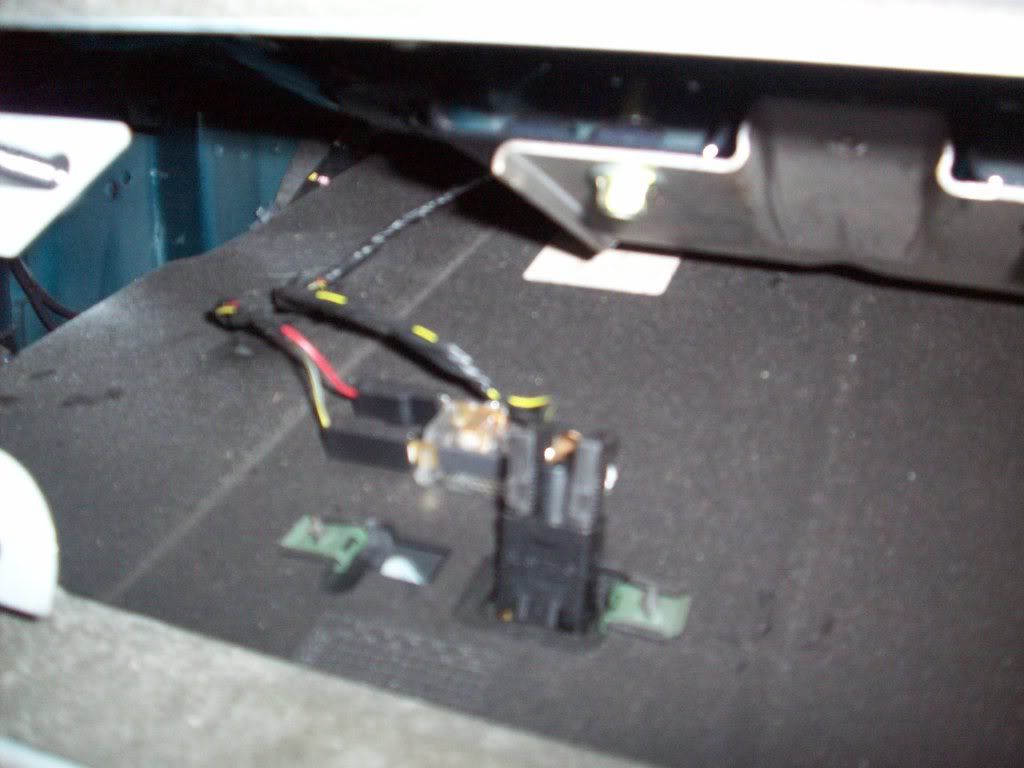
Glove box light leads, more stuff to trace back through the wiring loom
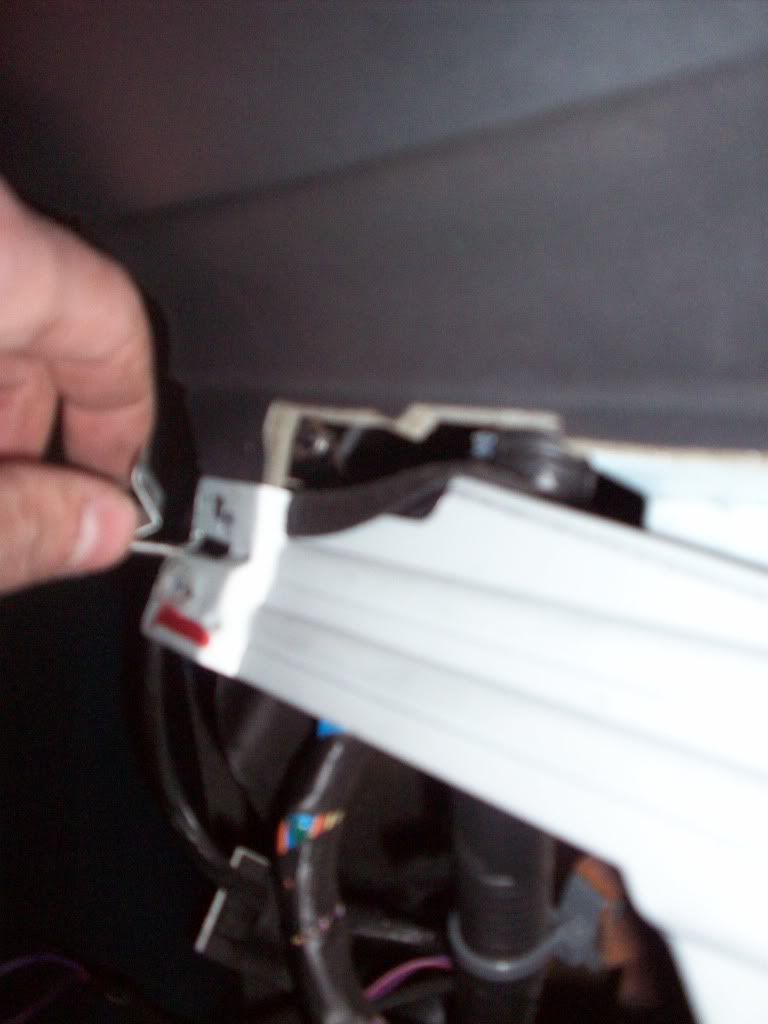
Those pesky pipes I couldn't find
I quickly realized then that I needed to remove the fuse box cover and more importantly the glove box... few nuts like those holding the dash in and a few screws later and that was that
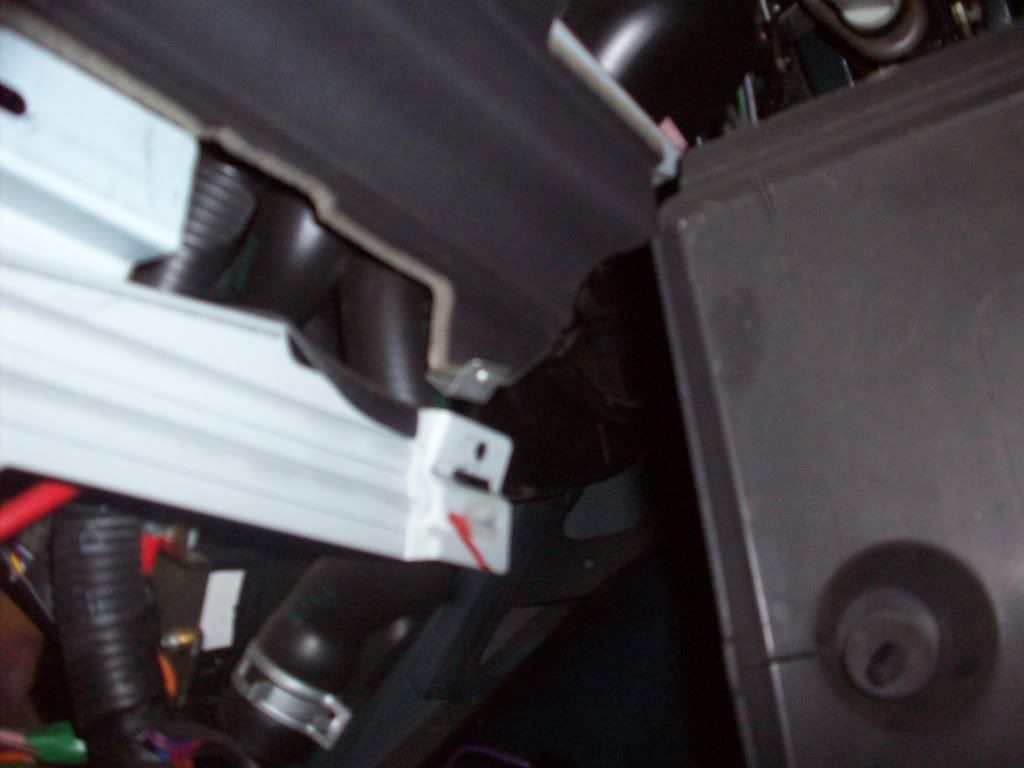
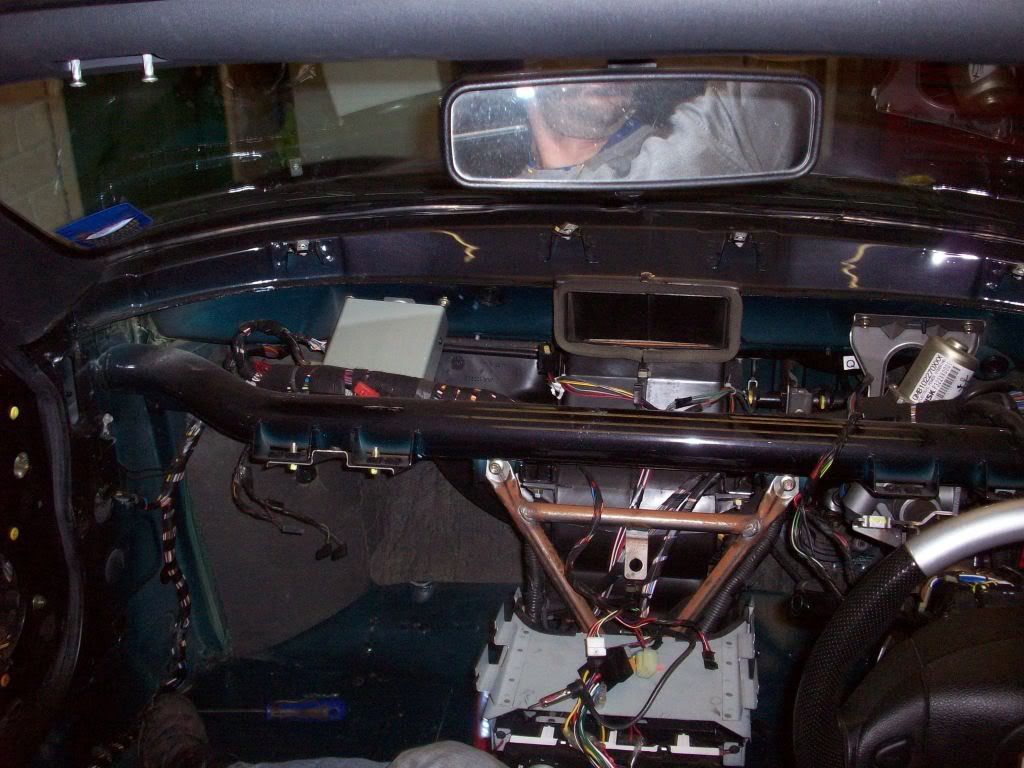
and then a few jiggles, pulls and allot of shouting later (I considered a hammer and or angle grinder but after a beer I decided that probably wasn't wise) and the dash was on its way out... as you can see the air pipes are held together with masking tape, once again no penny wasted by MG/Rover
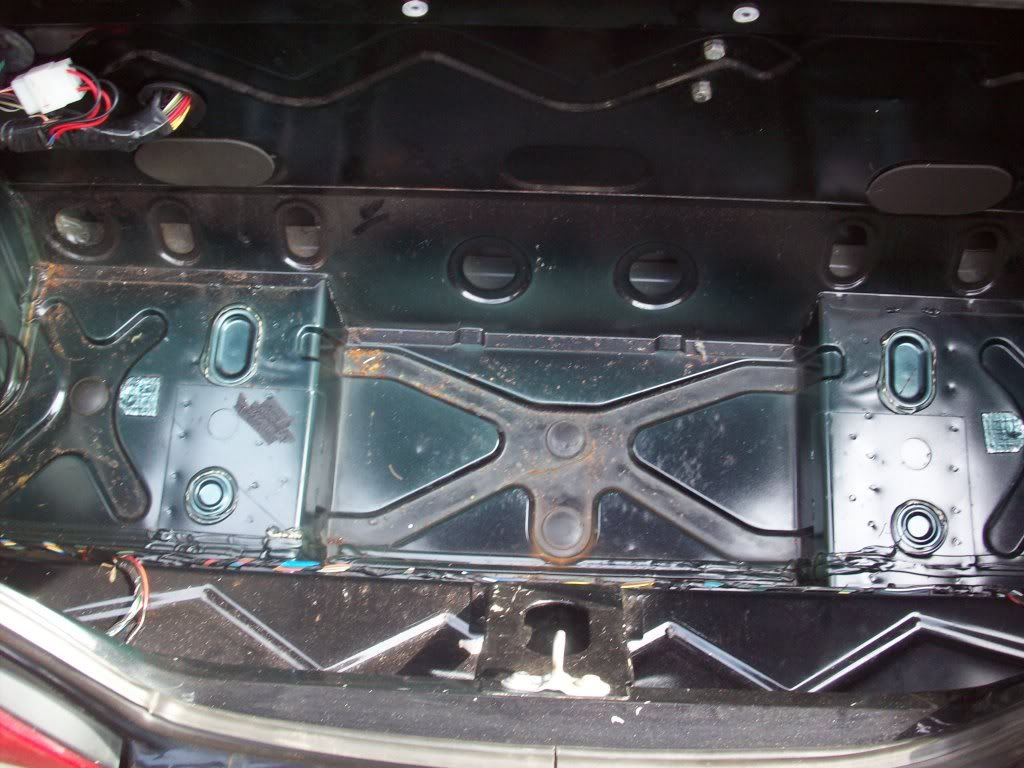
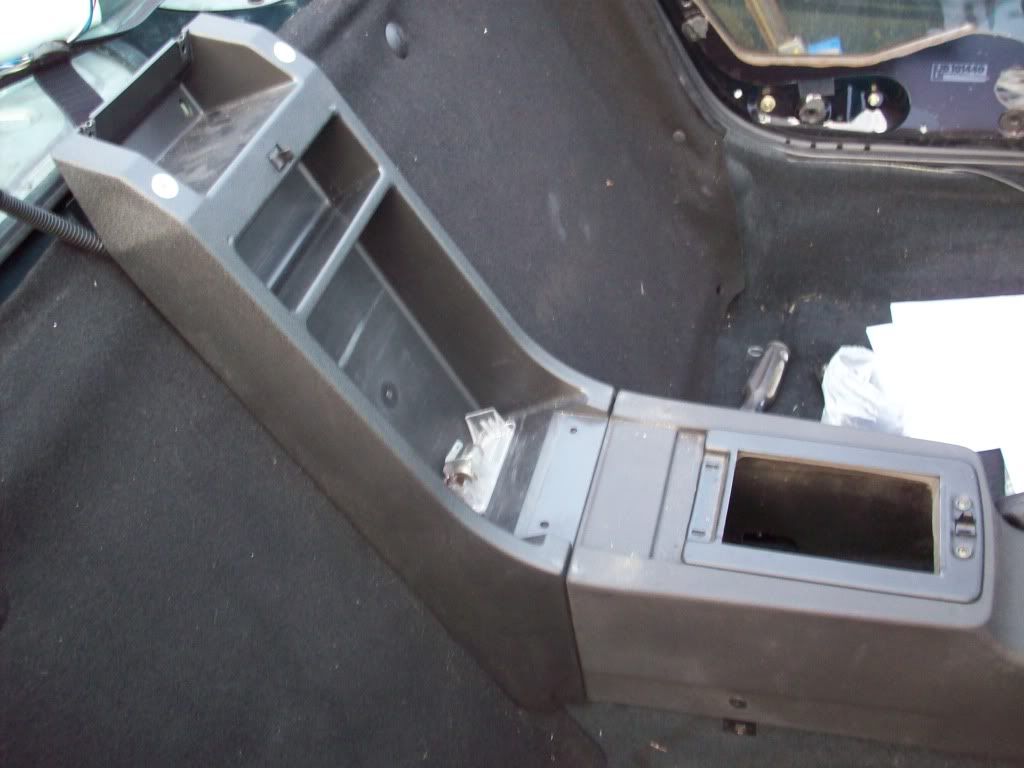
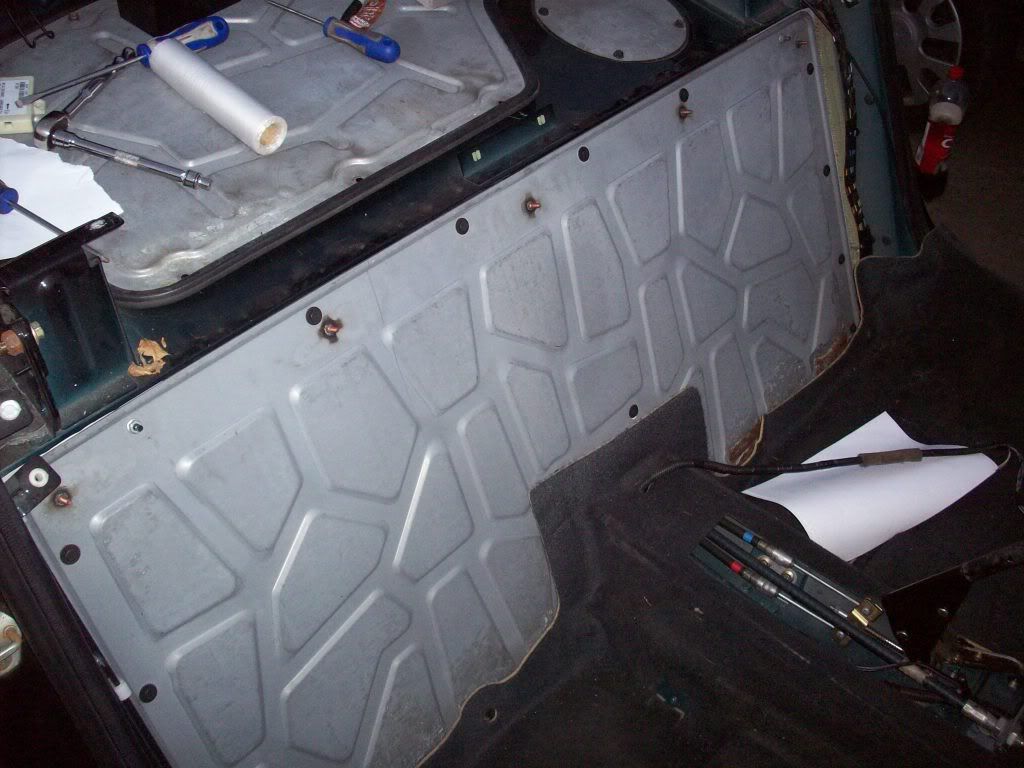
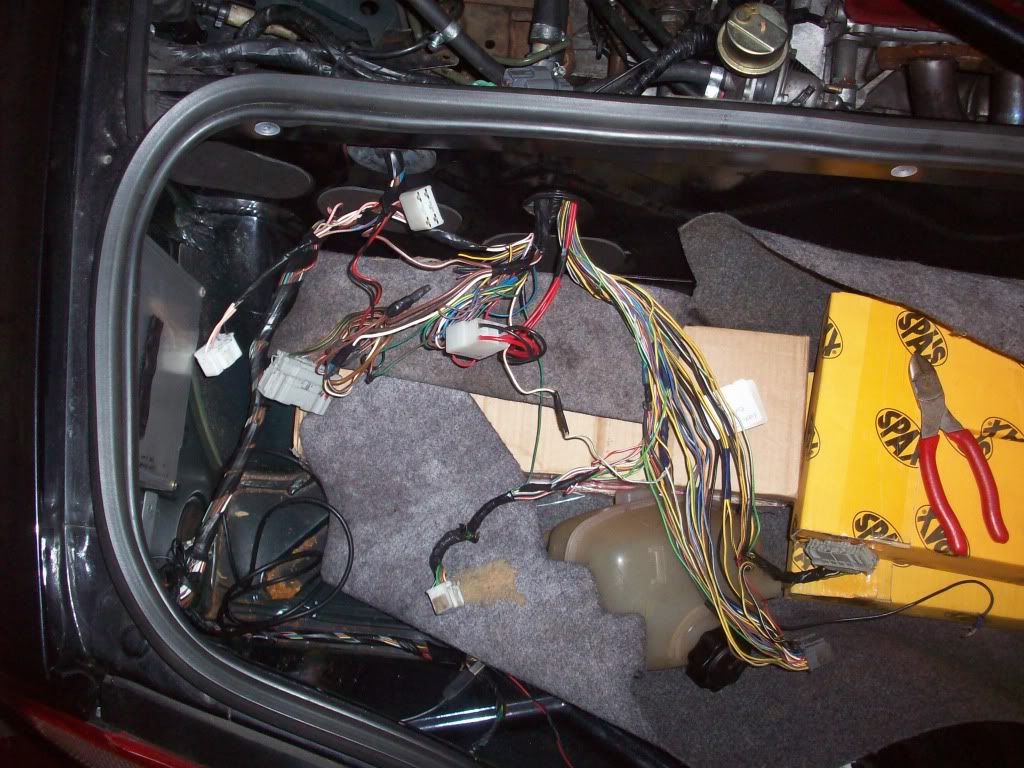
Looking good with the dash removed, lots of random stuff I'm sure weighs allot and I don't need lol
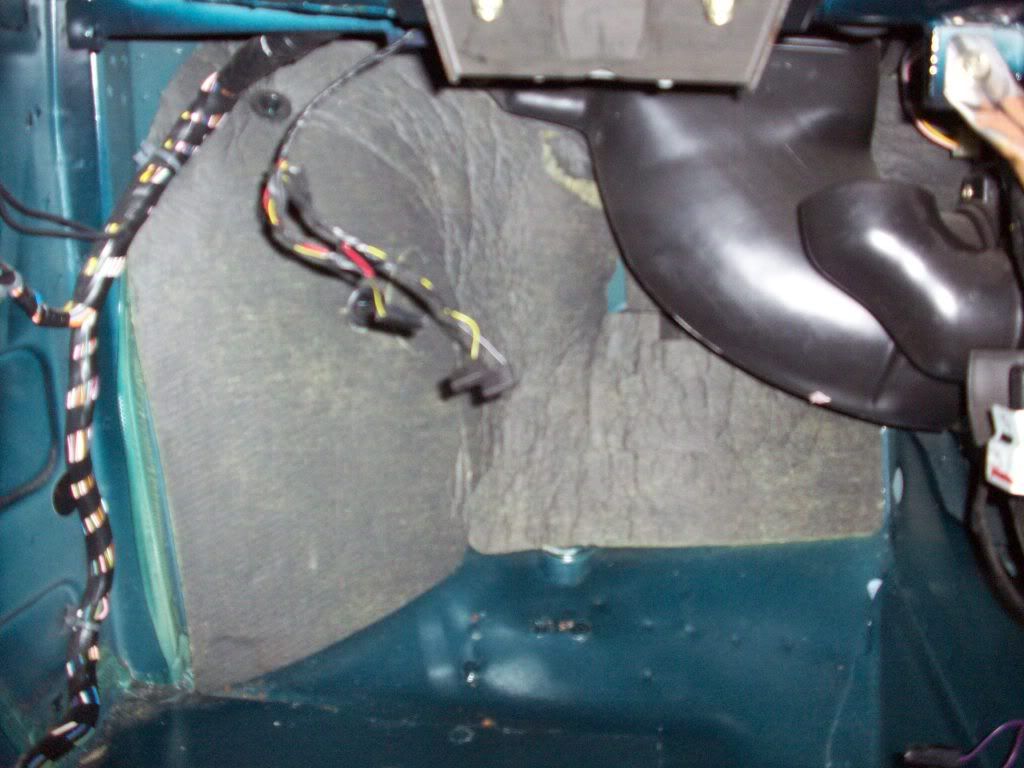
For a kick off some more horrible dead sheep sound proofing which got tossed
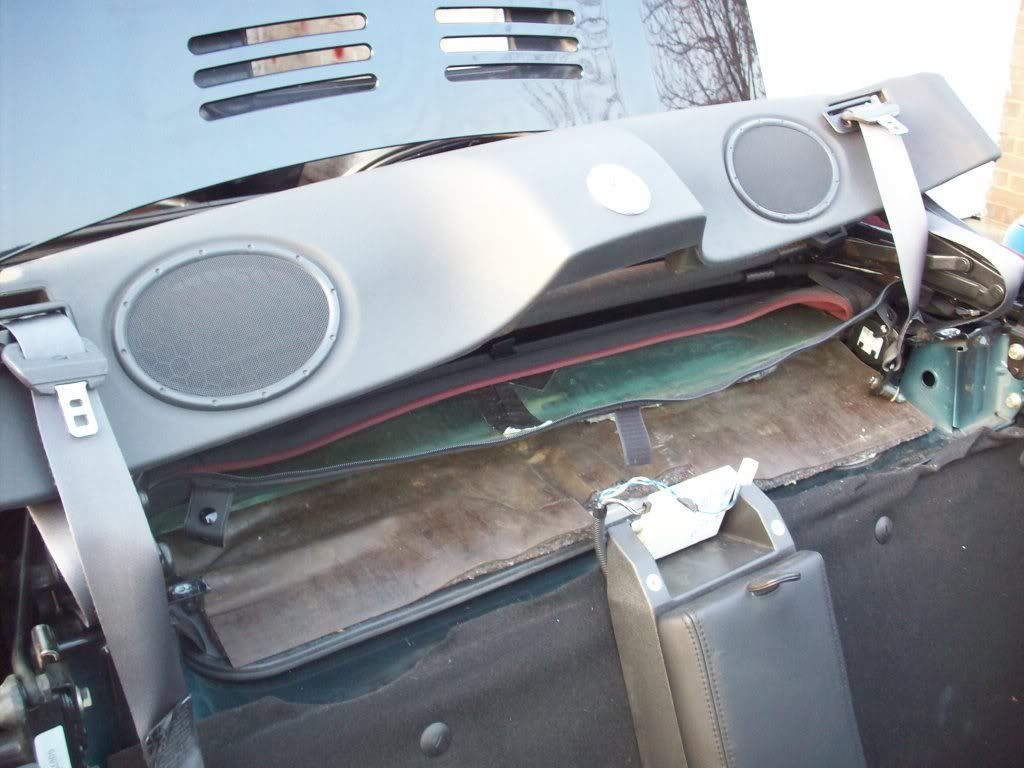
and by this point the dogs were howling at the moon, I was in night shift mood and it was another day... however there was one more big pice of 'trim' I just had to remove
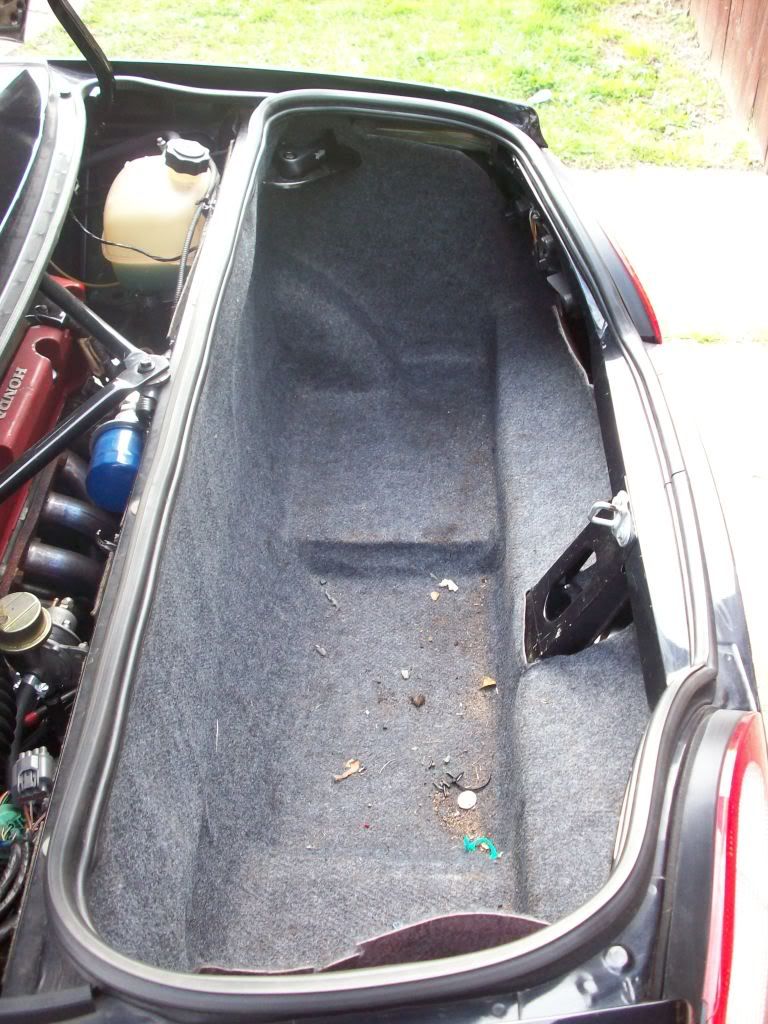
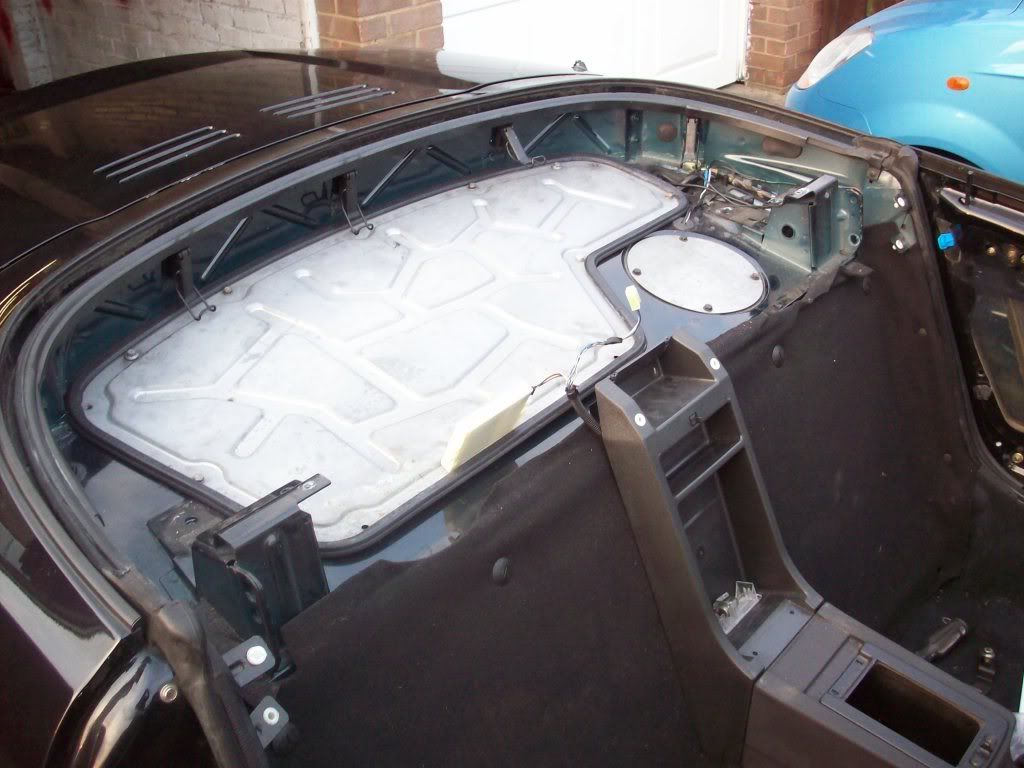
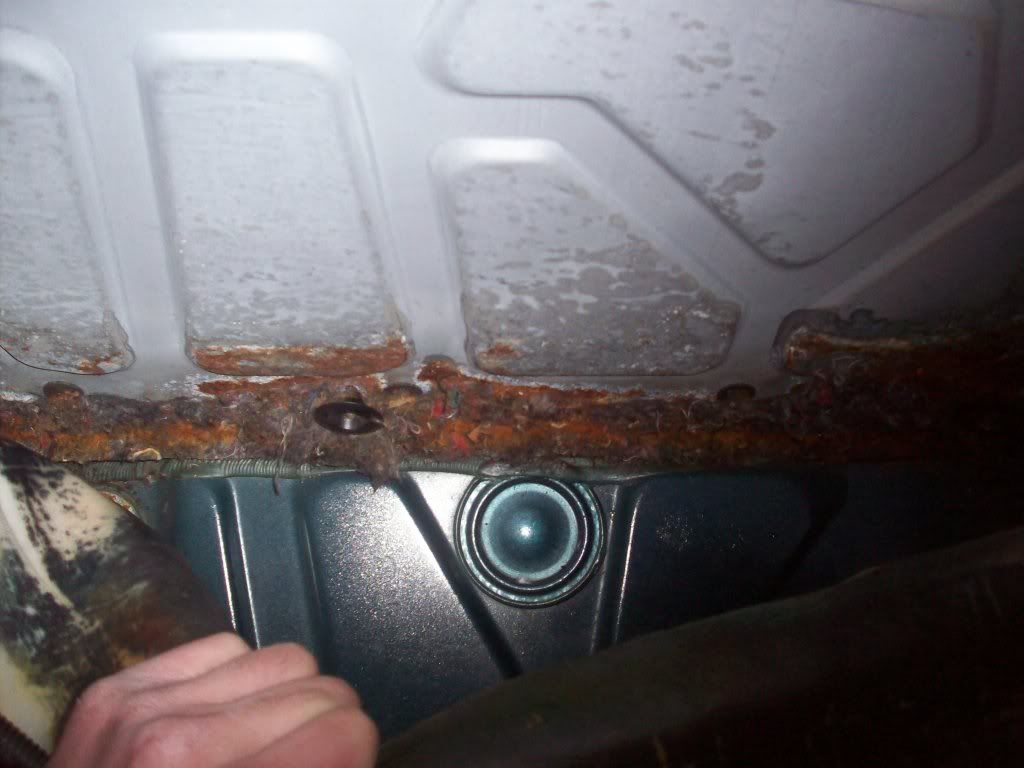
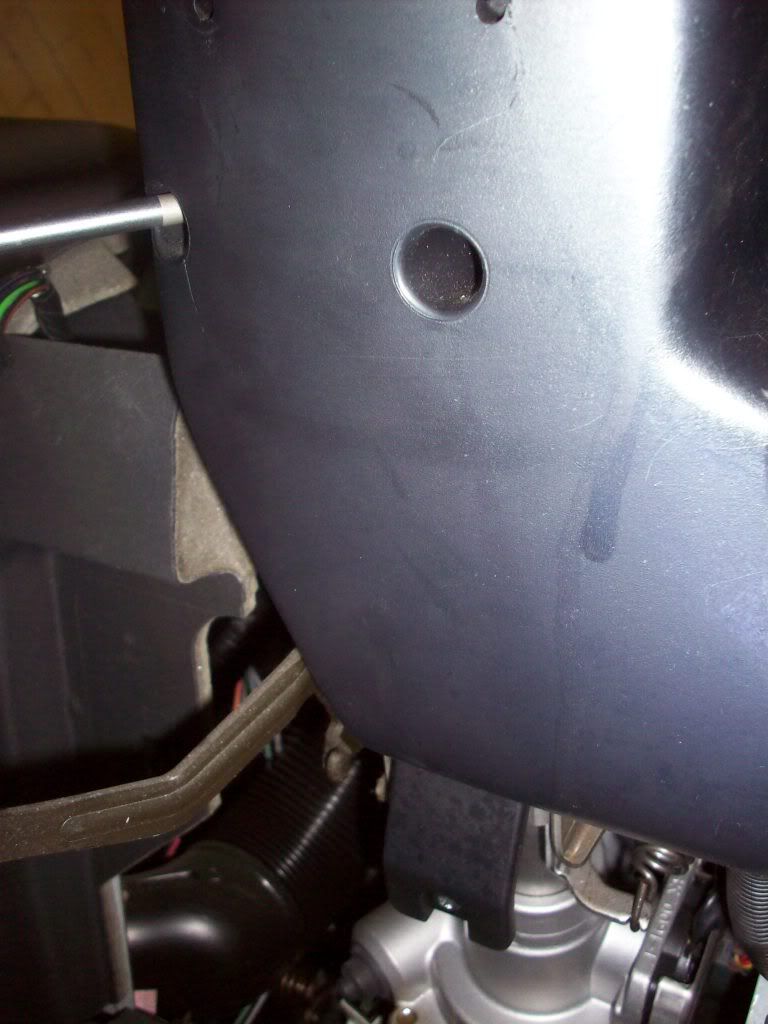
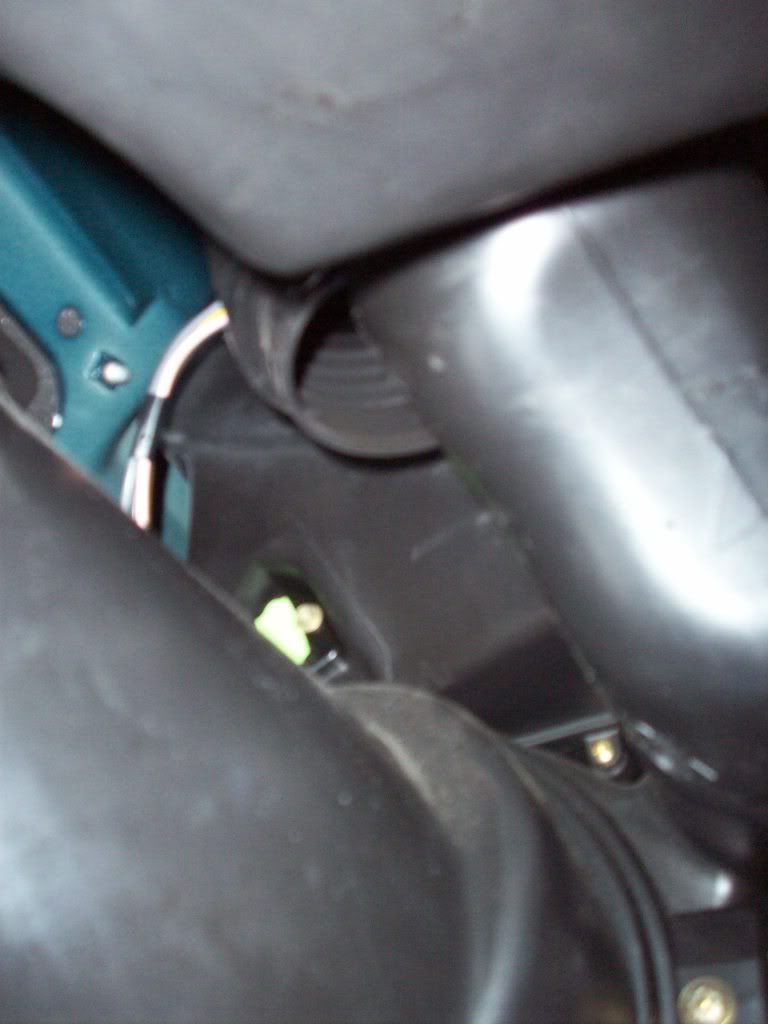
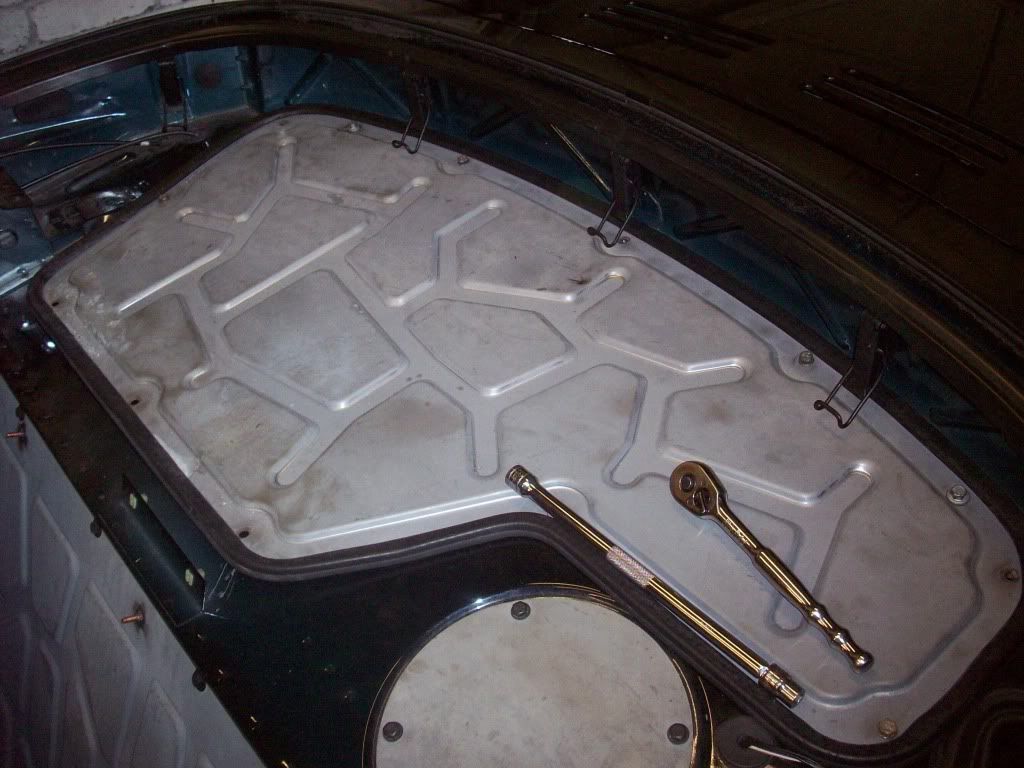
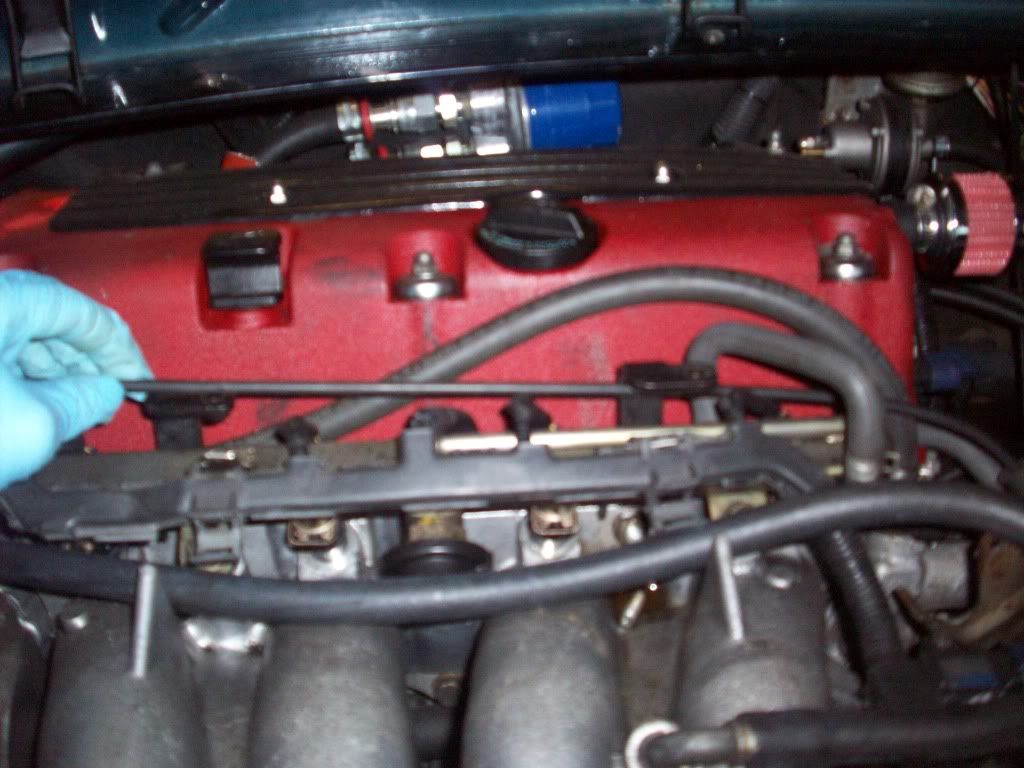
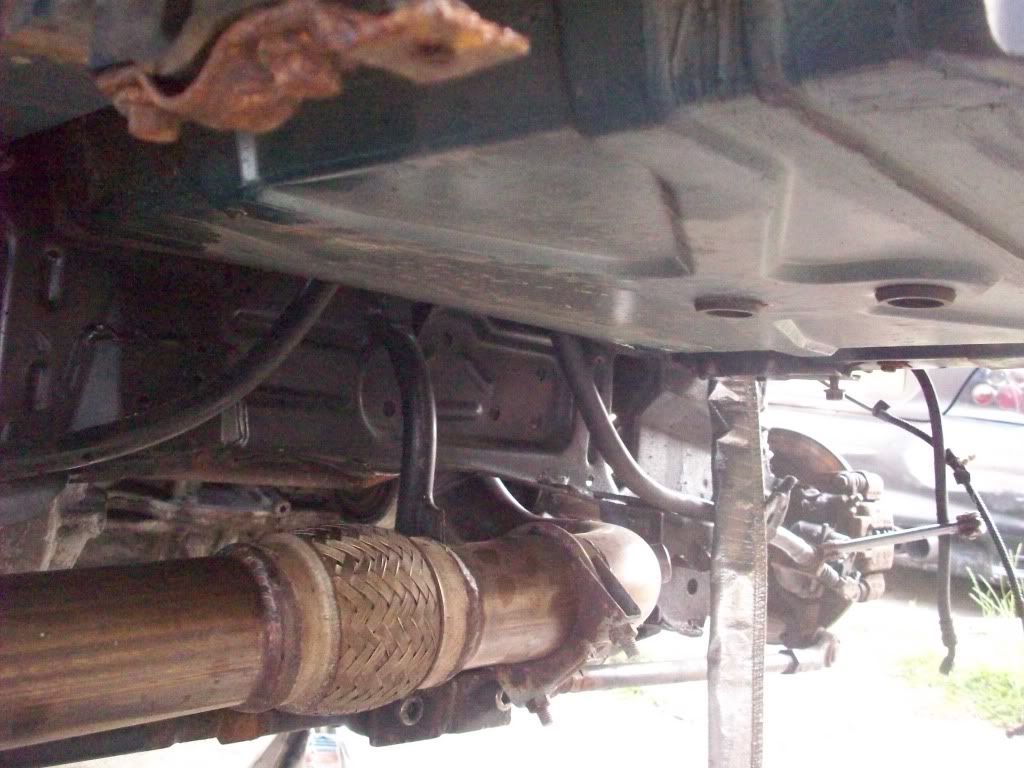
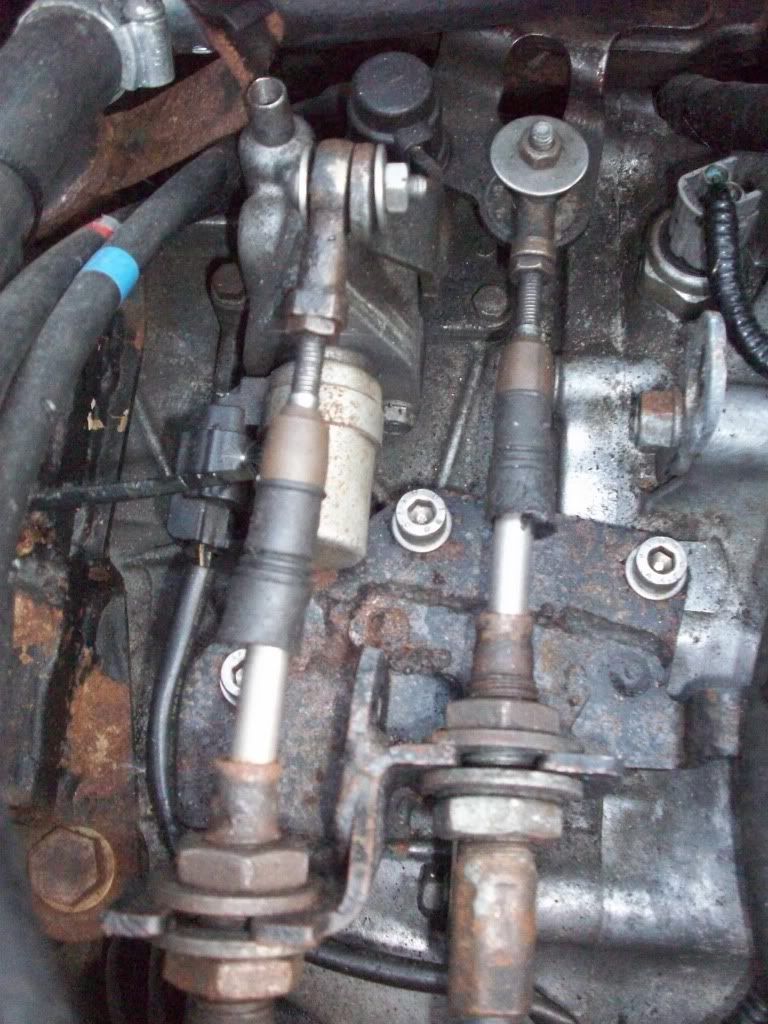
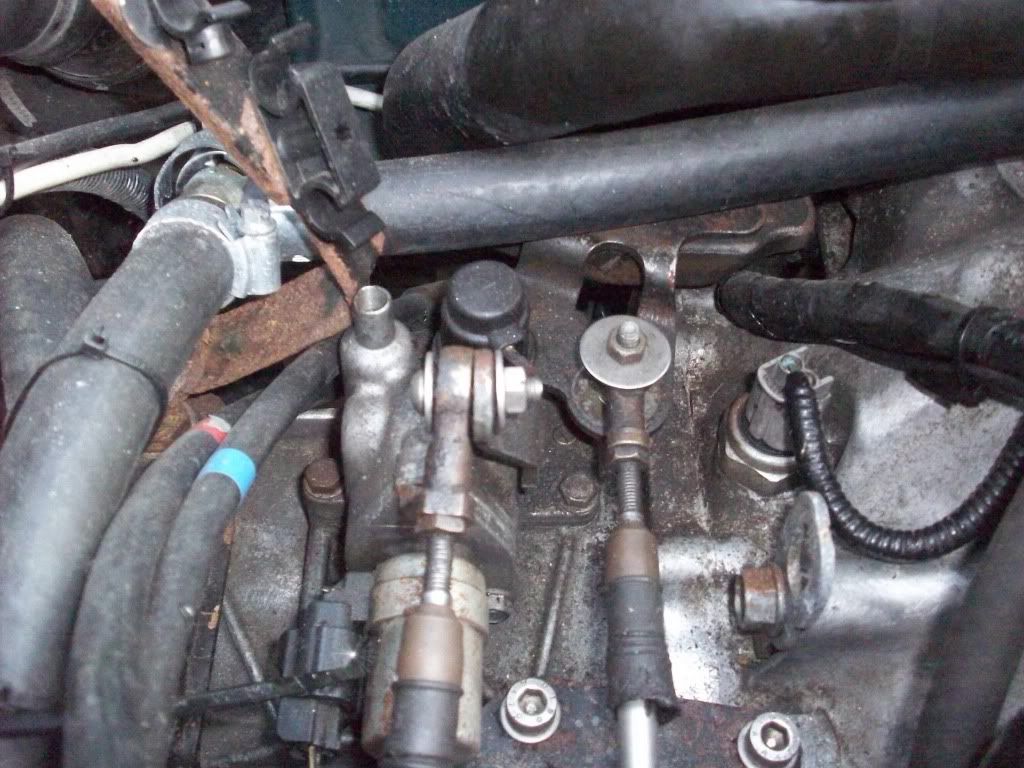
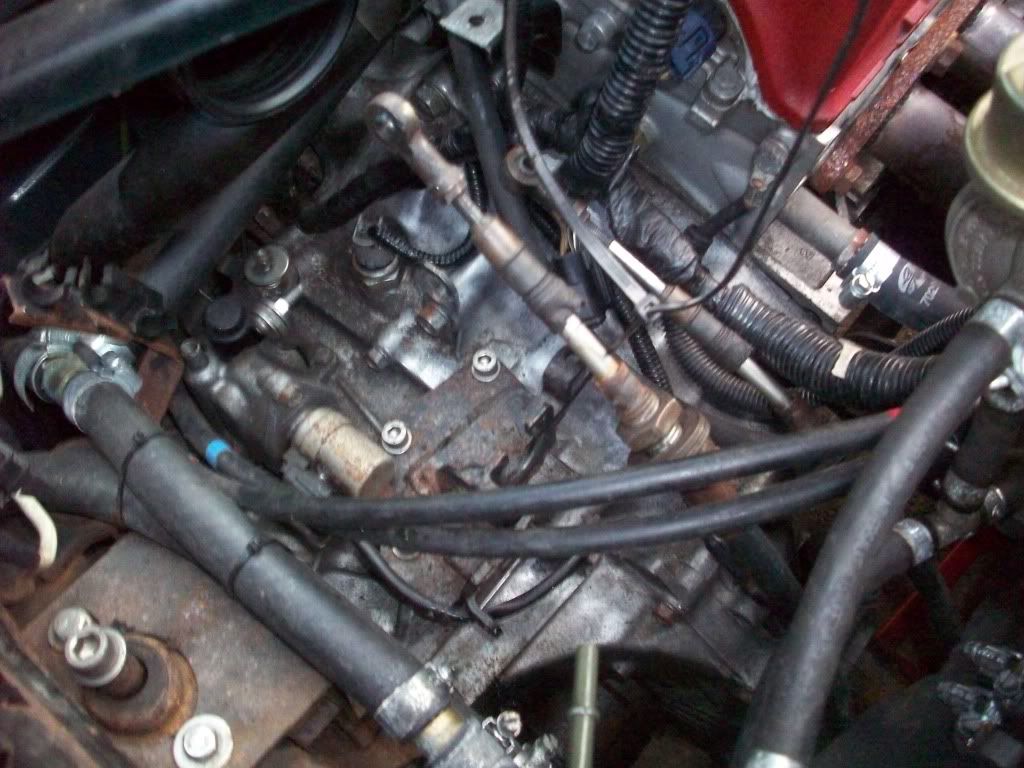
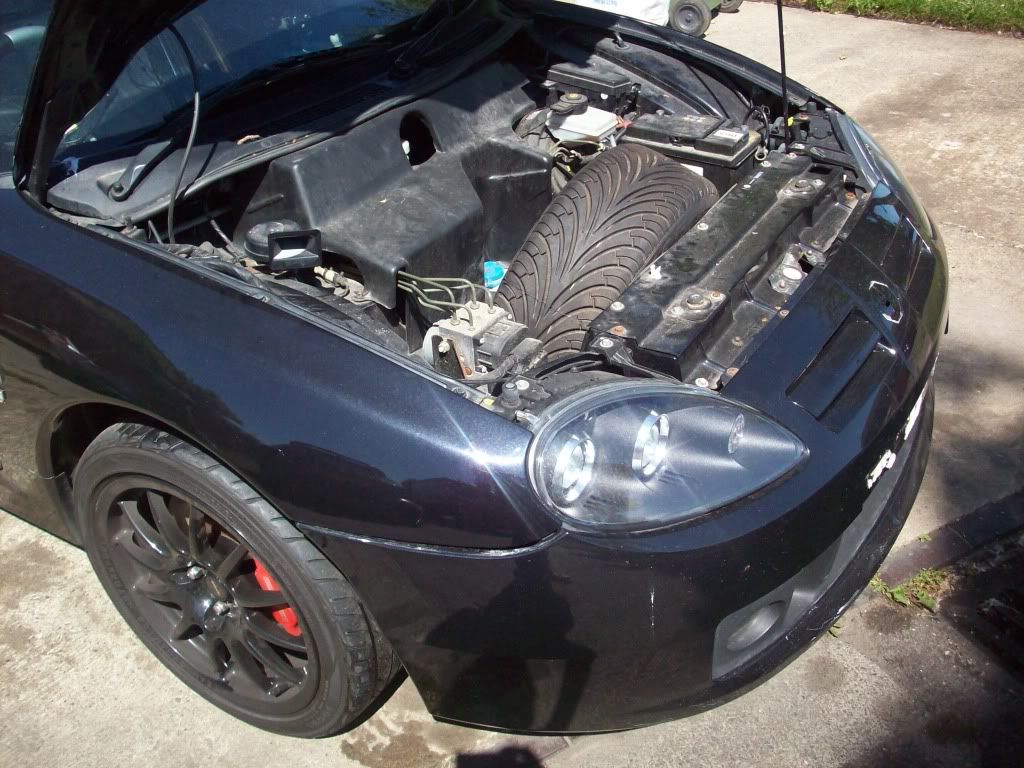
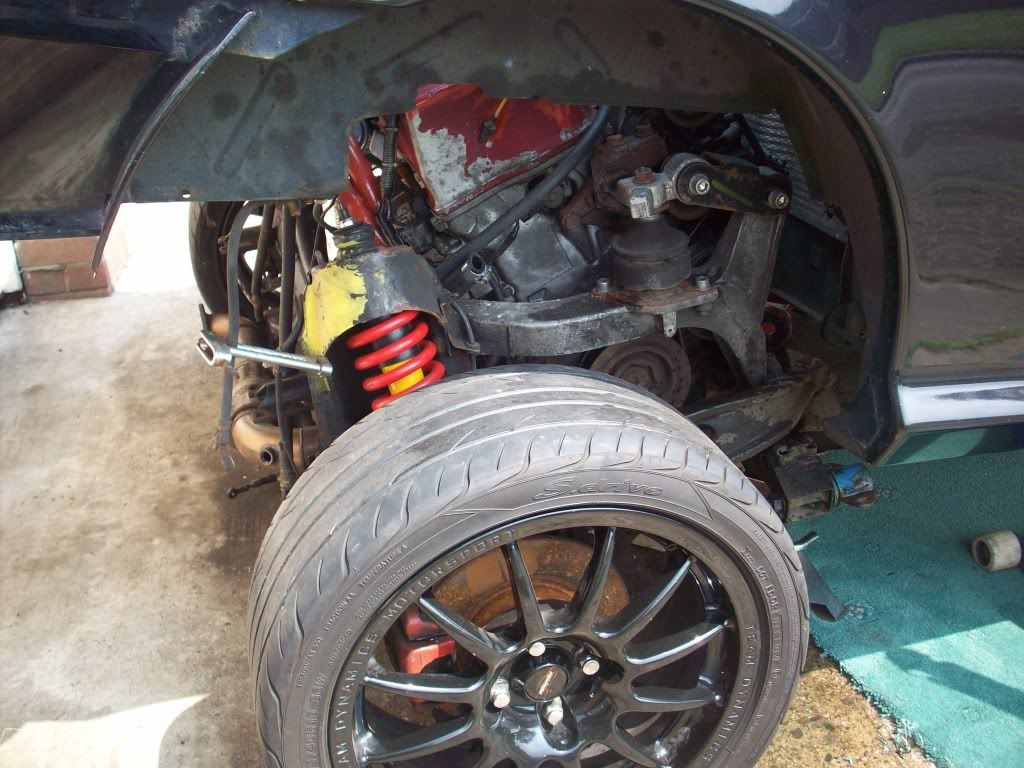
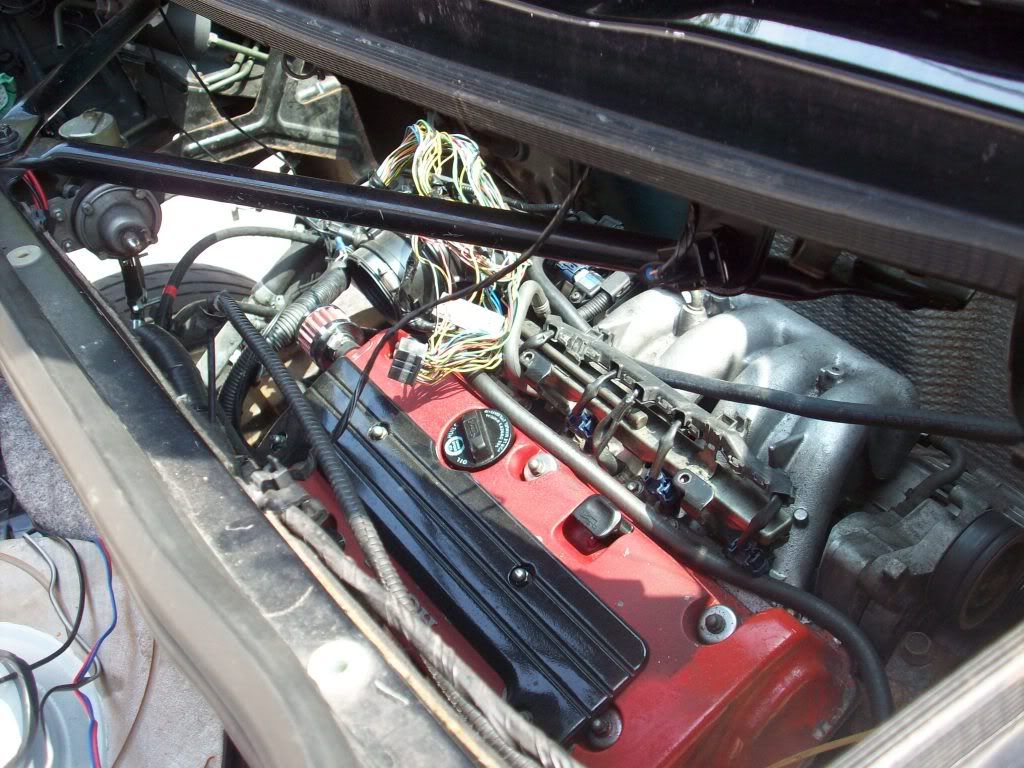
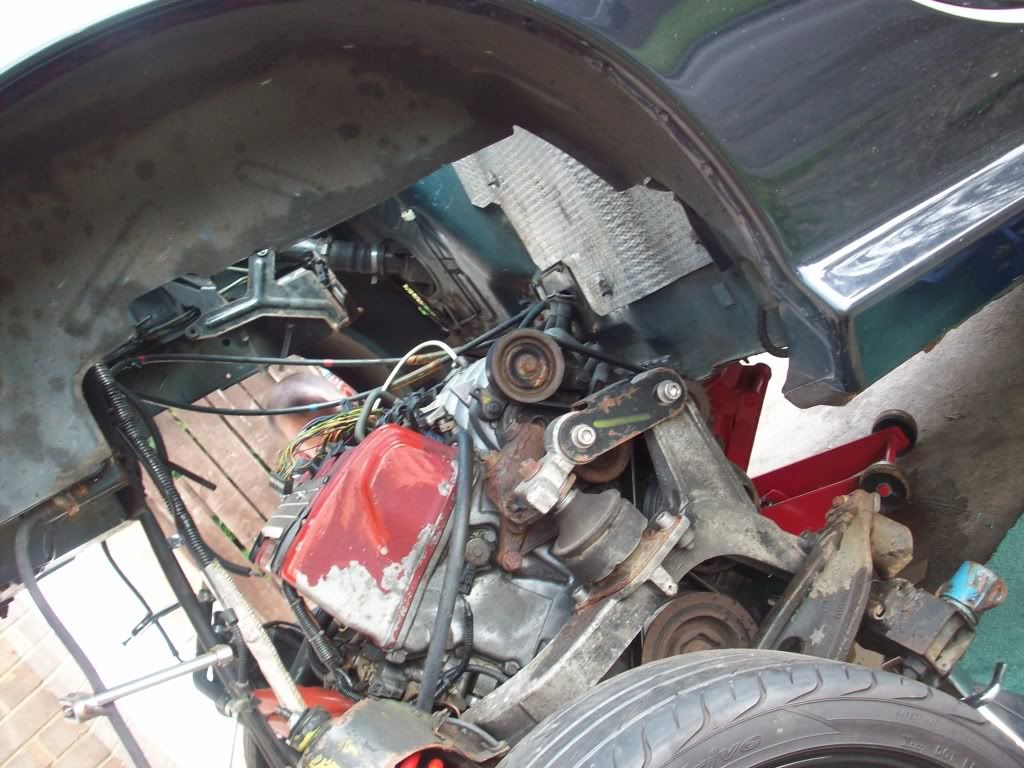
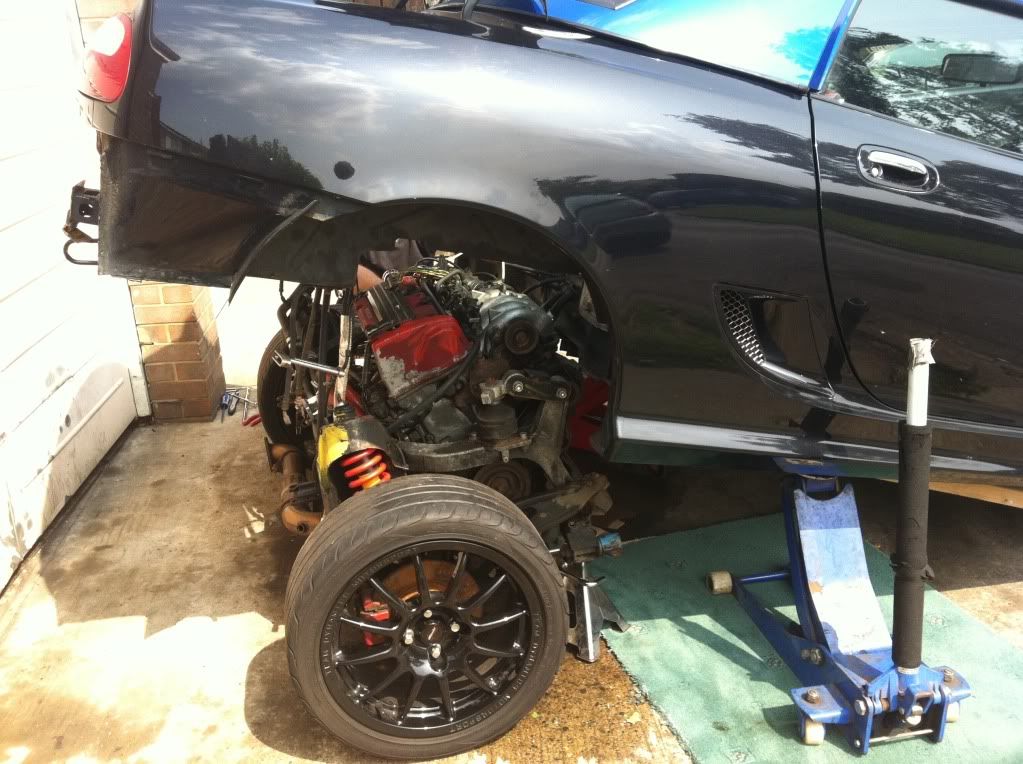
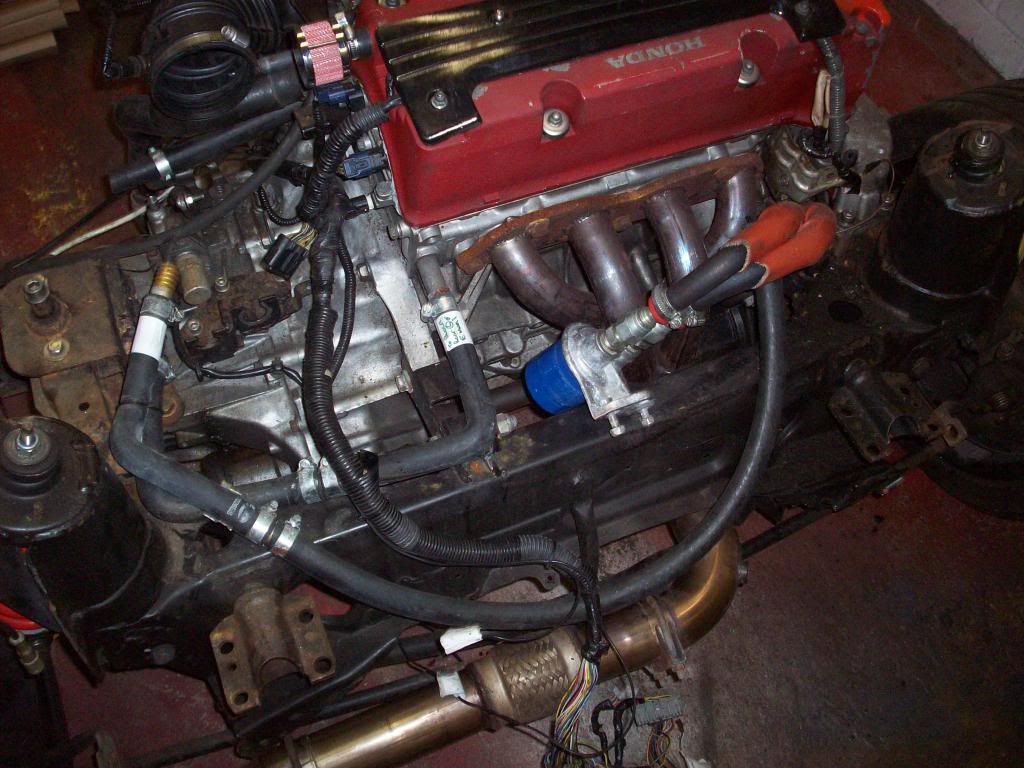
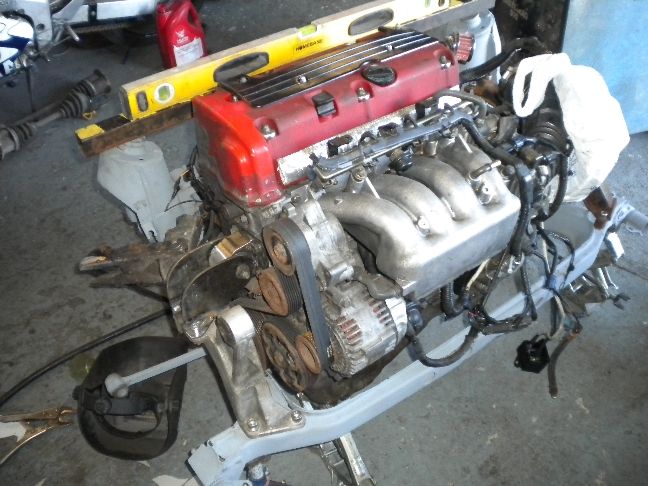
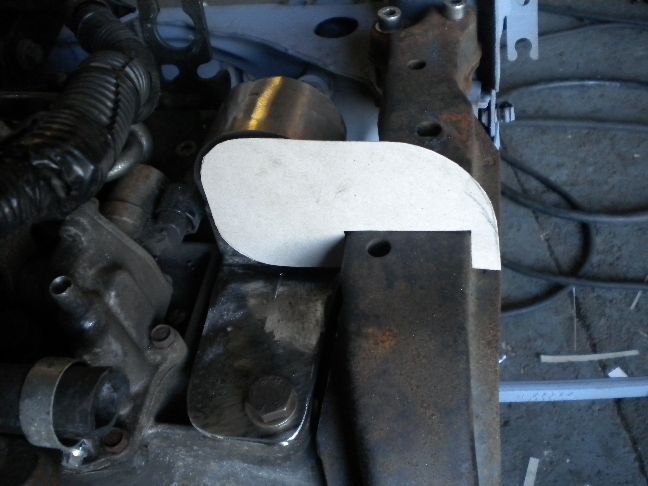
The engine access hatch! So just for you little lot I decided to pull it off and reveal...
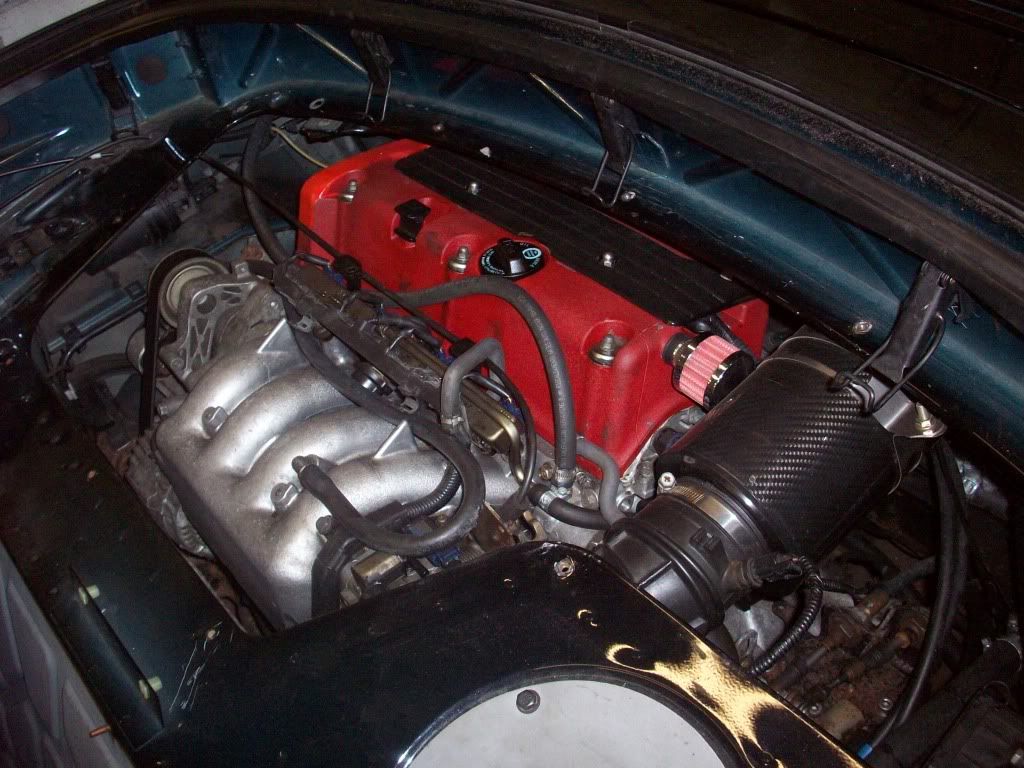
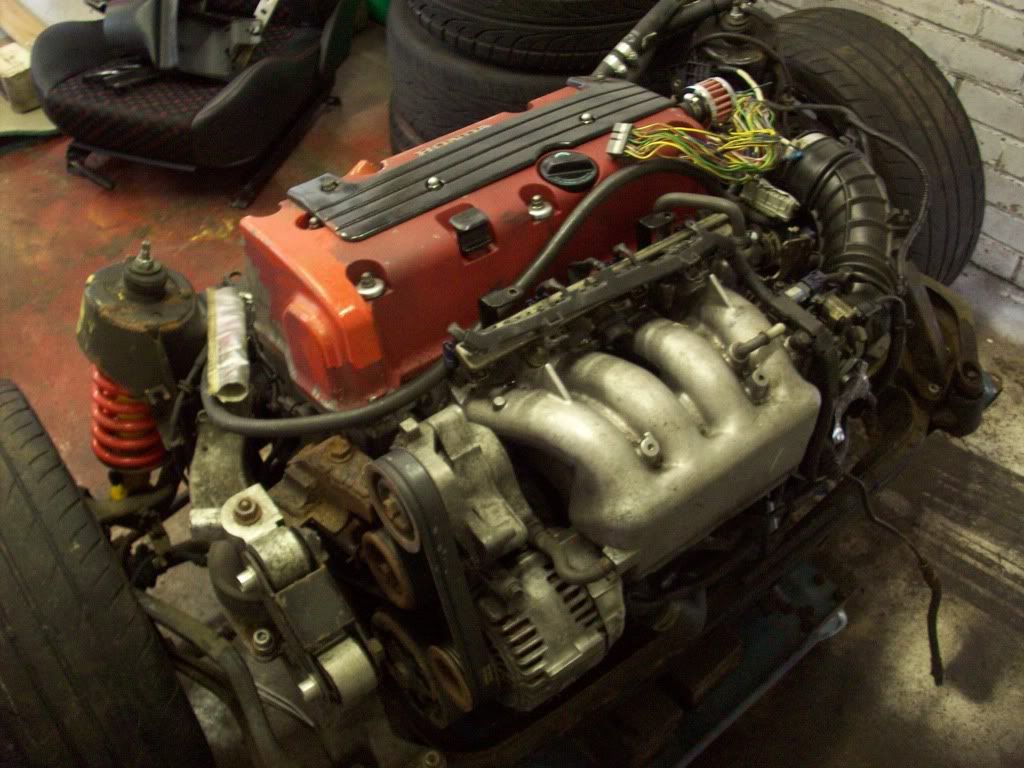
V-TEC Yoooooo!
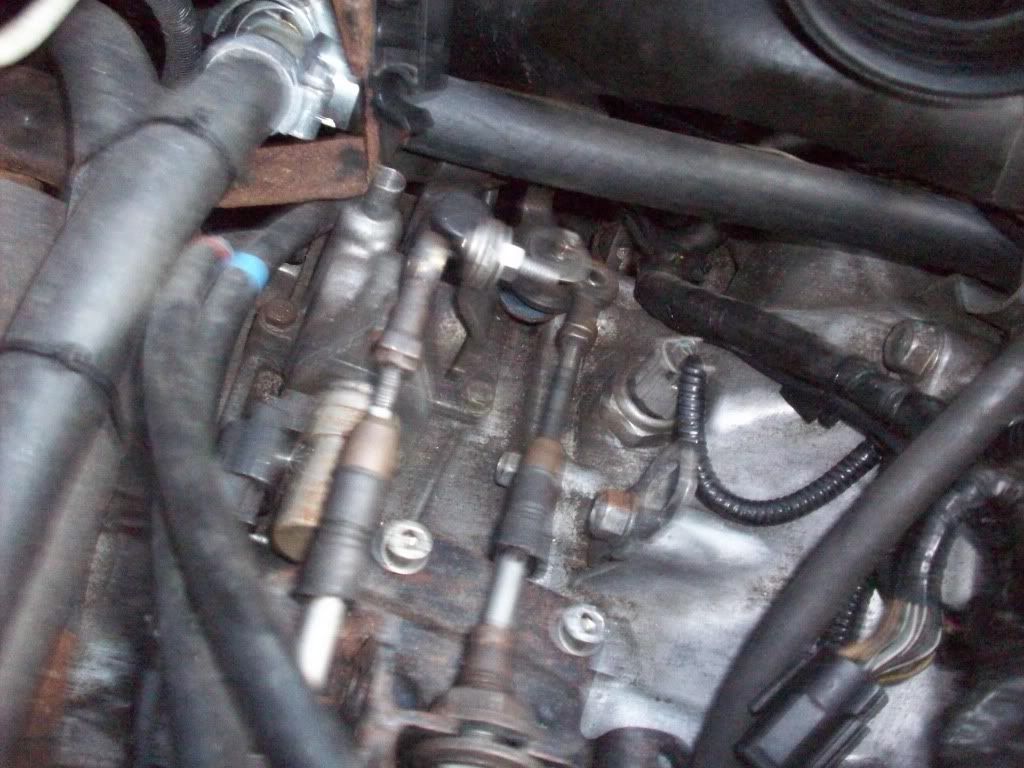
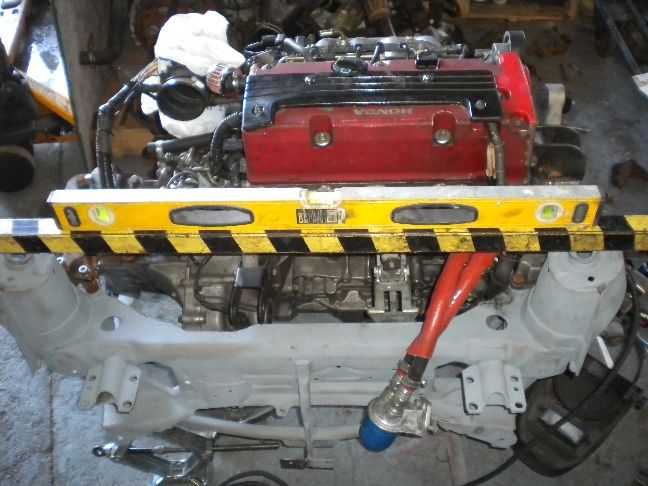
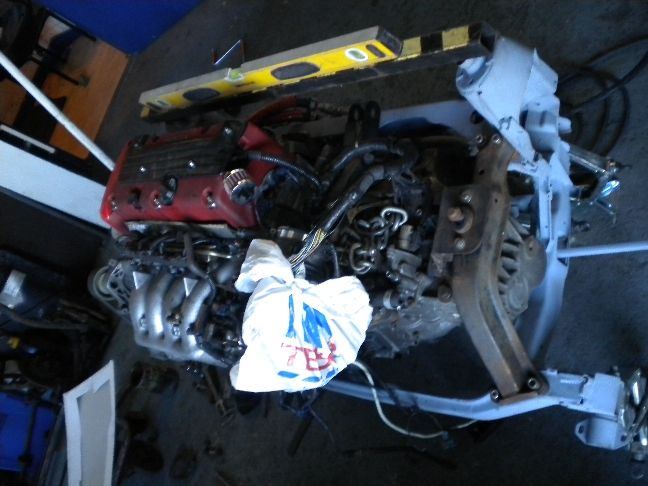
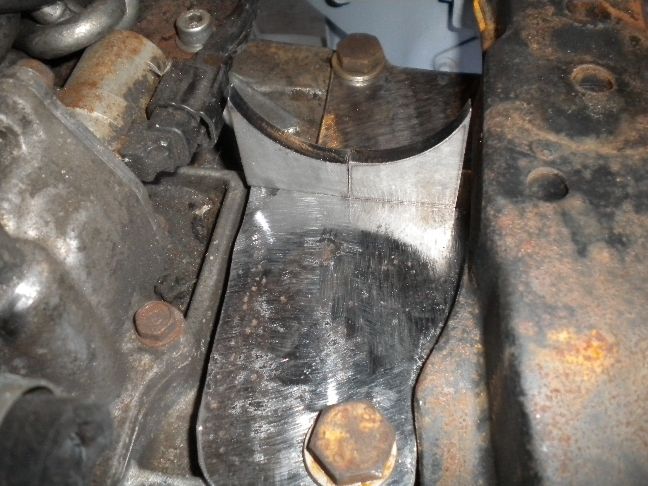
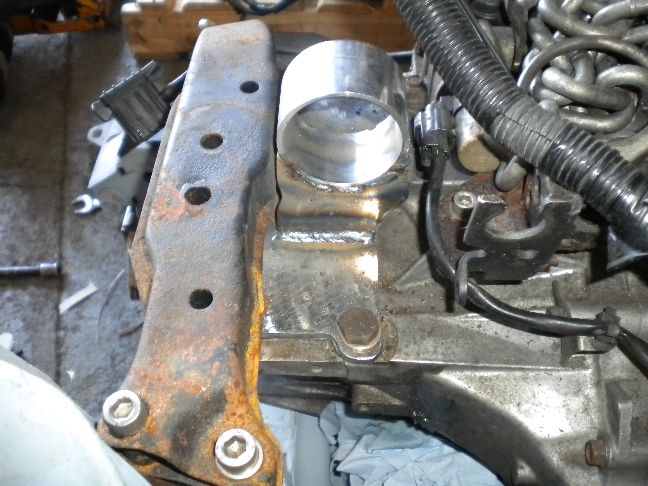
There is a surprising amount of room in there from what I can see, evan though the engine looks like it's at an odd angle to me? I need to see a Civic Type R to see really, maybe get the spirit levels out. The last thing I want is to start damaging a tuned engine due to oil starvation from a poorly mounted lump. But the amount of room is encouraging!
So providing I don't need to drastically re-position the engine then I may have room for my throttle bodies
That is without cutting into the fuel tank bay and moving the tank under the bonnet (I'll probs do that anyway for better weight distribution).
Looking good so far!
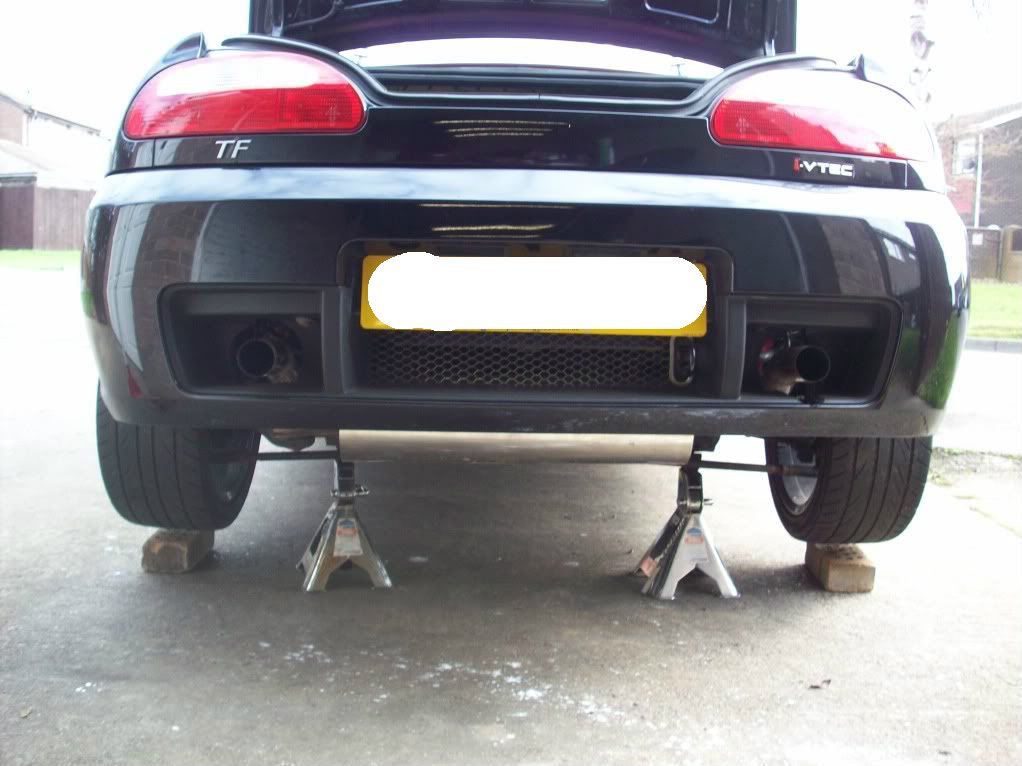
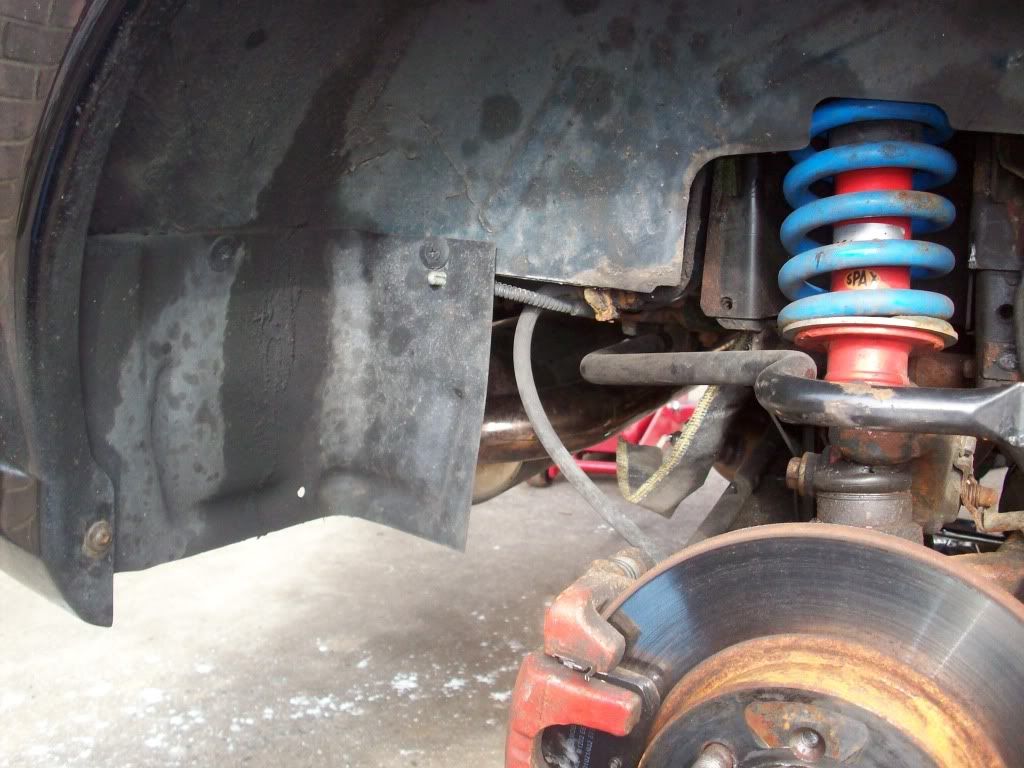
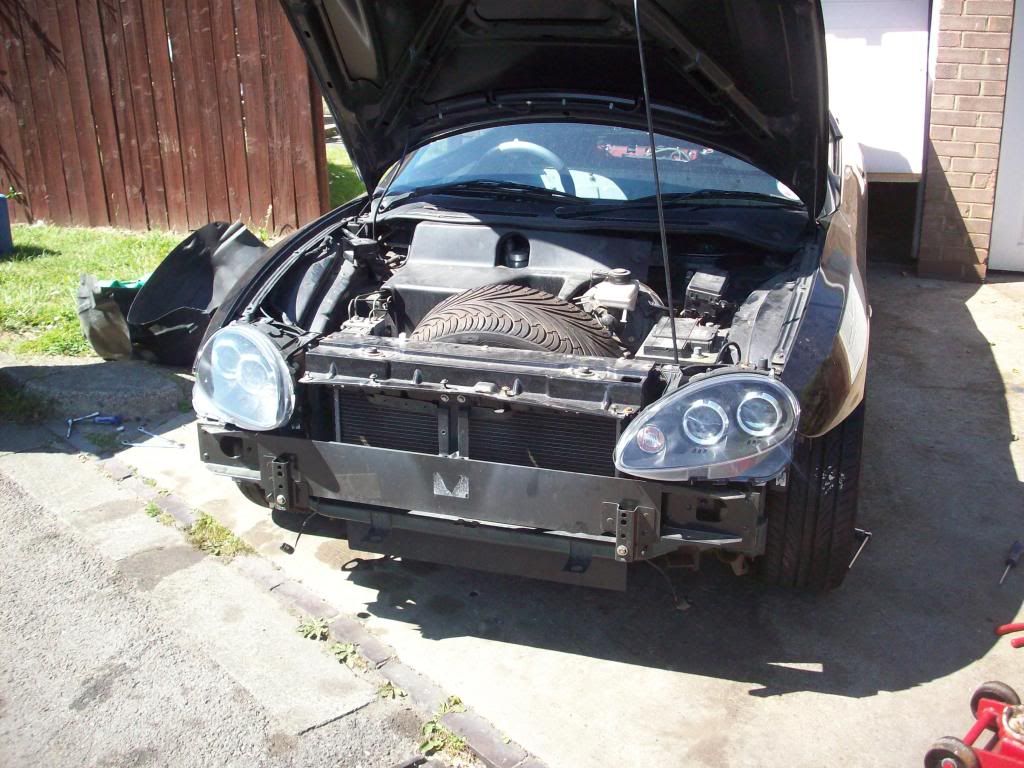
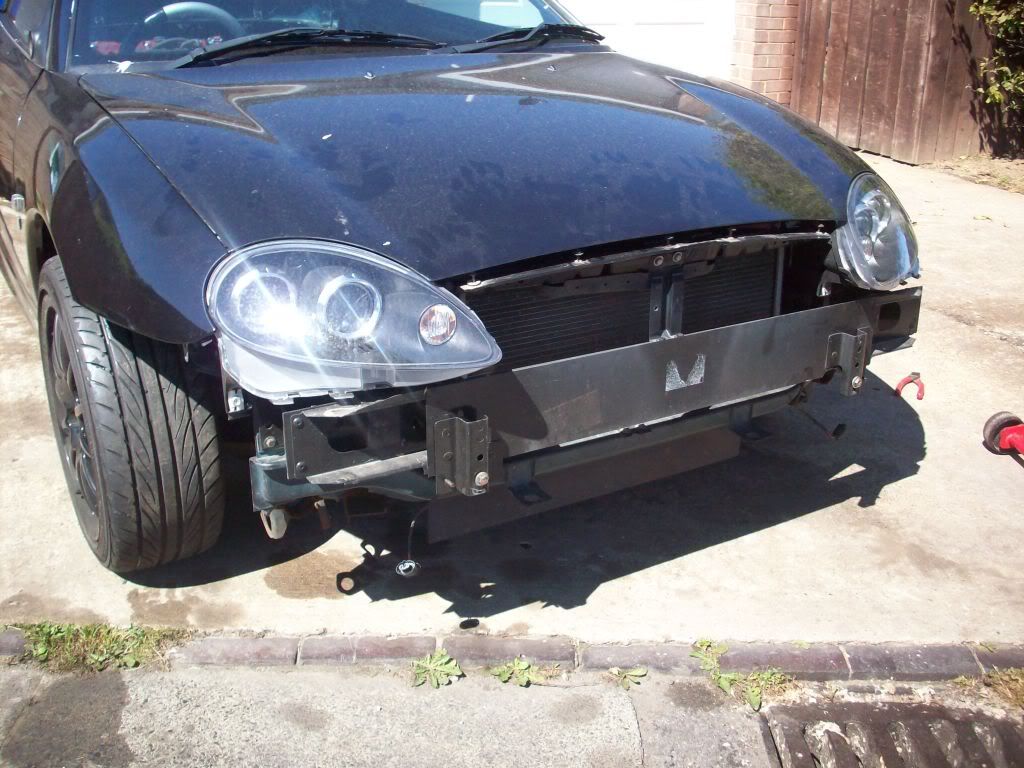
Next post will probably be removing the front bumper and everything I can under the bonnet so I can drop the front subframe
Comments welcome