- Thu Mar 11, 2010 5:39 pm
#2451302
you still didnt understand what i said :bigcry:
look here
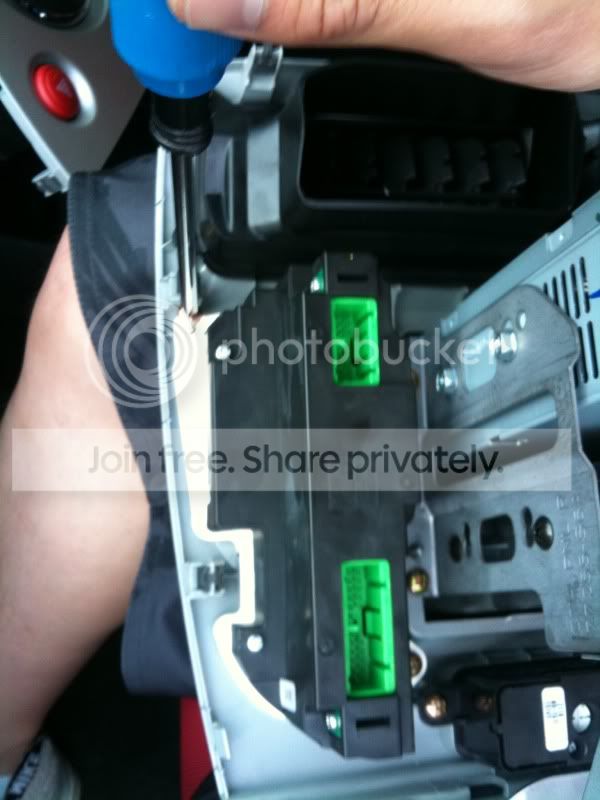
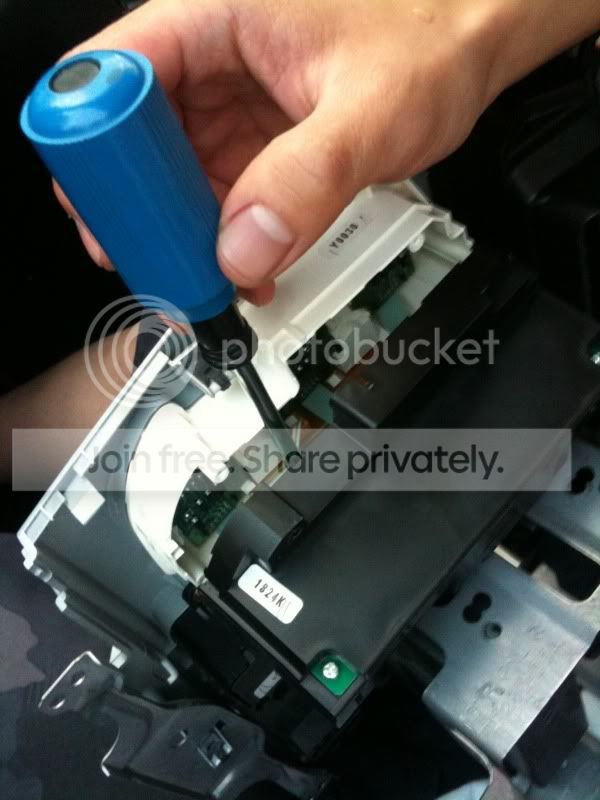
Thats the OEM stereo plate, i didnt use the aftermarket cage, i managed to find 2 screw holes to screw the headunit in on the side and its secure. If someone was to break in and take that, they will need to take the centre dash off, i'm sure people who steal stereos will know to carry a few keys and be off in seconds.
theres no problems how i've done mine and its way more secure in terms of thieves, but being a perfectionist, the stereo surround is not clips in tightly. I guess i'll wiggle it some more and try get a perfect it, to the untrained eyes you cant tell the difference but since i install it, i know!
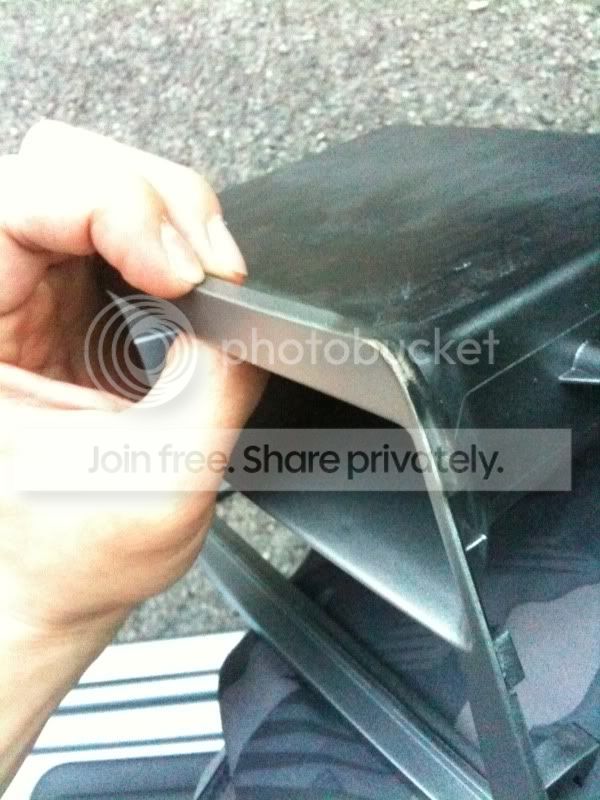
hence my original question was, does your stereo droop down to touch the bottom cubbybox?
PS: i've owned a few sonys and pioneer, the sony ones all have the same screw areas, my sony one at the mo screws into the plate no problems, just need to squeeze the OEM plate a little so screw both sides. You'll need the proper 8mm screws though!
great guide anyhow!
look here

Thats the OEM stereo plate, i didnt use the aftermarket cage, i managed to find 2 screw holes to screw the headunit in on the side and its secure. If someone was to break in and take that, they will need to take the centre dash off, i'm sure people who steal stereos will know to carry a few keys and be off in seconds.
theres no problems how i've done mine and its way more secure in terms of thieves, but being a perfectionist, the stereo surround is not clips in tightly. I guess i'll wiggle it some more and try get a perfect it, to the untrained eyes you cant tell the difference but since i install it, i know!
hence my original question was, does your stereo droop down to touch the bottom cubbybox?
PS: i've owned a few sonys and pioneer, the sony ones all have the same screw areas, my sony one at the mo screws into the plate no problems, just need to squeeze the OEM plate a little so screw both sides. You'll need the proper 8mm screws though!
great guide anyhow!